How to Create Simple Sunflower Nail Art: A Step-by-Step Tutorial
Sunflower nail art is one of the most cheerful and eye-catching manicure designs you can create at home. The bright yellow petals and rich brown centers instantly bring warmth and happiness to your nails, making them perfect for summer, fall, vacations, or everyday wear. Even if you have never tried nail art before, sunflowers are surprisingly beginner-friendly and can be customized to suit any nail length or shape.
The beauty of sunflower nail art lies in its versatility and simplicity. You can create a single sunflower accent nail, decorate every nail with tiny blooms, or combine sunflower details with trendy backgrounds like French tips, ombré effects, or nude bases. This tutorial will walk you through every step of the process so you can achieve a beautiful sunflower manicure with confidence.
1. Gather All the Necessary Nail Art Supplies
Before starting your sunflower nail art, it is important to prepare all the tools and products you will need. Having everything within reach helps the process go smoothly and prevents mistakes caused by searching for supplies in the middle of your manicure. Basic items include a base coat, top coat, yellow nail polish, brown polish, green polish, and a thin nail art brush.
If you do not own professional nail art tools, there are simple alternatives that work just as well. A toothpick can help create small details, while a bobby pin can act as a dotting tool for sunflower centers. Beginners often achieve beautiful results using household items, proving that expensive tools are not required to create stunning floral nail art.

2. Prepare Your Nails for the Best Results
Nail preparation is one of the most important steps in any manicure. Start by removing any old polish and washing your hands thoroughly to eliminate oils and residue. Clean nails provide a better surface for polish adhesion, which helps your sunflower design last longer without chipping or peeling.
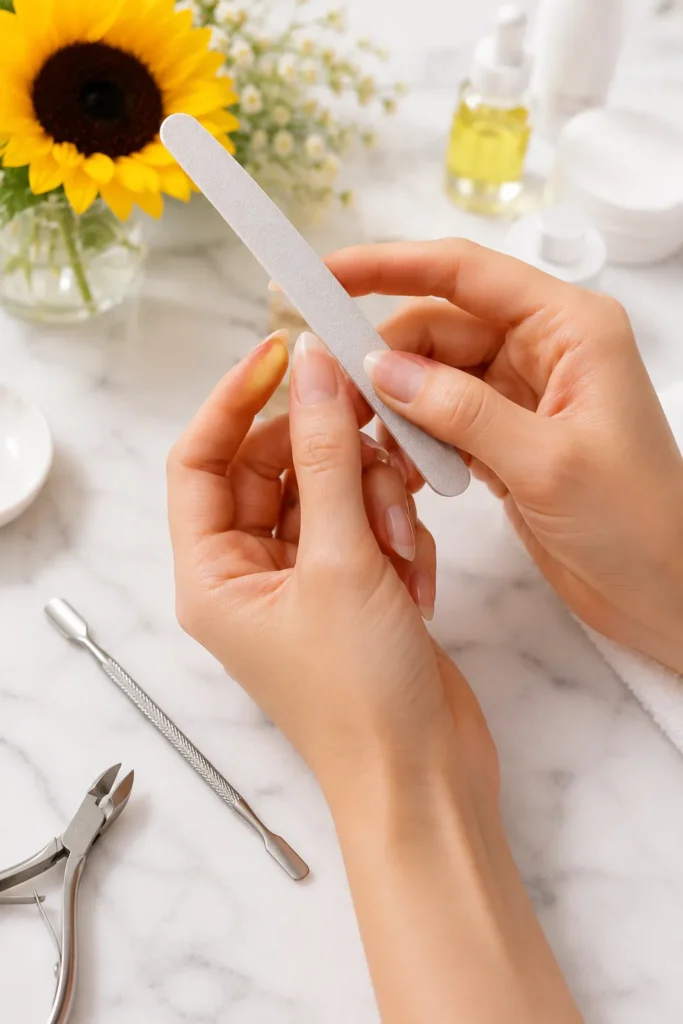
Next, shape your nails using a file and gently push back your cuticles for a polished appearance. Apply a thin layer of base coat across each nail and allow it to dry completely. This protective layer not only prevents staining from colored polishes but also creates a smoother canvas for your sunflower artwork.
3. Select the Perfect Background Color
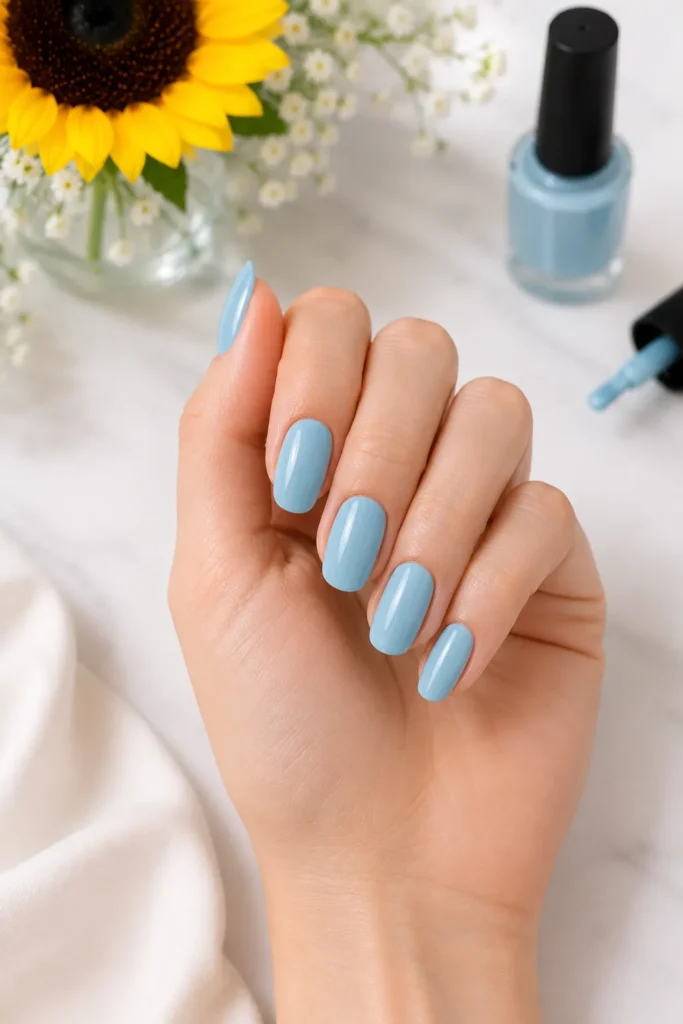
The background color can dramatically affect the final appearance of your sunflower nail design. Light shades such as white, nude, pale blue, and soft pink are popular choices because they allow the sunflower details to stand out beautifully. These colors also create a fresh and clean aesthetic that complements floral artwork.
Apply two thin coats of your chosen polish rather than one thick coat. Thin layers dry more evenly and reduce the risk of smudging during the design process. Once the background color is completely dry, your nails will be ready for the sunflower details that bring the entire manicure to life.
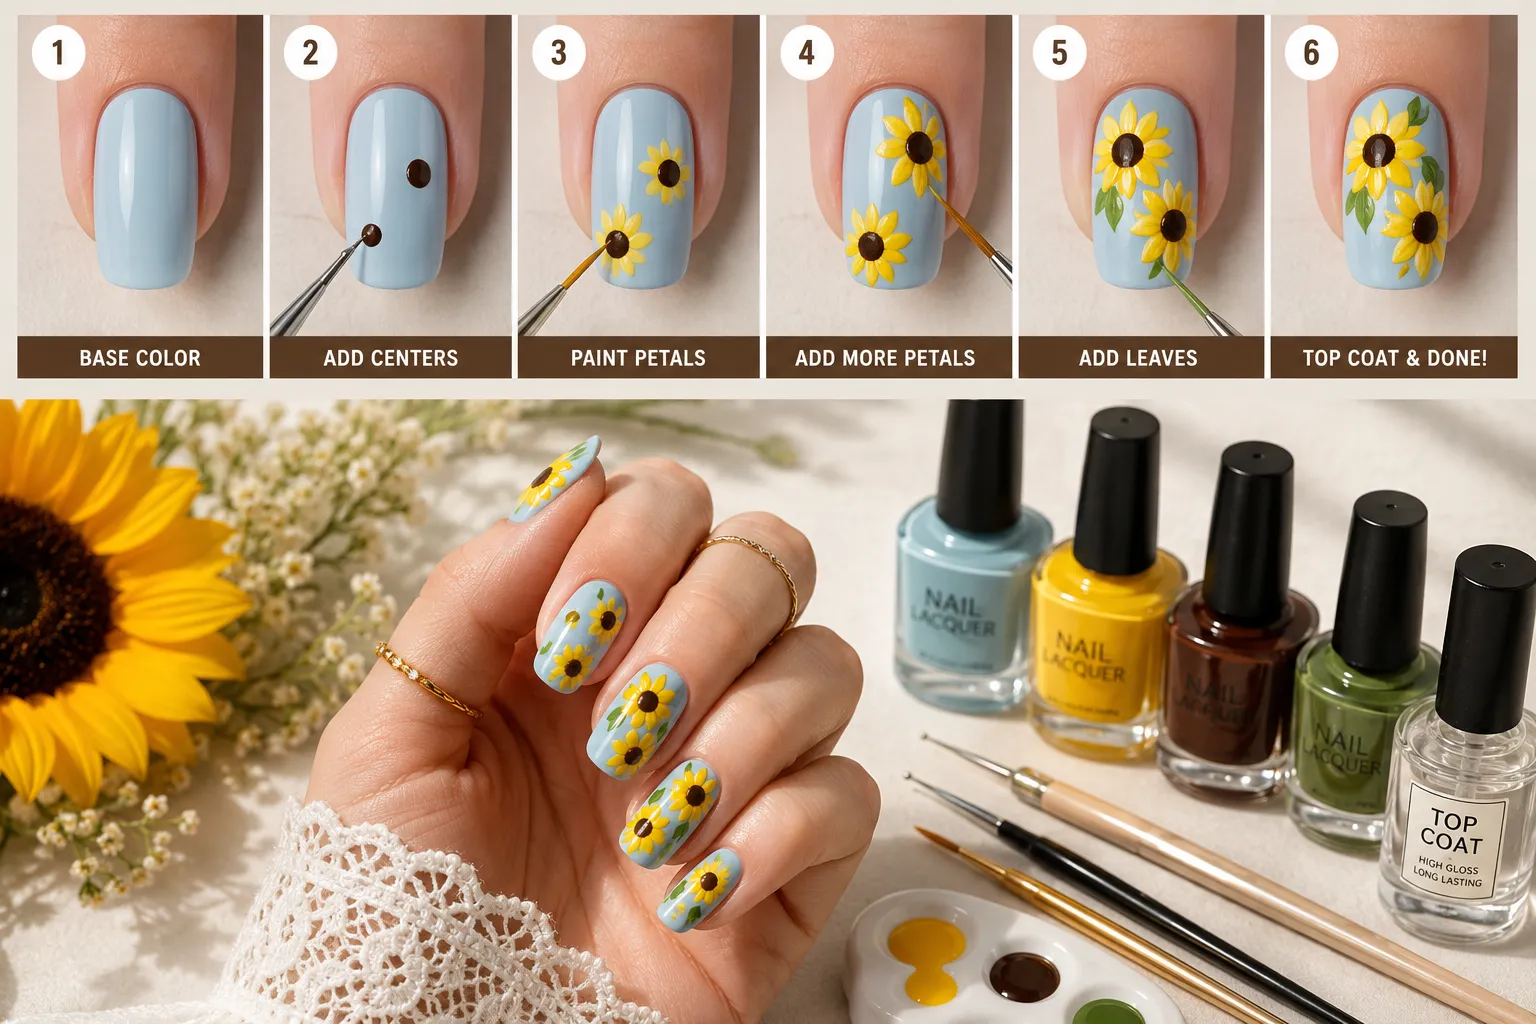
4. Create the Sunflower Centers
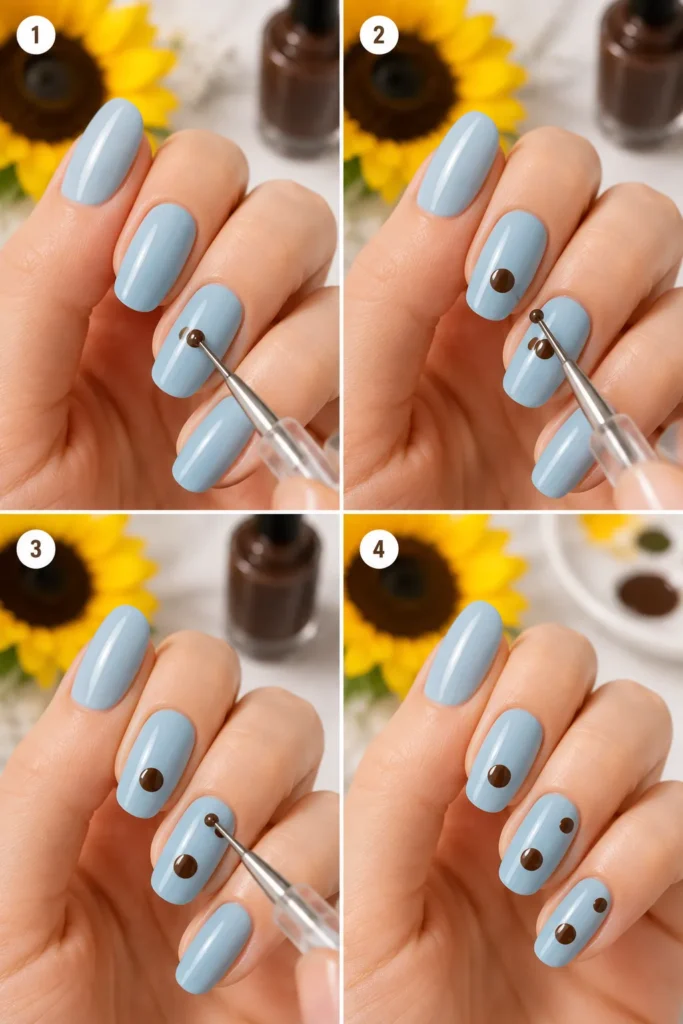
Every sunflower begins with its distinctive center. Using brown nail polish and a dotting tool, place small circular dots where you want each flower to appear. The size of the circle will determine the size of the finished sunflower, so consider your nail length when planning the design.
Allow the brown circles to dry slightly before moving on to the petals. This helps maintain crisp edges and prevents colors from blending together. Keeping the centers evenly spaced also contributes to a balanced and professional-looking manicure that feels intentional and well-designed.
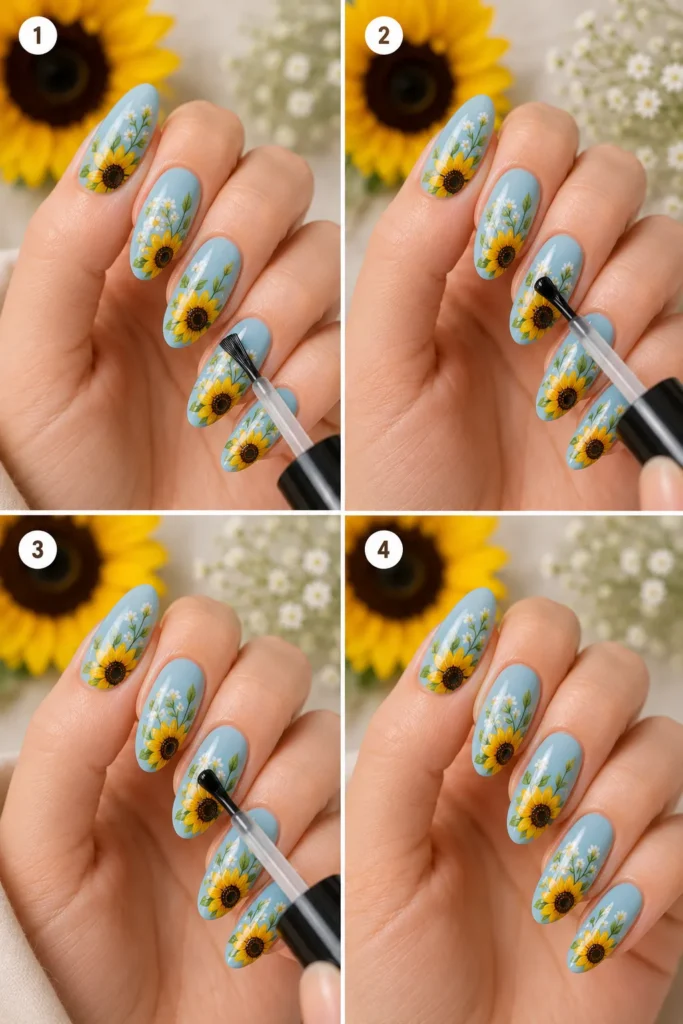
5. Paint the Bright Yellow Petals
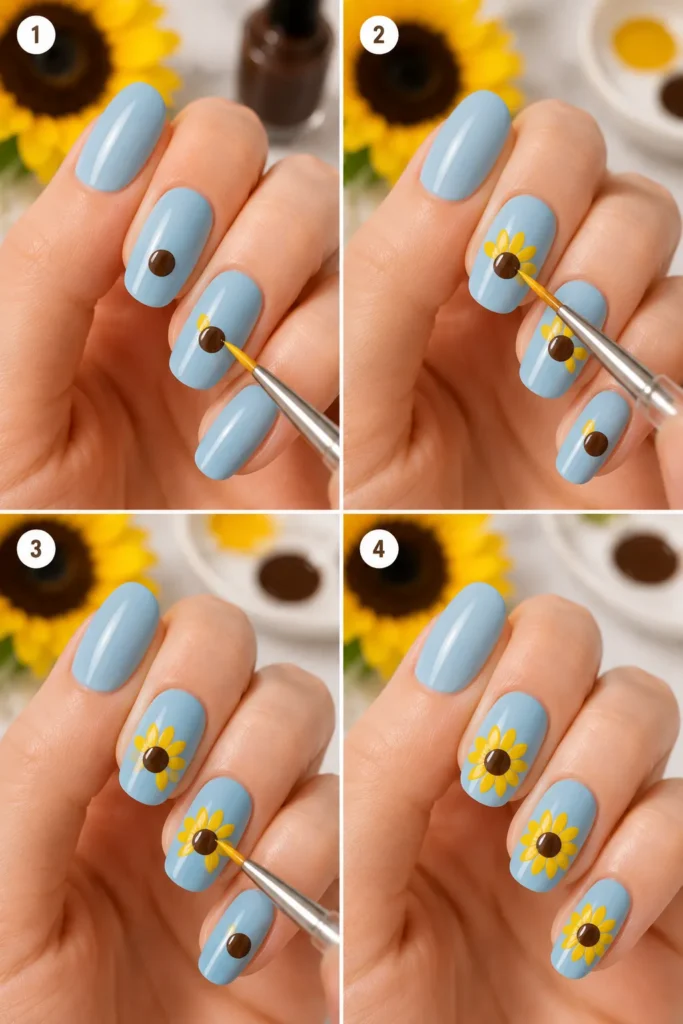
Once the centers have set, begin painting yellow petals around each brown circle. Use a thin nail art brush and create small teardrop-shaped strokes that extend outward from the center. Continue working around the circle until the sunflower appears full and symmetrical.
Do not worry if every petal looks slightly different. Real flowers are naturally imperfect, and those subtle variations often make hand-painted nail art appear more realistic. Taking your time during this stage will help you achieve petals that look neat, vibrant, and beautifully detailed.
6. Add Dimension for a More Realistic Look
Simple sunflower designs look lovely on their own, but adding dimension can make them appear even more impressive. Use a slightly darker yellow or golden shade to add highlights and depth to selected petals. This layering technique creates visual interest and gives the flowers a more natural appearance.
You can also enhance the center by adding tiny dark brown dots over the original circle. This detail mimics the texture of real sunflower seeds and adds a professional touch to the design. Even small enhancements can transform a basic manicure into something that looks salon-quality.
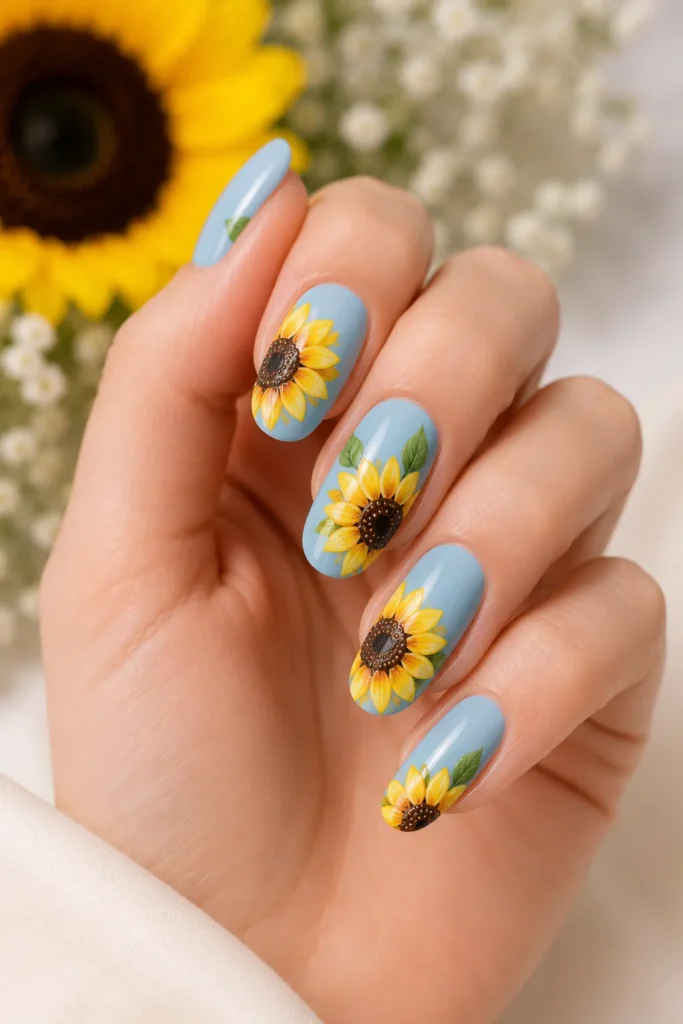
7. Include Leaves and Green Details
Green leaves help complete the sunflower design and create a more balanced composition. Using a fine brush and green polish, paint small leaf shapes around the flowers. These details can be simple and minimal while still making a significant impact on the overall appearance.
Avoid overcrowding the nail with too many leaves or extra decorations. A few carefully placed green accents often look more elegant than a busy design. The goal is to complement the sunflower rather than distract from it, allowing the flowers to remain the star of the manicure.

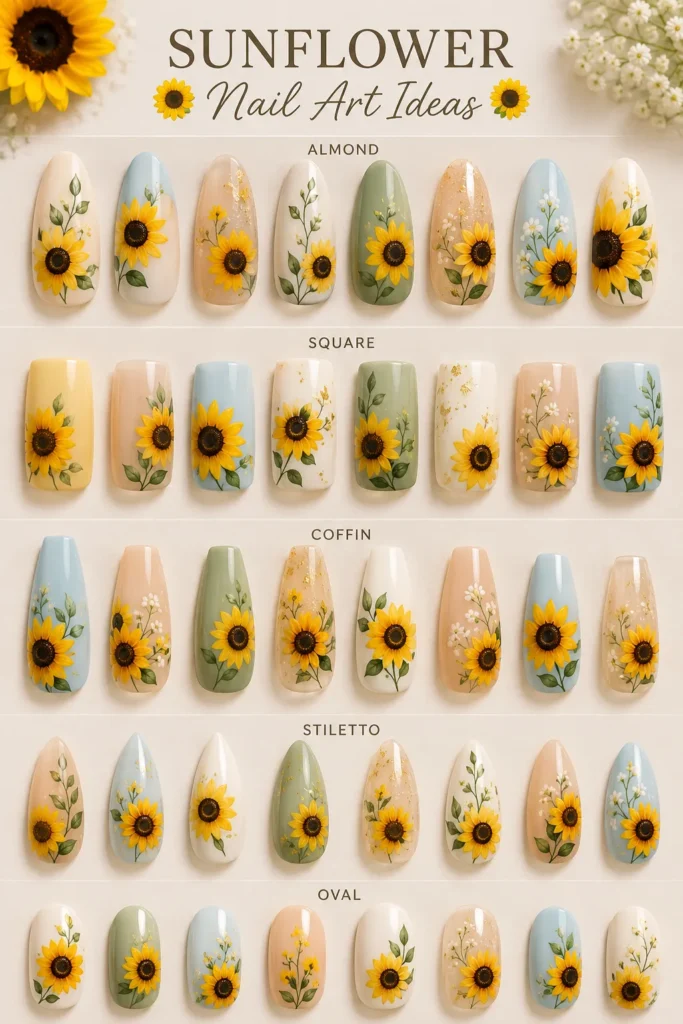
8. Experiment with Different Sunflower Layouts
One of the most enjoyable aspects of sunflower nail art is the ability to personalize the design. Some people prefer a large sunflower on an accent nail while keeping the remaining nails simple. Others enjoy creating multiple tiny flowers scattered across every nail for a more playful and artistic effect.
You can also pair sunflower designs with popular nail trends such as French tips, ombré gradients, glitter accents, or matte finishes. Experimenting with different layouts allows you to create a manicure that reflects your personal style while still showcasing the beauty of sunflower artwork.
9. Seal the Design with a Protective Top Coat
After your sunflower artwork is completely dry, apply a generous layer of top coat to lock everything in place. This step protects the design from everyday wear and helps prevent chips and scratches. A glossy top coat also enhances the colors and gives the manicure a polished, professional finish.
Make sure to cover the tips of your nails as well as the surface. Sealing the edges can significantly improve the longevity of your manicure. Allow sufficient drying time before using your hands to avoid accidental dents or smudges that could affect the finished design.
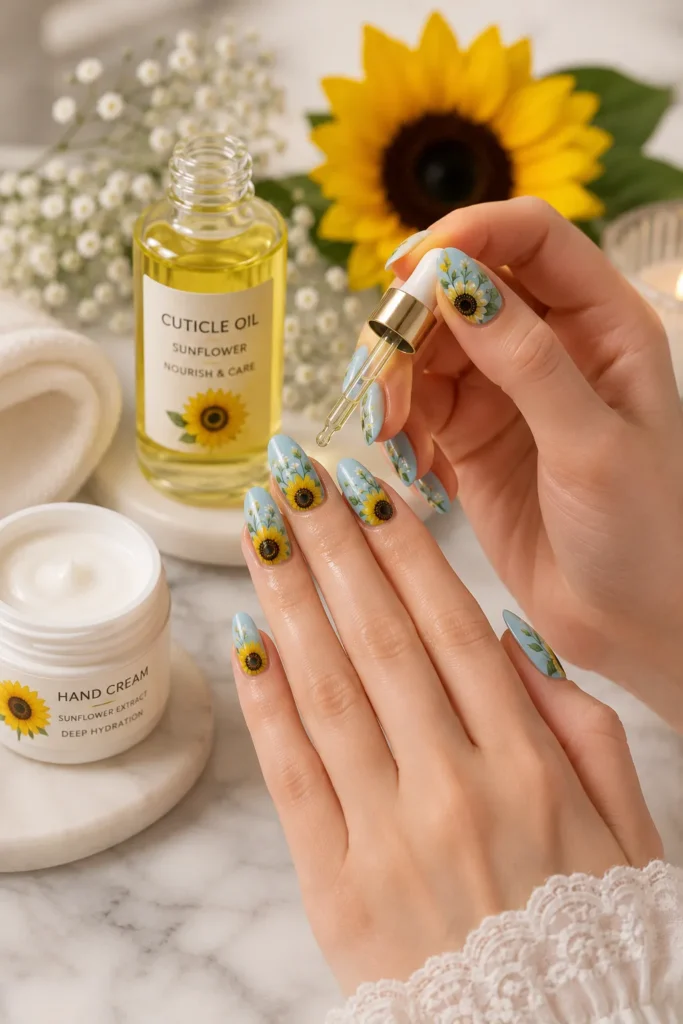
10. Care for Your Sunflower Manicure
Proper maintenance will help your sunflower nail art remain beautiful for as long as possible. Apply cuticle oil regularly to keep the surrounding skin hydrated and healthy. Well-moisturized hands enhance the overall appearance of any manicure and help maintain a fresh look.
It is also helpful to wear gloves when cleaning or washing dishes to reduce exposure to harsh chemicals and water. Reapplying a thin layer of top coat every few days can restore shine and provide additional protection. With proper care, your sunflower nail art can stay vibrant and attractive for more than a week.
Final Thoughts
Sunflower nail art is a wonderful choice for anyone who wants a cheerful, stylish, and beginner-friendly manicure. With just a few simple tools and some patience, you can create beautiful floral designs that brighten your nails and showcase your creativity. The combination of sunny yellow petals and rich brown centers makes sunflower nails a timeless favorite throughout the year.
By following these step-by-step instructions, you can confidently create your own sunflower manicure at home without needing professional experience. Whether you choose a minimalist accent nail or a full floral design, sunflower nail art is a beautiful way to add warmth, personality, and charm to your everyday style.