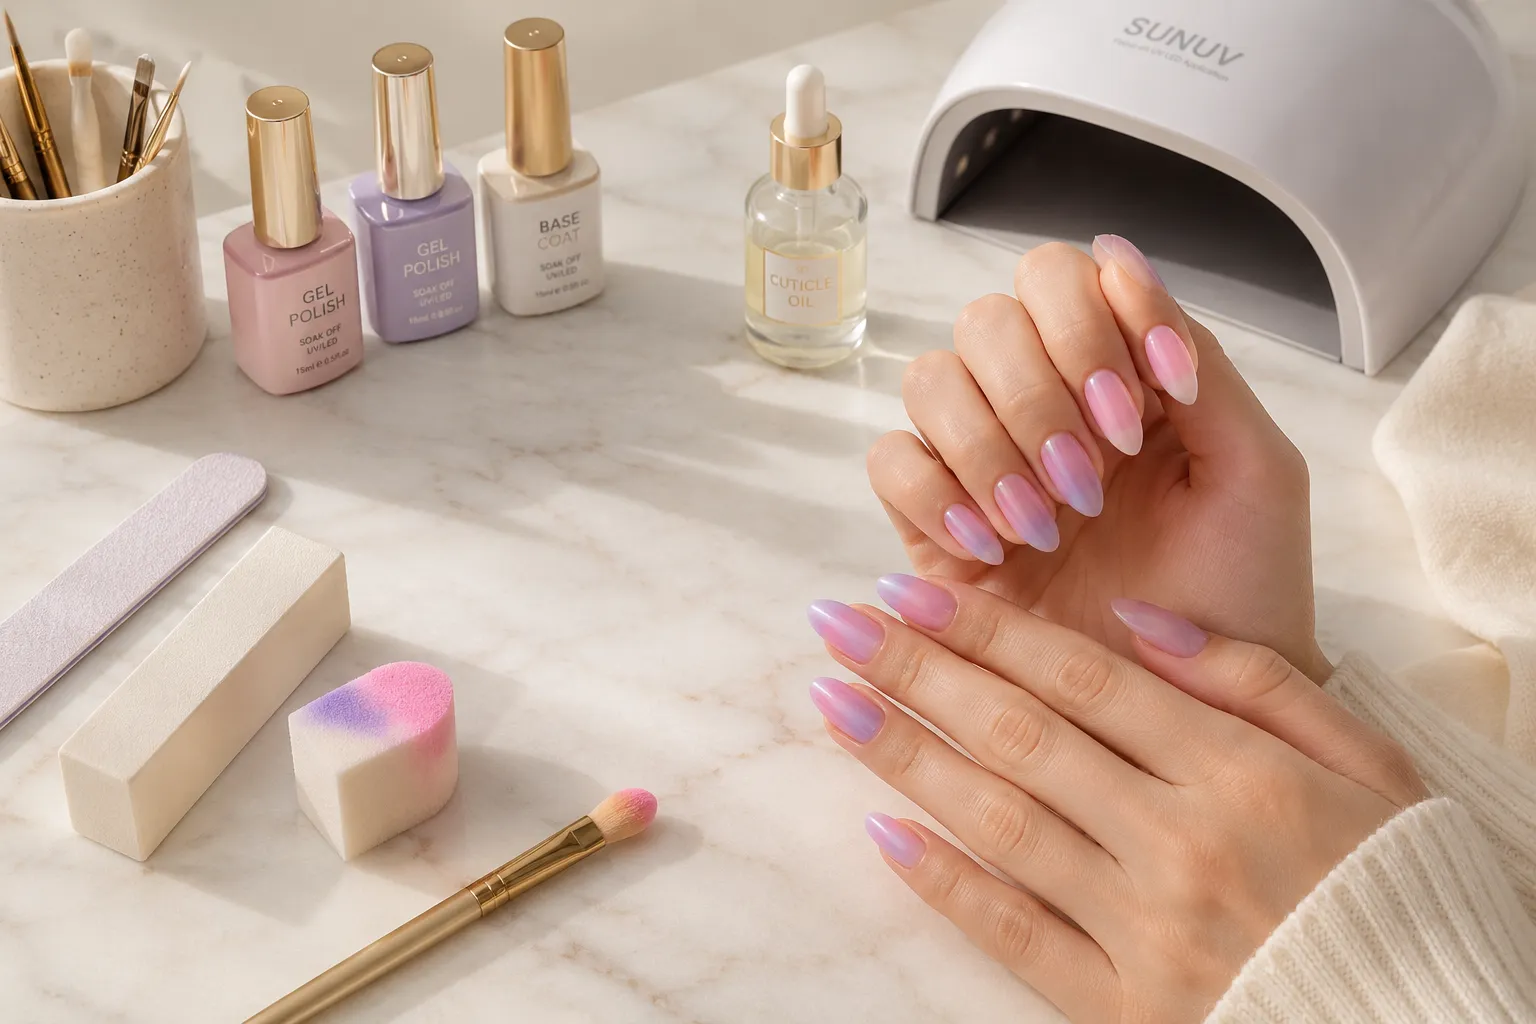
Step-by-Step Guide to DIY Aura Nails at Home for Beginners
Aura nails have become one of the biggest manicure trends thanks to their dreamy, airbrushed color gradients that resemble a glowing aura. While they may look like a salon-only design, beginners can recreate this stylish effect at home using simple tools and a little patience. Whether you love soft pastel blends, vibrant neon colors, or elegant neutral shades, DIY aura nails let you personalize your manicure without spending a fortune.
The best part is that you don’t need professional airbrush equipment to achieve beautiful results. Makeup sponges, blooming gel, eyeshadow applicators, and even nail brushes can help you create stunning aura nail designs. This guide walks you through every step, from preparing your nails to sealing your finished manicure for long-lasting shine.
What Are Aura Nails?
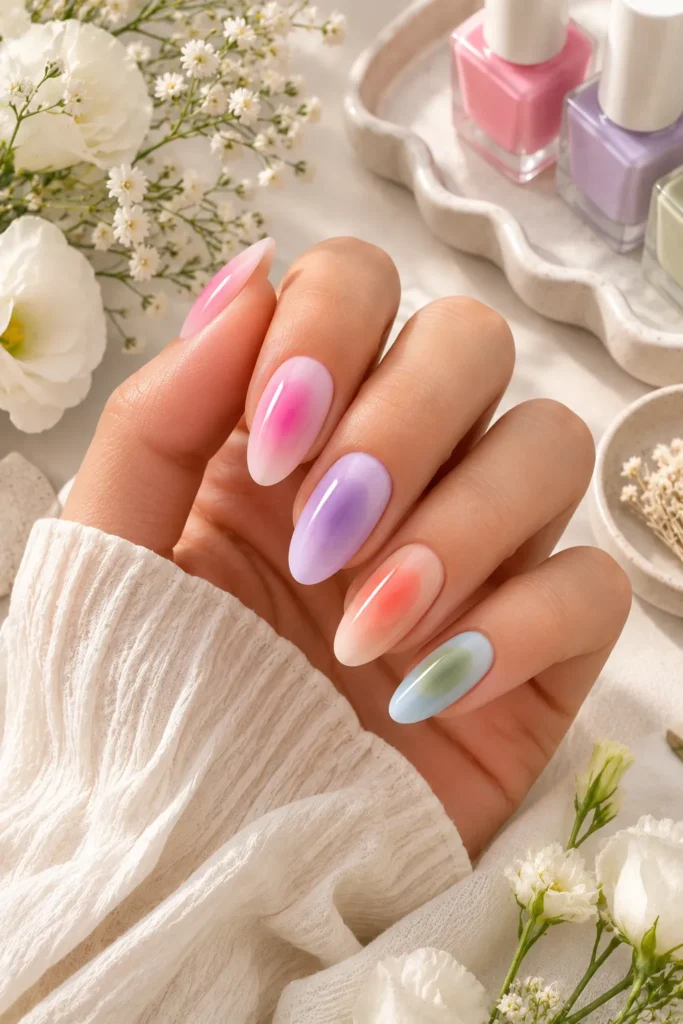
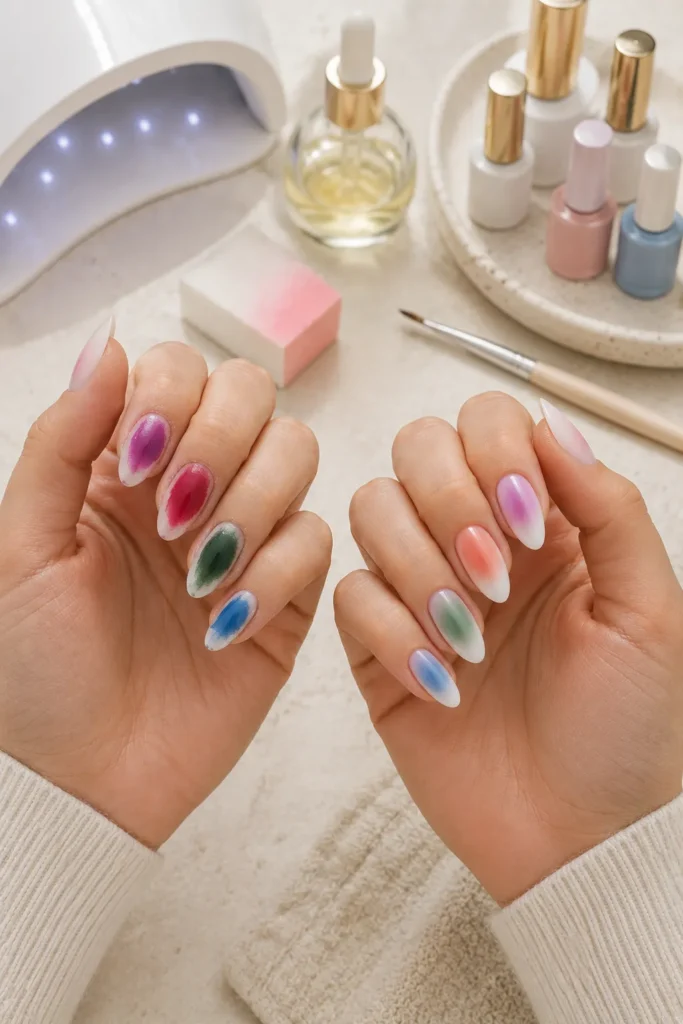
Aura nails feature a soft, glowing circle of color blended into the center of each nail. Inspired by colorful energy fields and modern beauty trends, this manicure creates a subtle ombré effect that looks both artistic and elegant. Unlike traditional ombré nails that blend from one edge to another, aura nails focus the color in the middle while fading gently toward the edges.
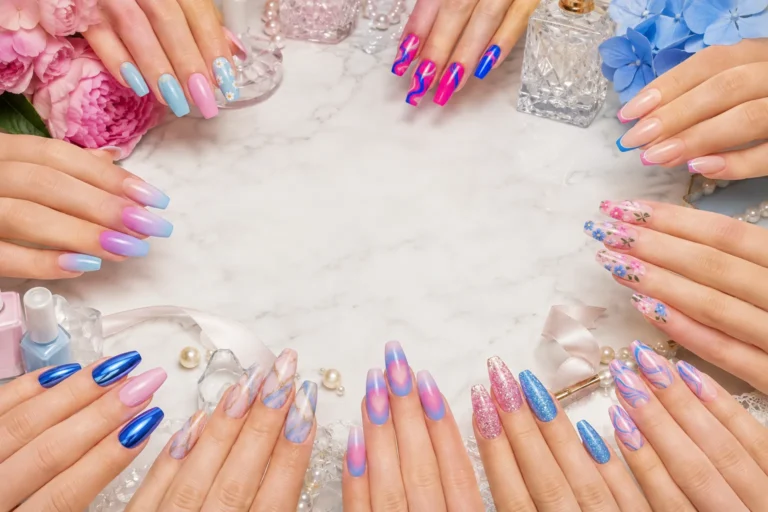
One reason aura nails have become so popular is their versatility. You can pair almost any color combination, making them suitable for every season, special occasion, or personal style. Soft pink and white feel romantic, lavender and blue create a calming vibe, while orange and yellow give off cheerful summer energy.

Supplies You’ll Need
Before starting your manicure, gather all the necessary supplies so the process runs smoothly.
You’ll need:
- Nail file
- Nail buffer
- Cuticle pusher
- Base coat
- White or nude gel polish
- Two aura colors
- Makeup sponge or eyeshadow applicator
- Small nail brush (optional)
- UV/LED lamp (for gel polish)
- Top coat
- Cuticle oil
- Rubbing alcohol for cleanup
Having everything ready before you begin prevents smudging and allows you to work more efficiently.

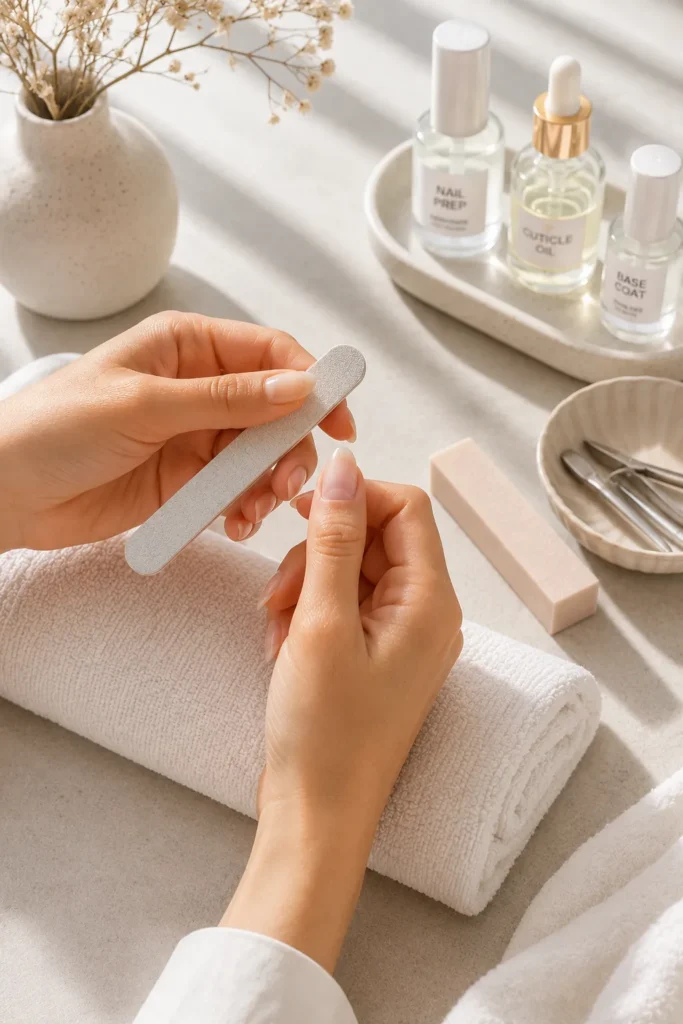
Step 1: Prepare Your Nails
Healthy preparation is the foundation of every beautiful manicure. Remove any old polish, trim and file your nails into your preferred shape, and gently push back your cuticles. Lightly buff the nail surface to remove excess shine so the polish adheres better.
Wash your hands thoroughly to remove dust and oils. Apply a dehydrator or rubbing alcohol before starting. Proper preparation helps prevent lifting, peeling, and early chipping while giving your manicure a smoother finish.
Step 2: Apply the Base Coat
Apply a thin layer of base coat over every nail and cure it under your UV or LED lamp if you’re using gel polish. Avoid applying thick layers because they may wrinkle during curing.
The base coat protects your natural nails from staining while improving the adhesion of your colored polish. Even if you’re using regular polish, don’t skip this important step since it significantly extends the life of your manicure.
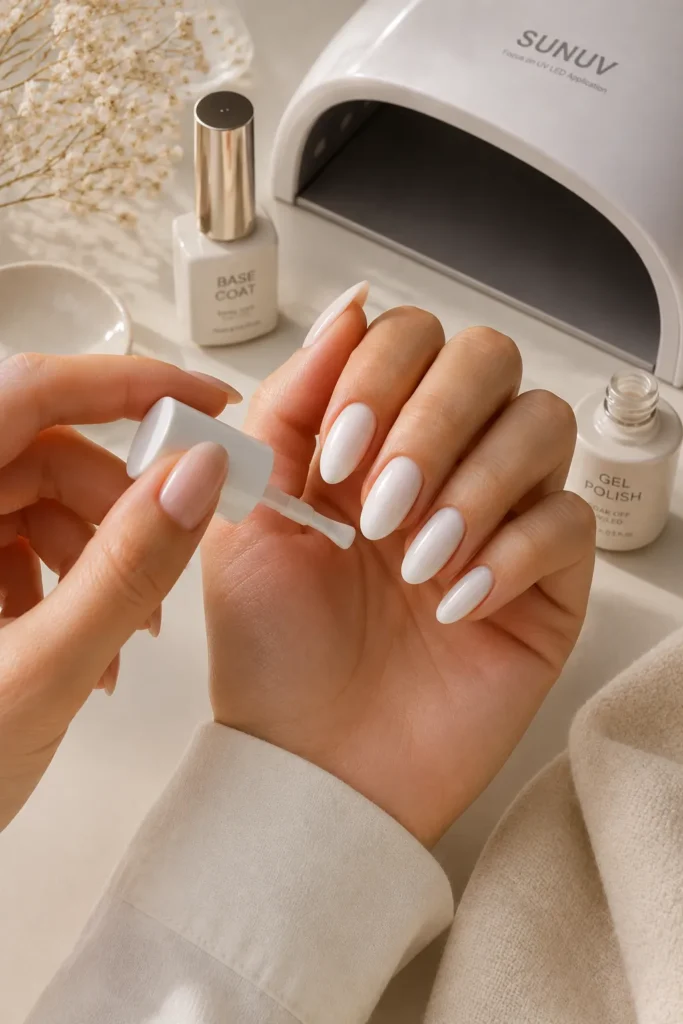
Step 3: Paint Your Base Color
Aura nails usually look best over a white, milky, or nude background. Apply two thin coats of your chosen base color, curing each layer completely before applying the next one.
Thin coats create a smoother finish than one thick application. A bright white base makes vibrant colors pop, while sheer nude shades create a softer, more natural-looking aura effect that’s perfect for everyday wear.
Step 4: Create the Aura Effect
This is where the magic happens. Dab a small amount of your aura color onto a makeup sponge or eyeshadow applicator. Gently tap the color into the center of your nail using light, repeated motions instead of pressing hard.
Gradually build the color until the center becomes more vibrant while the edges remain softly blended. If desired, add a second color slightly overlapping the first to create extra depth. Continue blending until the transition appears smooth and seamless.

Step 5: Refine the Blend
If any edges appear harsh, lightly dab around the outside using a clean sponge or a soft brush. Work slowly to soften the transition without removing too much pigment.
The key to beautiful aura nails is patience. Building multiple thin layers creates a much more natural glow than applying too much polish all at once. Take your time until you’re happy with the finished blend.
Step 6: Cure and Seal
Once you’re satisfied with the aura effect, cure the design completely under your lamp. Then apply a generous but even layer of glossy top coat over every nail.
The top coat smooths the blended colors, enhances the shine, and protects your design from scratches and everyday wear. Cure the top coat according to the manufacturer’s instructions before removing any sticky residue if necessary.

Step 7: Finish with Cuticle Oil
Apply nourishing cuticle oil around each nail and gently massage it into your skin. This final step instantly makes your manicure look healthier and more professional.
Hydrated cuticles frame your nails beautifully while helping maintain healthy nail growth over time. It’s a simple finishing touch that makes a noticeable difference.

Best Color Combinations for Aura Nails
Some beginner-friendly combinations include:
- Baby pink and white
- Lavender and lilac
- Peach and coral
- Sky blue and white
- Mint green and pastel yellow
- Nude and soft brown
- Orange and pink
- Purple and blue
- Sage green and ivory
- Black and neon green
Experimenting with different shades is one of the most enjoyable parts of creating aura nails at home.
Common Mistakes to Avoid
Many beginners use too much polish on the sponge, creating harsh circles instead of soft gradients. Always start with a small amount and gradually build the color.
Another common mistake is skipping proper curing between layers. Uncured polish can wrinkle, smear, or lift. Finally, avoid thick top coats that may distort your blended design. Thin, even layers always produce the cleanest finish.
Tips for Long-Lasting Aura Nails
- Seal the nail tips with every polish layer.
- Apply thin coats instead of thick ones.
- Wear gloves while cleaning.
- Moisturize your cuticles daily.
- Avoid using your nails as tools.
- Reapply cuticle oil every evening.
- Store gel polish away from sunlight.
- Cure each layer completely.
These simple habits help your manicure stay glossy and chip-free for much longer.
Final Thoughts
DIY aura nails may look advanced, but they’re surprisingly beginner-friendly once you understand the blending technique. With a few affordable tools, the right color choices, and some practice, you can create salon-worthy aura nails from the comfort of your home. Start with simple pastel combinations, build your confidence, and experiment with different shades to create unique designs that reflect your personality. The more you practice, the smoother and more professional your aura nails will become.