Beginner’s Guide to Drawing French Tip Nails at Home, Step by Step
French tip nails have remained one of the most timeless and elegant manicure styles for decades. Their clean appearance, versatile design, and sophisticated finish make them suitable for everything from everyday wear to weddings and special events. While many people visit salons to achieve the perfect French manicure, learn drawing French tip nails at home can save money and give you complete creative control.
The good news is that creating beautiful French tips is much easier than most beginners think. With the right tools, a little patience, and a step-by-step approach, anyone can master this classic nail art technique. In this guide, you’ll learn everything you need to know about drawing French tip nails at home, including preparation, shaping, painting techniques, and common mistakes to avoid.
1. Understanding What French Tip Nails Are
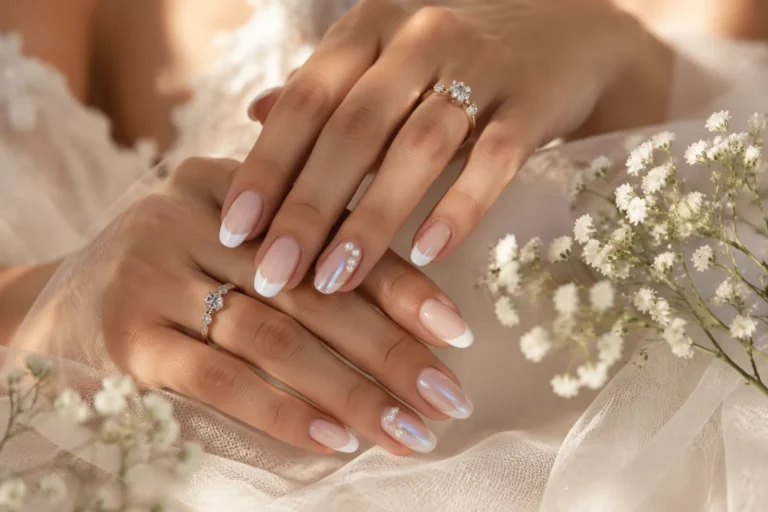
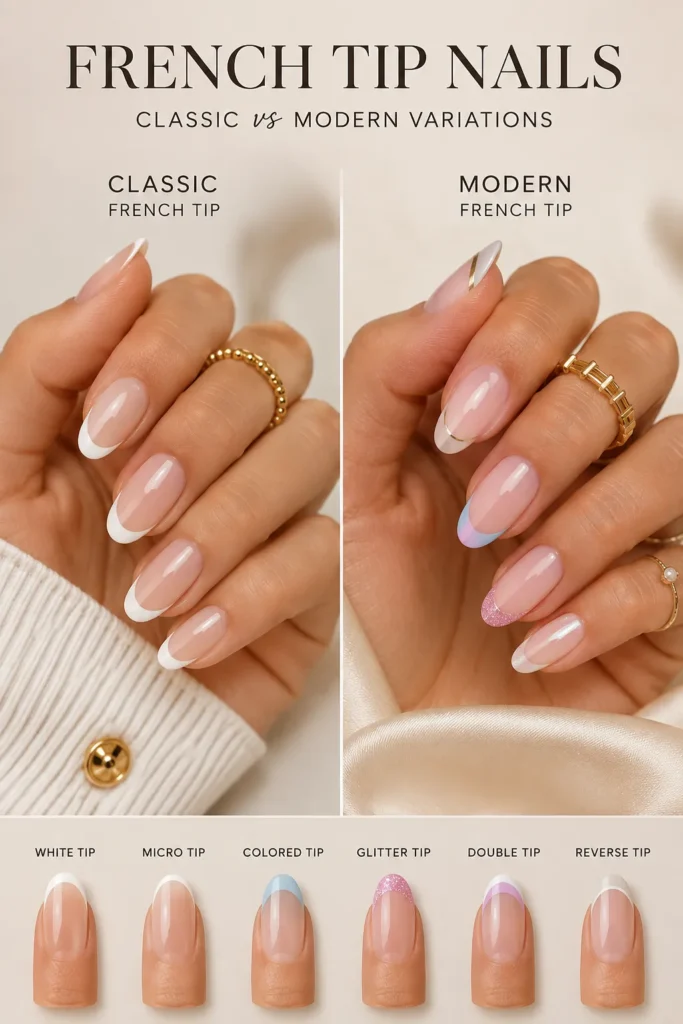
French tip nails are characterized by a natural-looking base paired with a contrasting tip, traditionally painted white. The design creates a clean and polished appearance that enhances the natural beauty of the nails without looking overly dramatic. This classic style remains one of the most requested nail looks worldwide because of its timeless appeal.
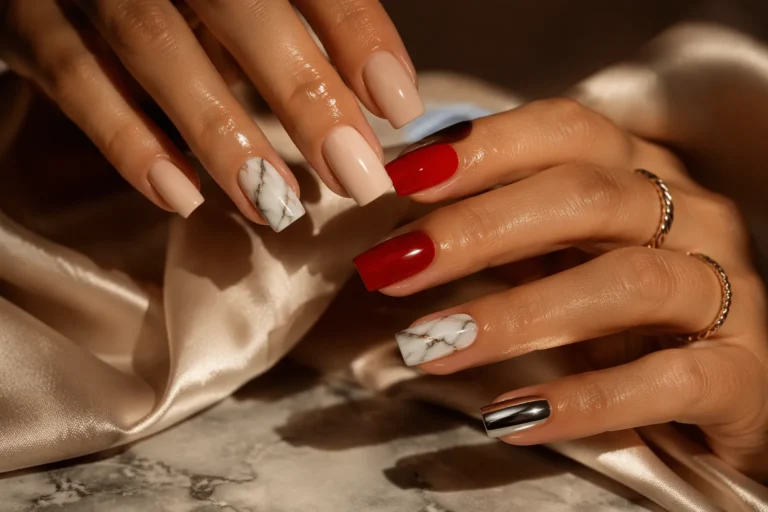
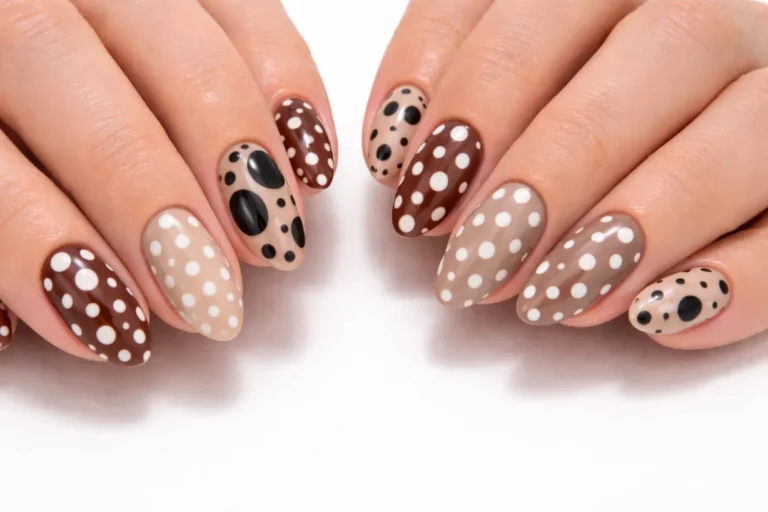
Modern French tips have evolved far beyond the traditional white design. Today, nail enthusiasts experiment with colorful tips, glitter accents, chrome finishes, and artistic variations while maintaining the iconic French tip structure. Understanding the basic design concept is the first step toward creating flawless French tips at home.
2. Gather the Right Nail Art Tools
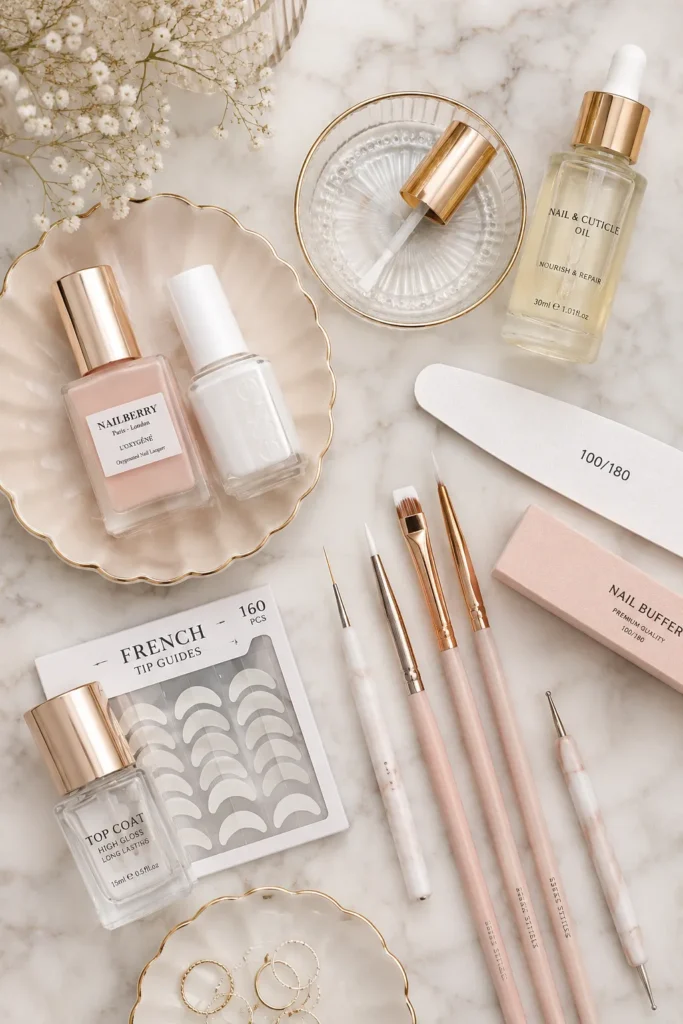
Before starting your French tip manicure, it’s important to gather all necessary supplies. Having the proper tools nearby helps streamline the process and reduces mistakes caused by rushing or improvising. A well-prepared workstation also makes the experience more enjoyable and professional.
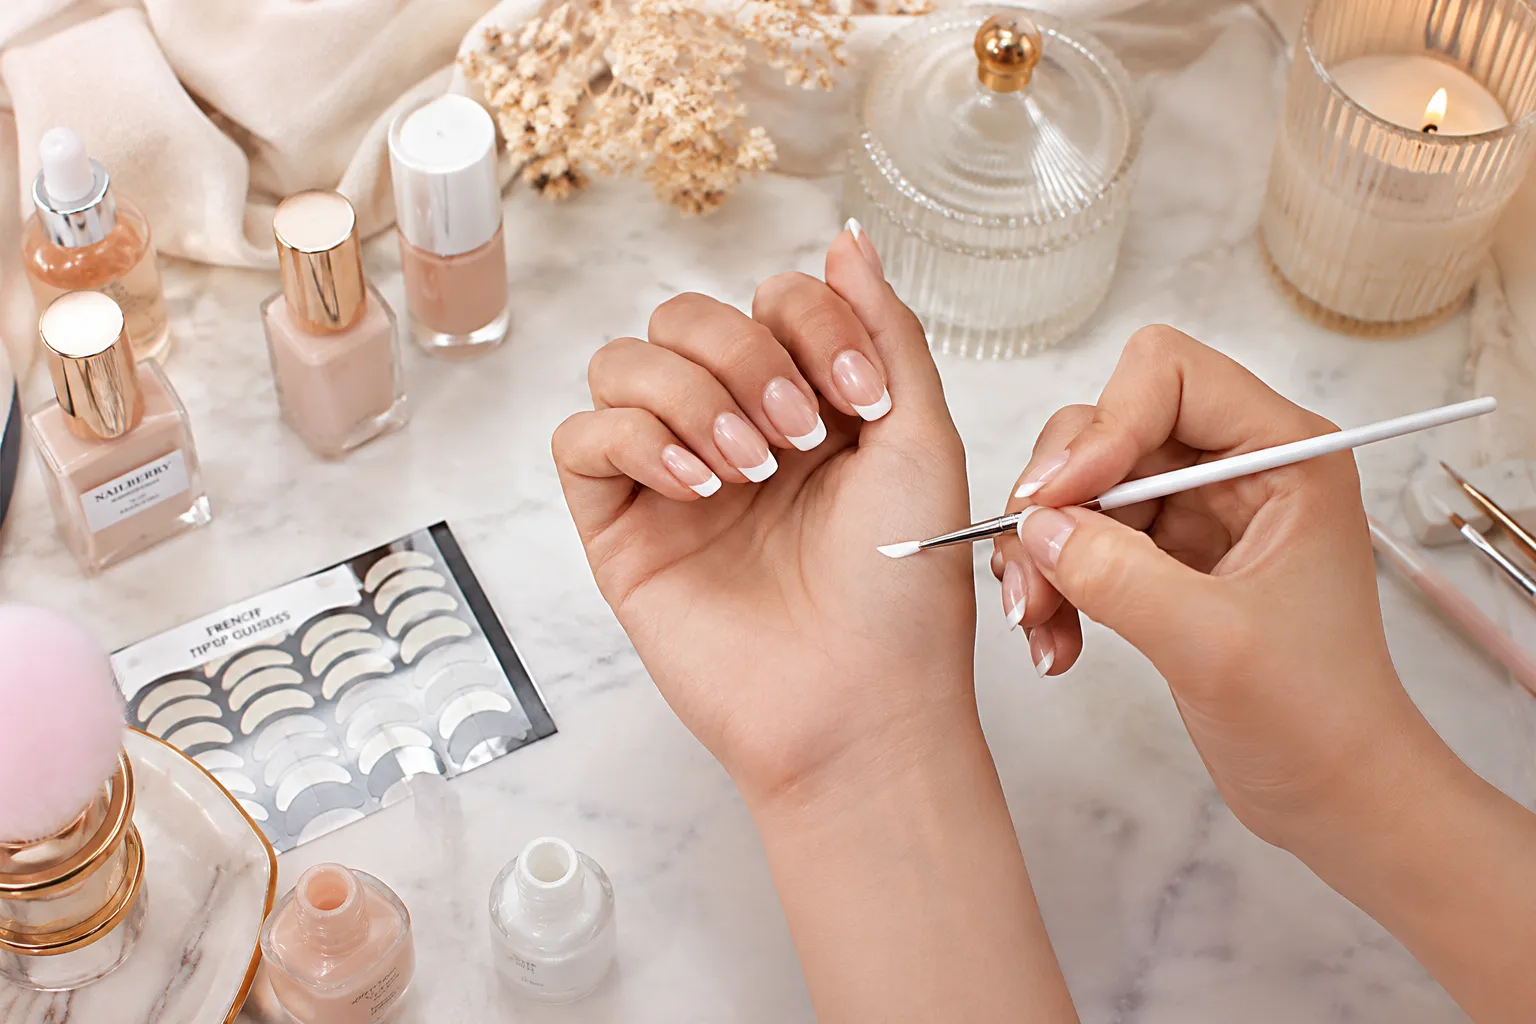
Essential items include a nail file, buffer, base coat, nude or pink nail polish, white nail polish, detail brush, French tip guides, cotton swabs, nail polish remover, and a quality top coat. Beginners often find French tip stickers especially helpful because they create clean lines and make the drawing process significantly easier.
3. Prepare Your Nails for a Smooth Application
Proper nail preparation is one of the most important steps in achieving salon-quality French tips. Even the most precise design can appear uneven if the nail surface is rough or improperly shaped. Taking a few extra minutes for preparation greatly improves the final result.
Start by removing old polish and cleaning your nails thoroughly. Trim and file each nail into your desired shape, whether square, almond, oval, or coffin. Gently buff the surface to create a smooth canvas and push back your cuticles for a neat appearance. Clean nails allow polish to adhere more effectively and last longer.

4. Apply the Perfect Base Color
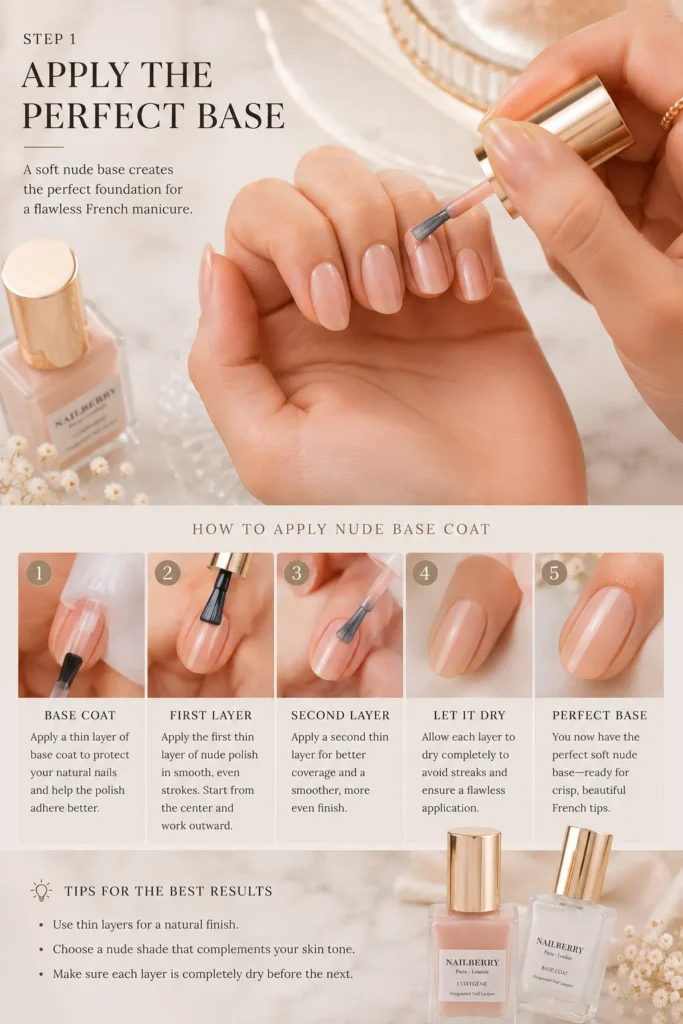
The base color serves as the foundation of your French manicure and helps create the elegant, natural appearance associated with this style. Traditional French nails typically feature sheer pink, beige, nude, or soft peach tones that complement the skin.
Apply a thin layer of base coat first to protect your natural nails and improve polish longevity. Once dry, apply two thin coats of your chosen nude shade, allowing each layer to dry completely before adding another. Thin layers prevent streaking and create a smoother finish for the French tip design.
5. Learn How to Draw a Basic French Tip
Drawing the tip is often the most intimidating part for beginners, but it becomes much easier with practice. The key is to create a smooth curved line that follows the natural smile line of the nail. This curve gives French tips their elegant and balanced appearance.
Using a thin nail art brush, start from one side of the nail and gently draw the curve toward the center. Repeat from the opposite side until the lines connect smoothly. Once the outline is complete, fill in the tip with white polish using controlled strokes. Work slowly and focus on consistency rather than speed.

6. Use French Tip Guides for Better Accuracy
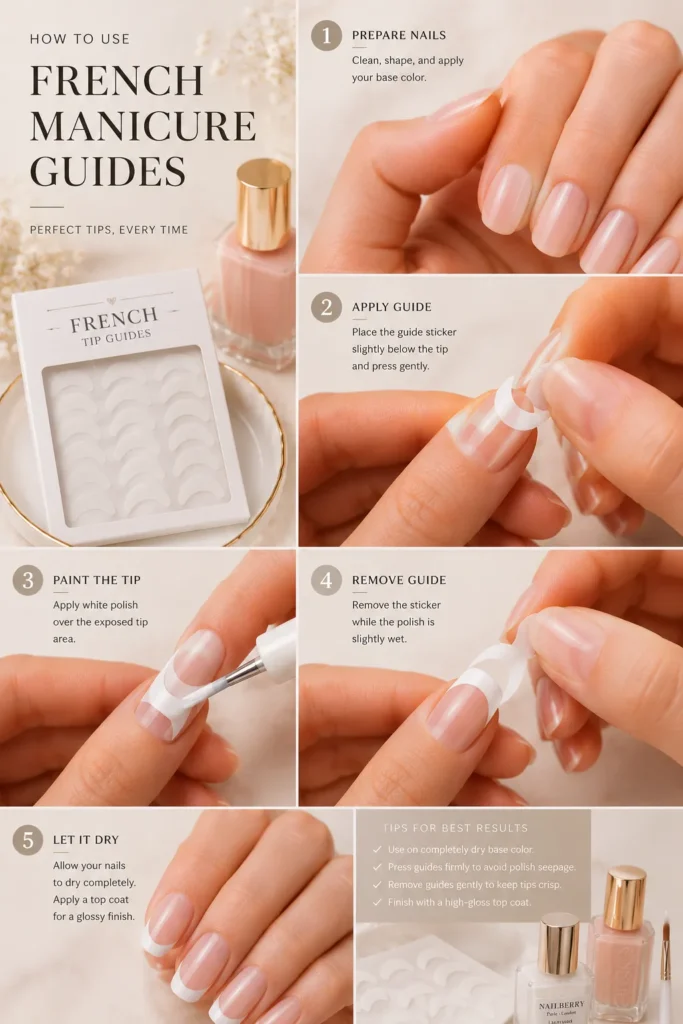
French tip guides are excellent tools for beginners who struggle with drawing freehand lines. These small adhesive stickers help create perfectly even curves and reduce the chances of uneven edges. They are especially useful when learning the basics of French manicure application.
Place the guide slightly below the nail tip, ensuring it adheres firmly to the surface. Paint the exposed tip area with white polish and allow it to become slightly tacky before carefully removing the guide. This technique often produces cleaner results than freehand drawing and builds confidence for future attempts.
7. Correct Mistakes Like a Professional
Mistakes are a natural part of learning any nail art technique. Even experienced nail artists occasionally need to clean up uneven edges or correct minor imperfections. Understanding how to fix mistakes can dramatically improve your final manicure.
Dip a small angled brush into nail polish remover and carefully trace along the edges of the French tip. This technique sharpens the smile line and removes excess polish. Cotton swabs can also help clean larger mistakes, but precision brushes typically offer greater control for detailed corrections.

8. Experiment with Different French Tip Styles
Once you’ve mastered traditional French tips, you can begin exploring creative variations. Modern French manicures offer endless opportunities to personalize the design while maintaining the classic elegance that makes French tips so popular.
Popular options include colorful French tips, glitter French tips, reverse French manicures, chrome accents, ombre French designs, and double-lined tips. Experimenting with different styles allows you to develop your skills while discovering designs that match your personal aesthetic and seasonal trends.

9. Seal Your Design with a Long-Lasting Top Coat
A top coat is essential for protecting your French manicure and enhancing its overall appearance. Without proper sealing, even beautifully drawn French tips may chip, dull, or wear prematurely. Investing in a quality top coat can significantly extend the life of your manicure.
Apply a thin, even layer over the entire nail, making sure to seal the free edge. This helps prevent chipping while adding a glossy, salon-quality finish. For extra durability, consider applying an additional top coat every few days to maintain shine and protection.

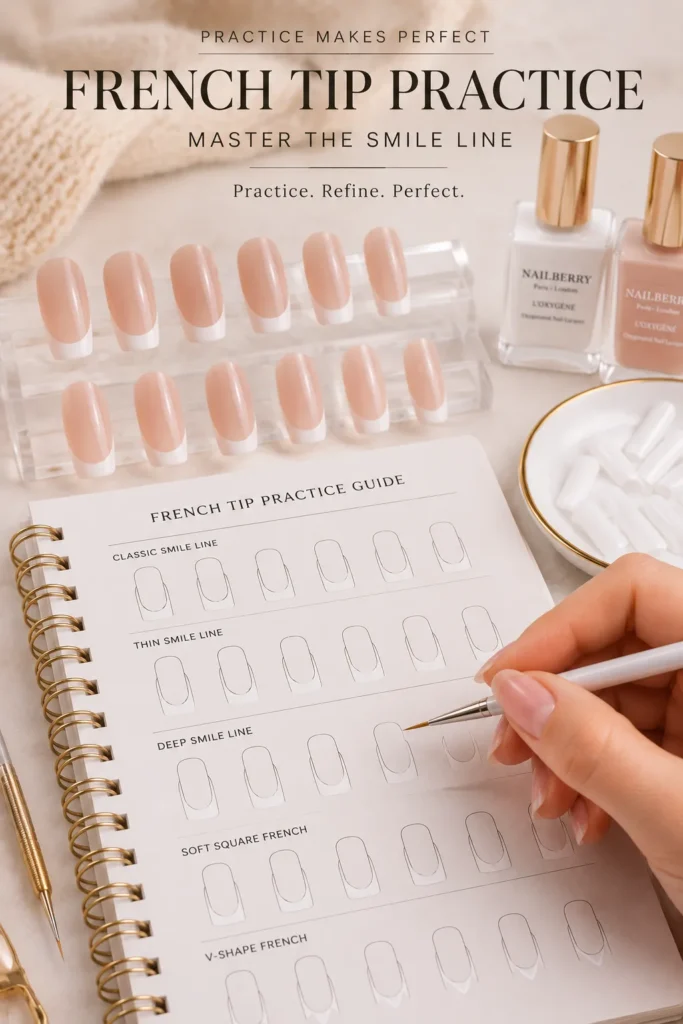
10. Practice Tips to Improve Your French Tip Skills
Like any artistic technique, drawing French tip nails improves with repetition and patience. Most beginners notice significant progress after only a few practice sessions. The goal is not perfection immediately but consistent improvement over time.
Practice drawing smile lines on paper before working on your nails. Try different brushes and techniques to determine which method feels most comfortable. Taking photos of your progress can also help identify areas for improvement and motivate you as your skills develop.
Final Thoughts
Learning how to draw French tip nails at home is a rewarding skill that combines creativity with timeless beauty. While the process may seem challenging at first, the right tools, proper preparation, and consistent practice make it achievable for beginners of all skill levels.
Whether you choose traditional white tips or modern colorful variations, French manicures offer endless possibilities for elegant nail art. By following the steps outlined in this guide, you’ll be well on your way to creating beautiful, salon-worthy French tip nails from the comfort of your own home.