Easy Bow Nail Art Tutorial: Learn How to Draw a Bow on Your Nails
Bow nail art has become one of the most popular nail design trends thanks to its feminine, elegant, and playful appearance. From soft coquette-inspired manicures to classy bridal nail designs, bows can instantly elevate even the simplest manicure. The design is versatile enough to work with pastel colors, French tips, glitter nails, and minimalist nail art styles.
Many beginners assume bow nail art is difficult to create, but the truth is that a simple bow can be drawn using a few basic shapes and a steady hand. With the right tools and techniques, anyone can learn how to create beautiful bow nail designs at home. This tutorial will guide you through every step so you can confidently add charming bows to your next manicure.
1. Gather the Right Nail Art Tools Before You Start
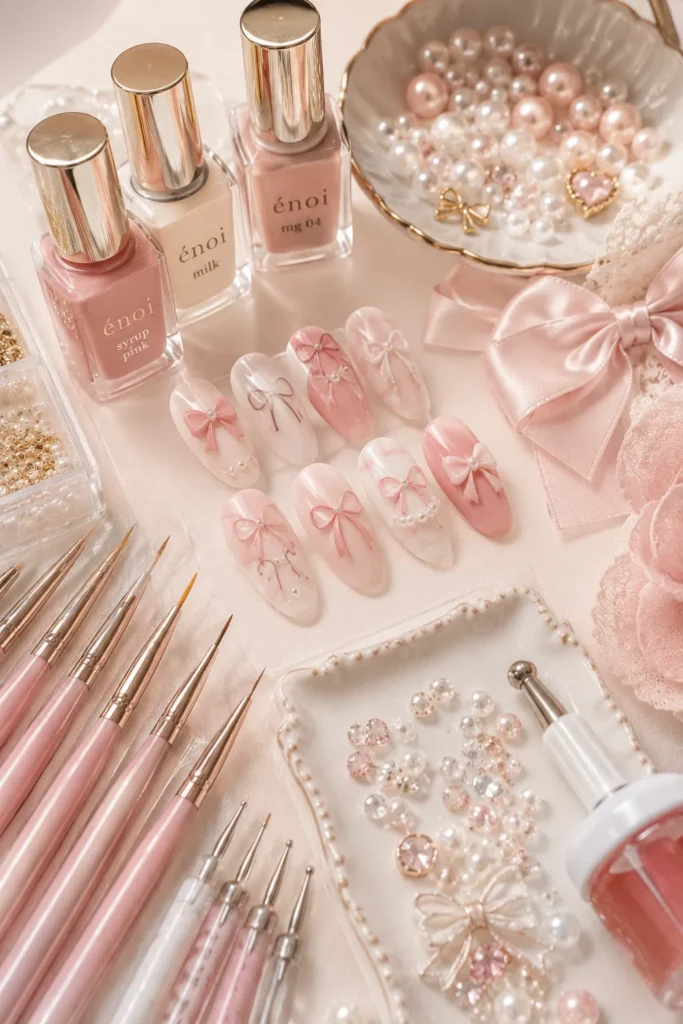
Before creating bow nail art, it is important to prepare the necessary tools. Using proper nail art supplies makes the process easier and helps you achieve cleaner, more professional-looking results. While beginners can start with basic items, investing in a few quality tools can significantly improve your designs. A thin detailing brush is one of the most important tools for drawing bows. It allows you to create smooth curves, delicate lines, and precise ribbon details. You should also have a dotting tool, base coat, top coat, nail polish remover, and your preferred nail polish colors. Keeping everything organized before you begin helps avoid mistakes and interruptions during the design process.
Choosing the right polish consistency is also important. Nail polish that is too thick can make bow details appear uneven and bulky. Thin, smooth formulas are easier to control and produce cleaner lines. Many nail artists prefer gel polish because it offers more working time before curing. Having a cleanup brush nearby can save a lot of frustration. Small mistakes are common when learning bow nail art, and a cleanup brush dipped in remover allows you to quickly perfect your design. These simple preparations help create a much smoother nail art experience.
2. Prepare Your Nails for a Smooth Canvas
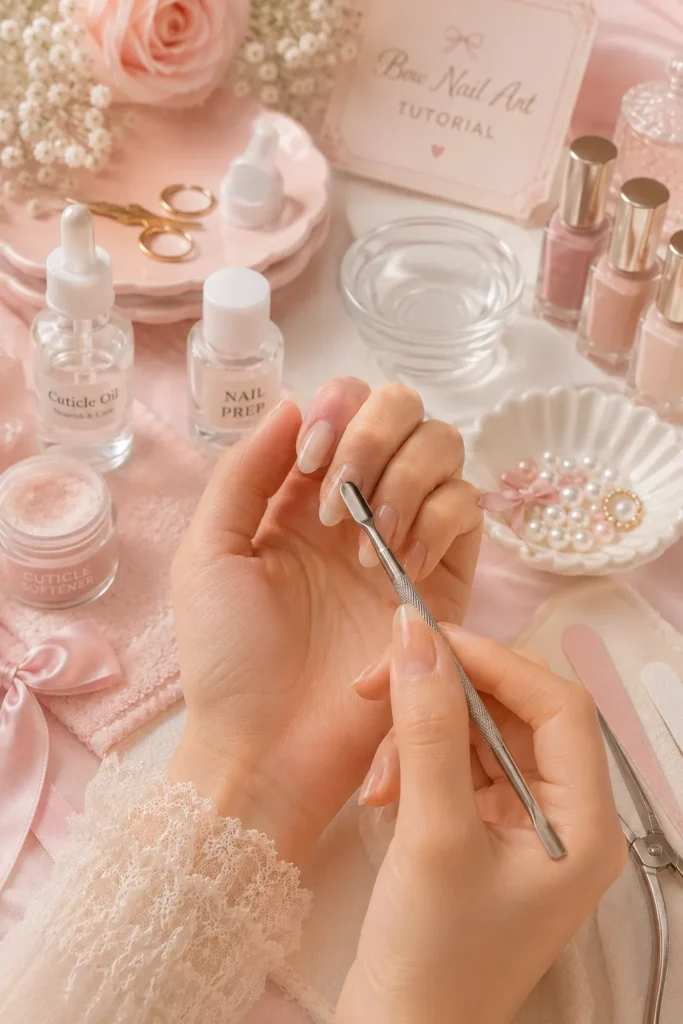
Beautiful nail art always starts with proper nail preparation. Even the most detailed bow design can look less impressive if applied to uneven or poorly prepared nails. Taking a few extra minutes to prepare your nails creates a cleaner and longer-lasting manicure. Begin by removing any old nail polish and washing your hands thoroughly. Trim and shape your nails according to your preferred style. Almond, oval, and squoval shapes are especially popular for bow nail art because they provide enough space for detailed designs without looking overcrowded.
After shaping, gently push back your cuticles and buff the nail surface. This creates a smooth canvas for polish application and helps prevent lifting. Applying a high-quality base coat protects the natural nail while improving polish adhesion. Proper preparation also helps your finished manicure last longer. When nails are clean and oil-free, polish adheres more effectively and becomes less likely to chip. A strong foundation ensures your beautiful bow designs remain intact for days.
3. Choose a Base Color That Complements Bow Designs
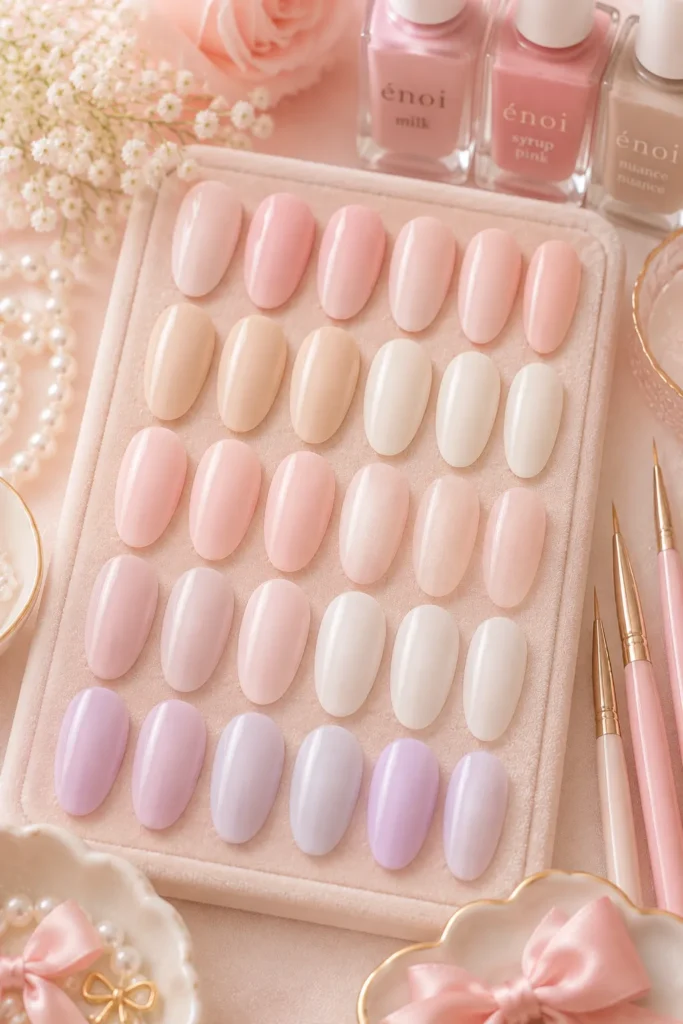
The base color serves as the background for your bow artwork, so choosing the right shade is an important step. Certain colors naturally enhance the soft and feminine look associated with bow nail art, making the design stand out beautifully. Soft pink, milky white, nude beige, lavender, and baby blue are among the most popular choices. These shades create a delicate backdrop that allows bows to become the focal point of the manicure. They are particularly popular for coquette-inspired and romantic nail aesthetics.
For a bolder look, consider deeper shades such as burgundy, navy, black, or emerald green. A contrasting bow color placed over a dark background can create a dramatic and sophisticated appearance. This style works especially well during fall and winter seasons. When selecting colors, always consider visibility. If the bow and background are too similar in shade, important details may become difficult to see. Choosing colors with enough contrast helps showcase your hard work and makes the design more visually appealing.
4. Understand the Basic Structure of a Bow
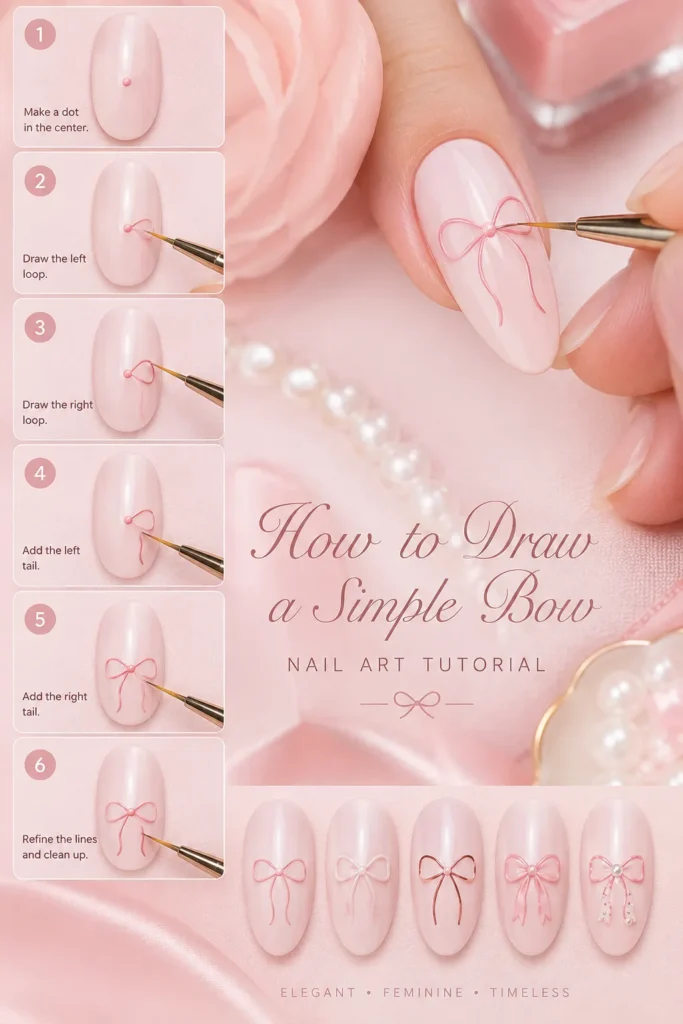
Every bow nail design is built around a simple structure. Understanding this structure makes it easier to create symmetrical and attractive bows without feeling overwhelmed. Once you master the basic shape, you can experiment with countless variations. Start by visualizing the bow as three separate parts. The first part is the center knot, which acts as the focal point. The second part consists of two loops extending from either side of the knot. The third part includes the ribbon tails that hang below the loops.
Drawing bows becomes much easier when you focus on these individual sections rather than trying to complete the entire design at once. Creating each component separately allows for better control and more balanced results. Practice drawing bows on paper before moving to your nails. Repeating the basic shape several times helps build muscle memory and confidence. Many beginners find that a little practice off the nail dramatically improves their final manicure.
5. Draw Your First Bow Step by Step
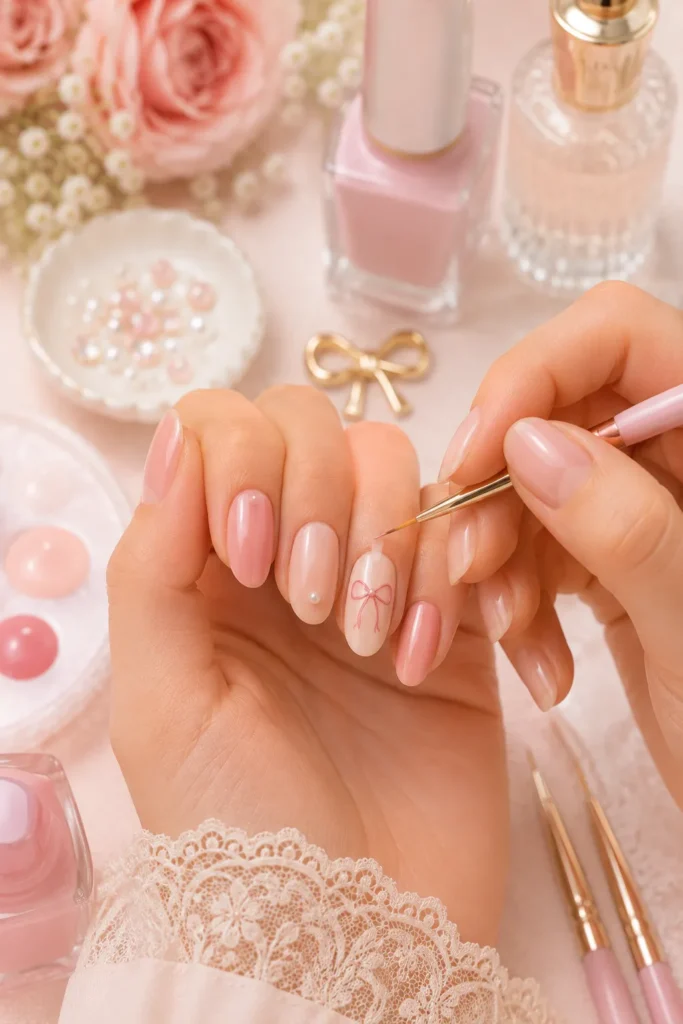
Creating your first bow may seem intimidating, but breaking the process into small steps makes it much more manageable. Start by placing a tiny dot in the center of the nail. This dot will serve as the knot and help guide the rest of the design. Using a thin nail art brush, draw one curved loop extending from the left side of the knot. Repeat the same shape on the right side. Try to keep both loops similar in size and shape so the bow appears balanced and symmetrical.
Once the loops are complete, add two ribbon tails underneath. These can be created using simple angled strokes that extend downward from each loop. Keep the tails relatively short to maintain a delicate appearance. Allow the design to dry before making adjustments. If necessary, use a cleanup brush to sharpen edges or correct uneven lines. With patience and practice, even beginners can create charming bow nail art that looks surprisingly professional.
6. Add Details to Make the Bow Look Realistic
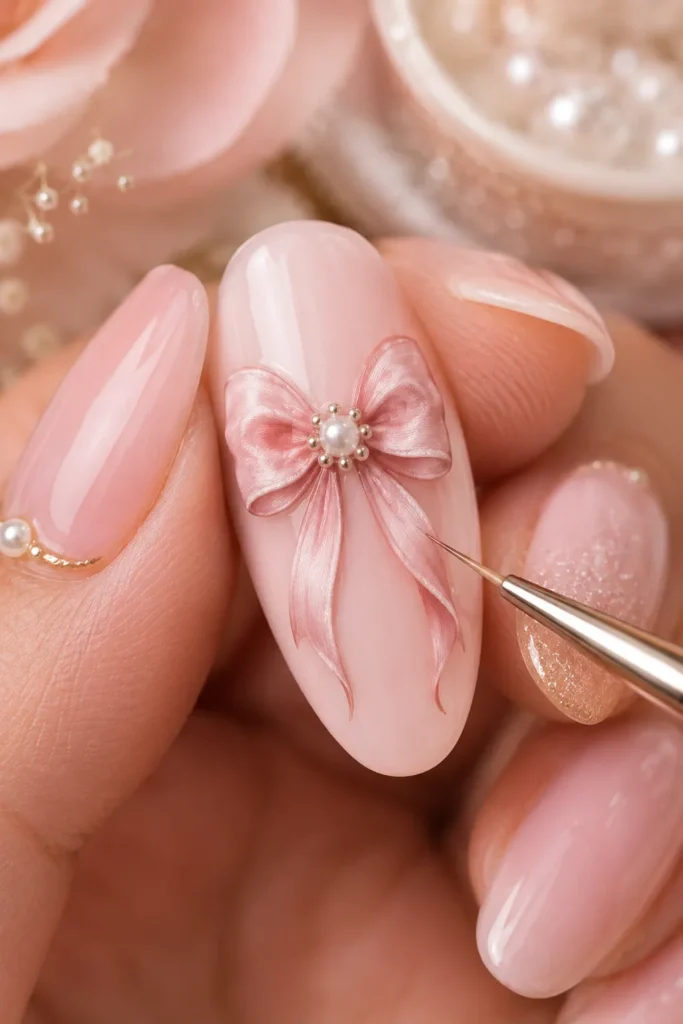
After mastering the basic shape, you can enhance your bows with small details that create a more realistic appearance. These finishing touches add dimension and make the design look more sophisticated without requiring advanced skills. One simple technique is adding crease lines inside each loop. Real bows naturally fold and curve, and these small lines help mimic that effect. A few carefully placed strokes can instantly make your bow look more three-dimensional.
Outlining the bow with a contrasting color is another effective technique. Thin outlines help define the shape and make the design stand out against the background. This works particularly well on lighter base colors. Highlights and shadows can also create depth. Adding a tiny highlight near the knot or a subtle shadow beneath the loops gives the illusion of texture. These details may seem small, but they can dramatically improve the final result.
7. Explore Different Bow Nail Art Styles
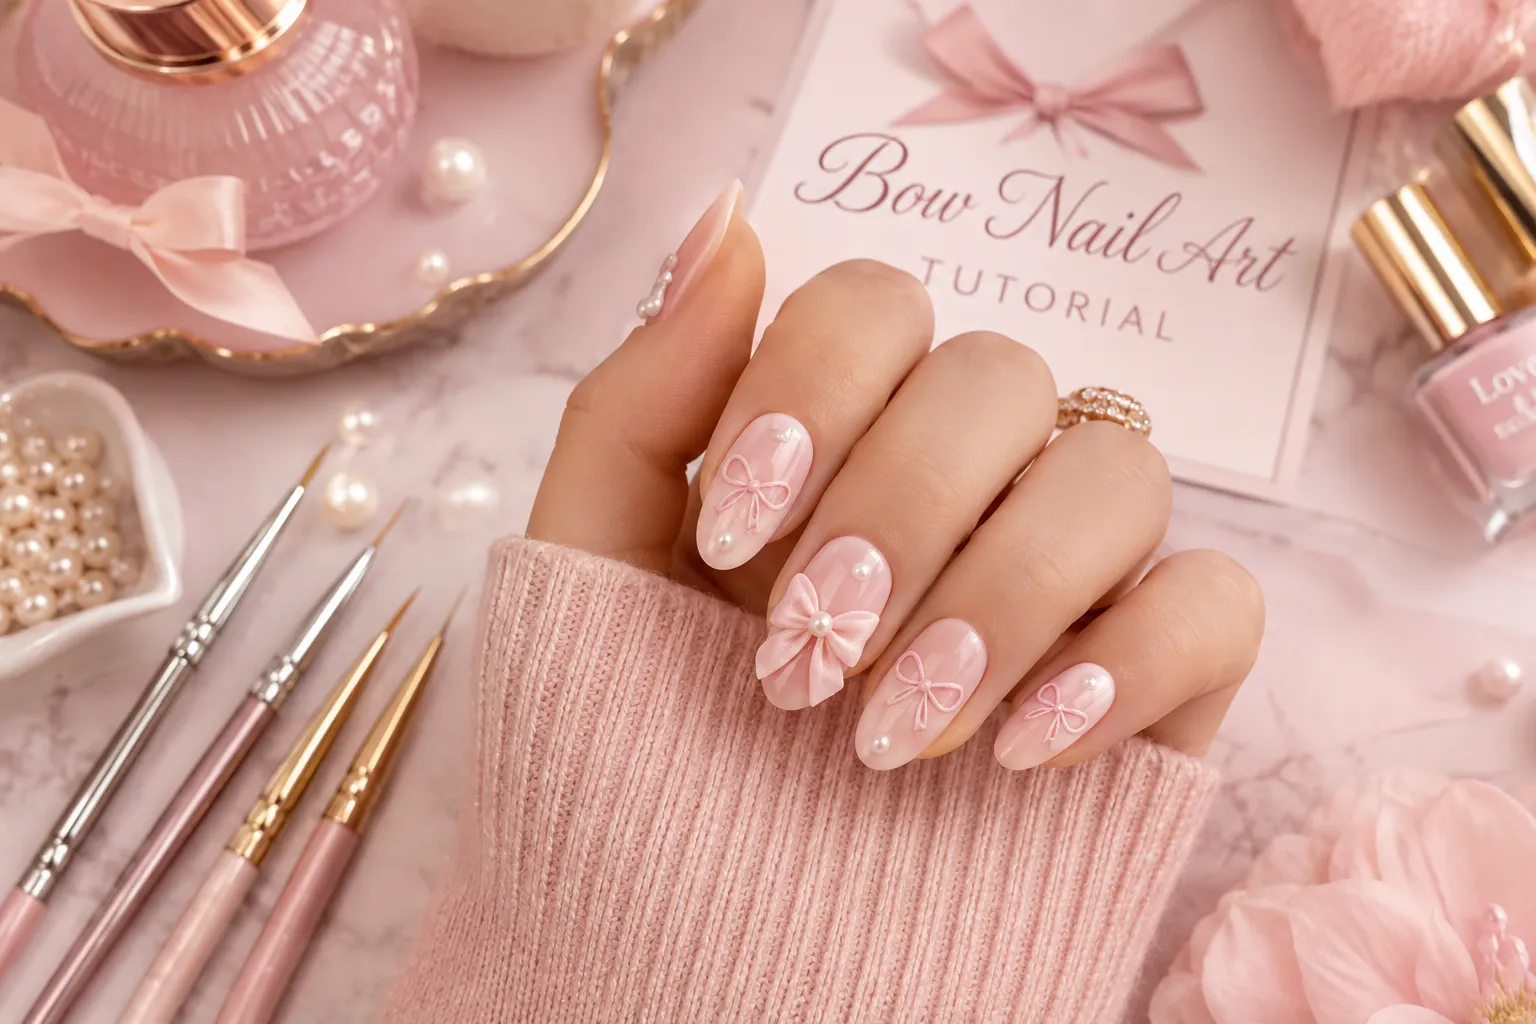
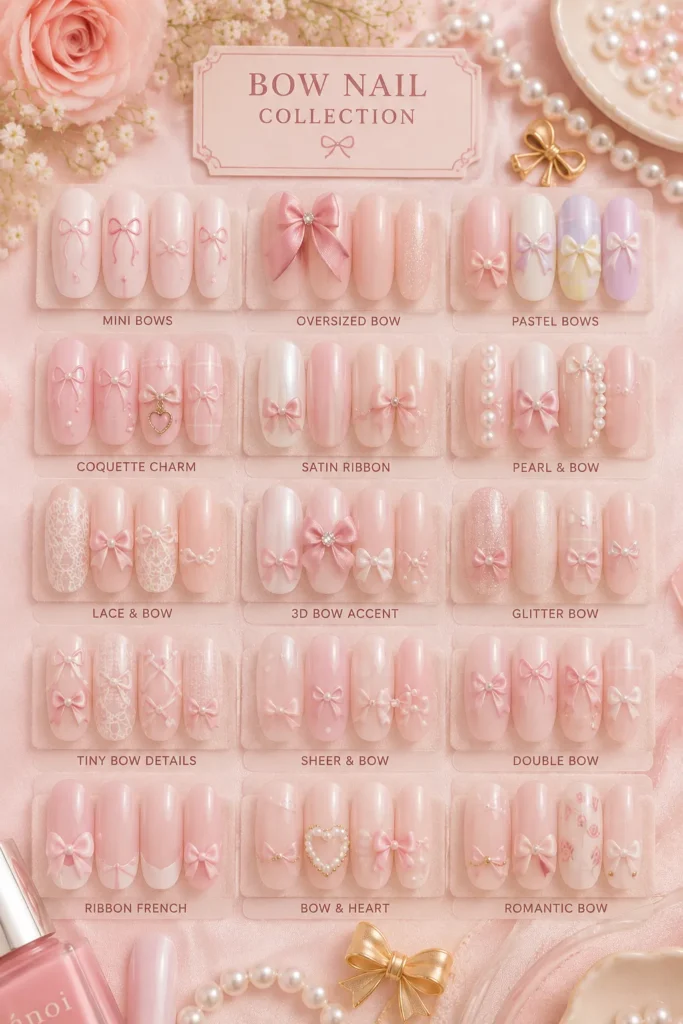
Once you become comfortable with basic bows, you can start experimenting with creative variations. Bow nail art offers endless possibilities, making it easy to customize your manicure for different occasions and personal styles. Mini bows scattered across multiple nails create a playful and youthful look. This style works beautifully with pastel shades and spring-inspired manicures. The small bows add charm without overwhelming the overall design.
Larger statement bows on accent nails create a bold and fashionable appearance. Pairing oversized bows with simple surrounding nails helps maintain balance while allowing the design to stand out. This approach is popular for special events and social media-worthy manicures. You can also combine bows with other nail trends such as French tips, floral art, glitter gradients, pearls, and chrome finishes. Mixing design elements creates unique nail art that feels fresh and personalized.
8. Decorate Bows with Pearls, Rhinestones, and Glitter
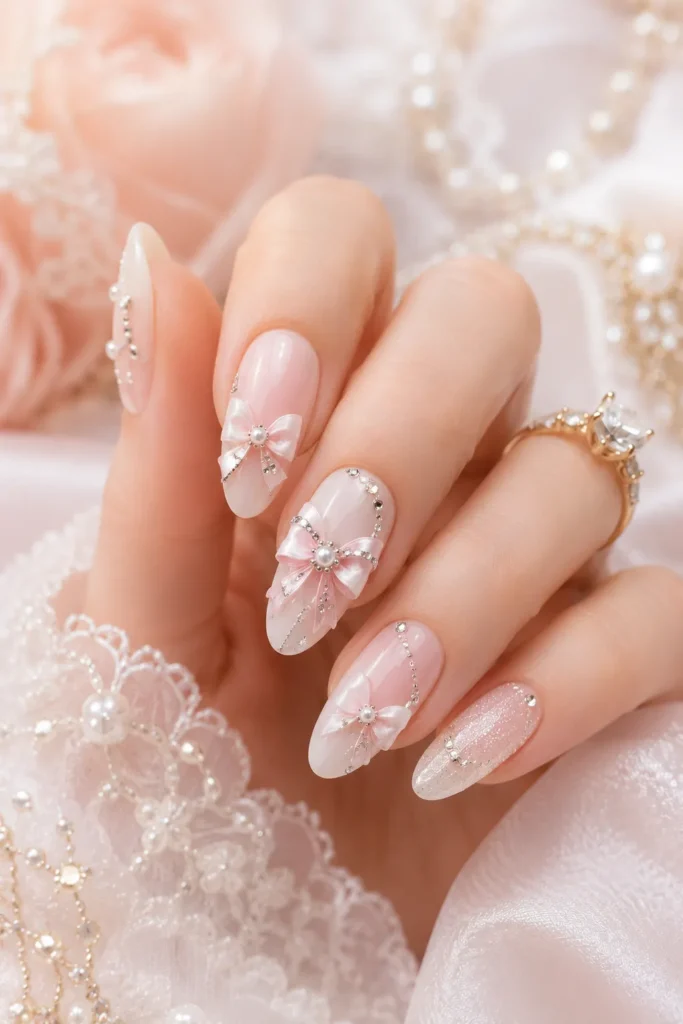
Adding embellishments is one of the easiest ways to elevate bow nail art. Decorative accents create a luxurious appearance and transform a simple design into something that looks salon-worthy. Tiny pearls placed at the center knot are especially popular. They enhance the feminine aesthetic while adding subtle elegance. Pearl-centered bows are commonly seen in bridal manicures and romantic nail designs.
Rhinestones can add sparkle and glamour to the design. A single crystal placed strategically can catch the light beautifully without overwhelming the manicure. For extra drama, use multiple stones around the bow. Glitter accents are another fun option. Whether applied to the loops, tails, or background, glitter creates a playful and eye-catching effect. These decorative elements allow you to personalize your bow nail art while adding visual interest.
9. Avoid Common Mistakes When Drawing Bows
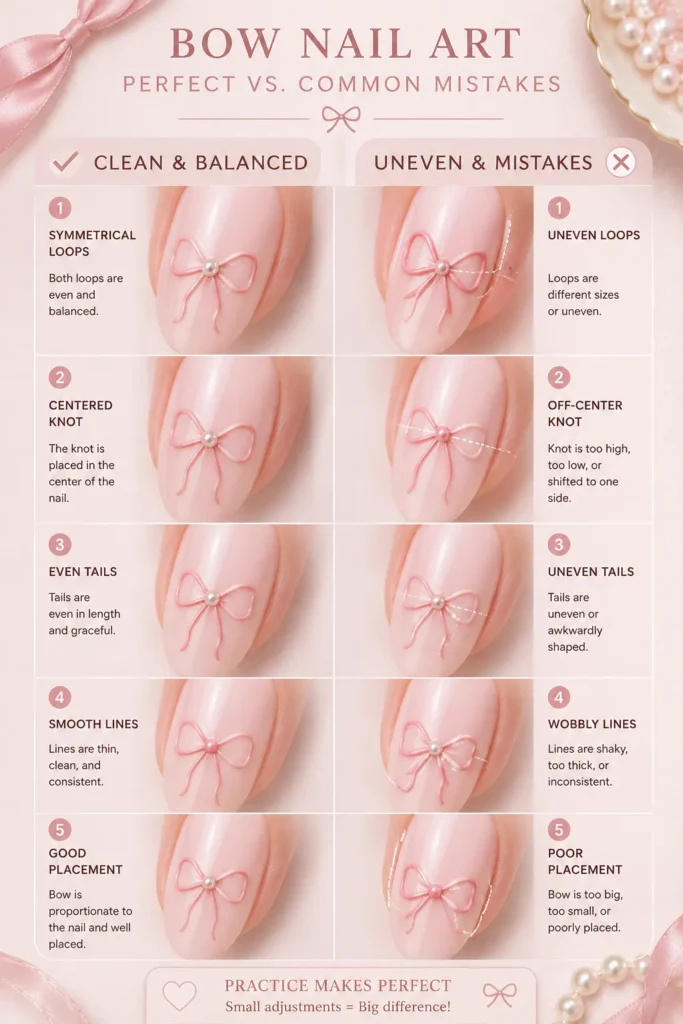
Many beginners struggle with the same mistakes when learning bow nail art. Understanding these common issues can help you improve faster and achieve cleaner results from the start. One frequent mistake is making the loops too large. Oversized loops can crowd the nail and make the design appear messy. Starting with smaller bows allows for better control and a more elegant final look.
Another issue is uneven symmetry. Because bows are naturally balanced shapes, noticeable differences between the two loops can affect the appearance of the design. Taking your time and working slowly helps maintain consistency. Rushing the drying process can also lead to smudges and imperfections. Allow each layer to dry properly before adding details or applying top coat. Patience is one of the most valuable skills in nail art.
10. Seal Your Design for Long-Lasting Results
The final step in creating beautiful bow nail art is sealing everything with a quality top coat. This protective layer locks in the design and helps prevent chips, scratches, and premature wear. Apply the top coat carefully over the entire nail surface, making sure to cover all bow details. A smooth application enhances shine and creates a polished, professional finish. Glossy top coats are especially popular because they make colors appear more vibrant.
For added durability, reapply top coat every few days. This simple maintenance step can significantly extend the life of your manicure and keep your bow designs looking fresh. Proper aftercare also matters. Wearing gloves while cleaning and avoiding excessive exposure to harsh chemicals can help preserve your nail art. With the right protection, your bow manicure can remain beautiful for well over a week.

Final Thoughts
Bow nail art is a timeless design that combines elegance, creativity, and charm. While it may seem challenging at first, learning the basic bow structure and practicing simple techniques can quickly build your confidence. The more you practice, the easier it becomes to create neat, balanced, and stylish bows.
Whether you prefer minimalist accent bows, glamorous pearl-centered designs, or trendy coquette-inspired manicures, bow nail art offers endless opportunities for creativity. With the tips and techniques in this tutorial, you’ll be ready to create beautiful bow nail designs that look polished, fashionable, and completely Pinterest-worthy.