
How to Shape Your Nails at Home Like a Salon Pro
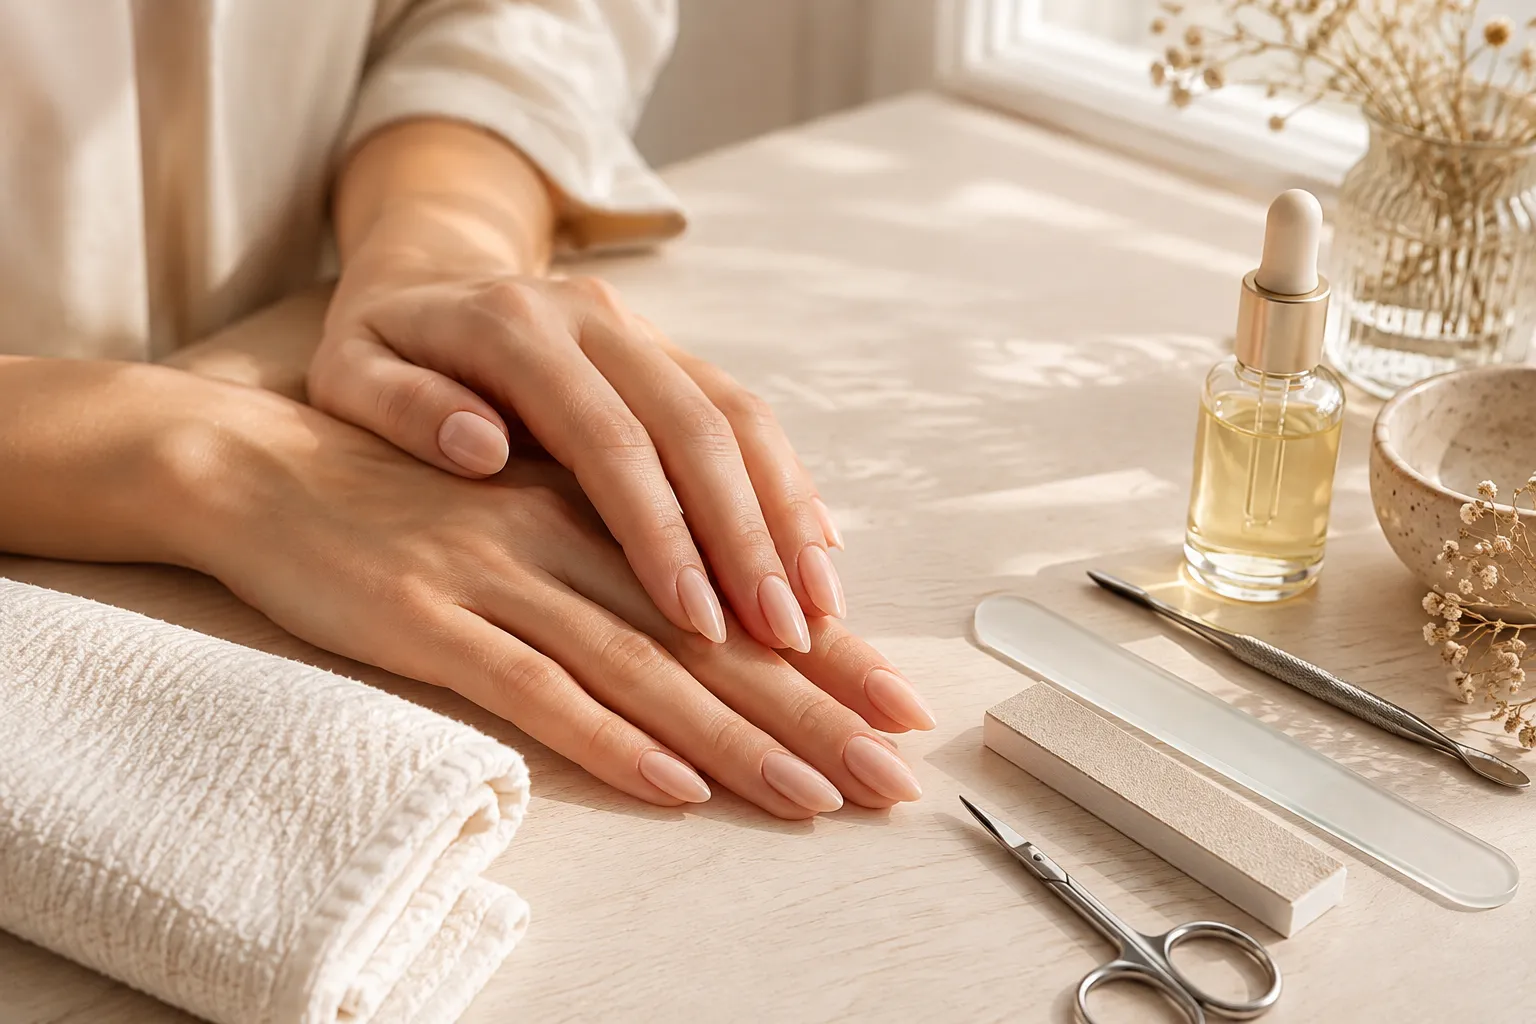
Shaping your nails correctly can completely change the appearance of your hands. A clean, balanced nail shape makes even a simple manicure look polished, while uneven filing can make nails appear shorter, wider, or less symmetrical. The good news is that you do not need a professional nail salon to achieve a beautiful shape. With the right tools, technique, and a little patience, you can learn how to shape your nails at home like a salon pro.
Whether you prefer almond, square, oval, squoval, or round nails, the basic process is similar. The key is to work slowly, keep both sides balanced, and choose a shape that complements your natural nail length and finger structure. This guide walks you through everything from preparing your nails to refining the final shape.
Why Proper Nail Shaping Matters
Nail shaping is more than simply filing the edges until they look neat. The shape you create affects how long and elegant your fingers appear and can also influence how easily your nails grow without splitting or breaking. A properly shaped nail has smooth edges, balanced sides, and a consistent appearance across both hands.
Professional nail technicians usually work gradually instead of removing a large amount of nail at once. This makes it easier to maintain symmetry and prevents accidentally filing the nails too short. When shaping your nails at home, patience is one of the most important tools you can have.
Tools You Need to Shape Your Nails at Home
Before starting, gather a few simple manicure tools. You will need a quality nail file, preferably one with a suitable grit for natural nails, along with a nail buffer if you want to smooth the surface afterward. A nail clipper can be useful if you need to significantly shorten the nails before filing.
You may also want a cuticle pusher, cuticle oil, hand cream, and a small nail brush. Avoid using overly aggressive files because they can create unnecessary friction and weaken natural nails. Keeping your tools clean is equally important, especially when they are used regularly.
Step 1: Start With Clean, Dry Nails
Begin by removing any old nail polish and washing your hands. Dry your nails thoroughly before you begin filing. Although soaking nails can make them temporarily softer, shaping very wet nails can make it harder to judge their natural length and may contribute to uneven results.
Take a moment to examine every nail from different angles. Look for cracks, peeling areas, uneven lengths, or corners that need extra attention. If one nail is considerably longer than the others, decide whether you want to shorten the entire set for a uniform manicure.
Step 2: Decide Which Nail Shape Suits You
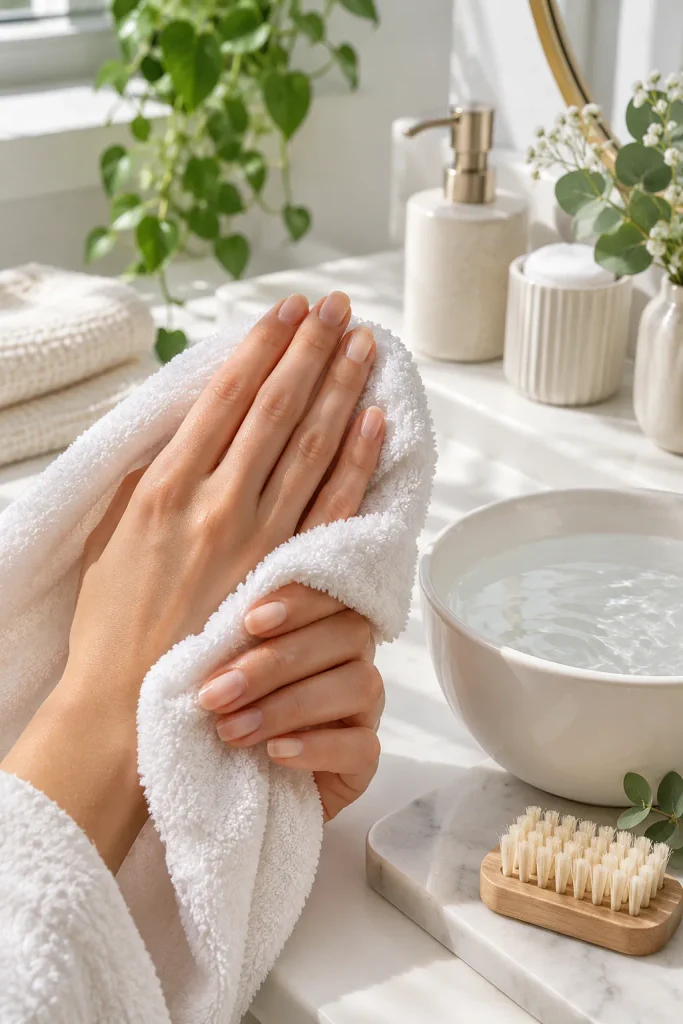
Choosing a nail shape before you start filing will make the process much easier. Round nails follow the natural curve of the fingertip and are practical for shorter nails. Square nails have straight sides and a flat tip, creating a crisp modern appearance.
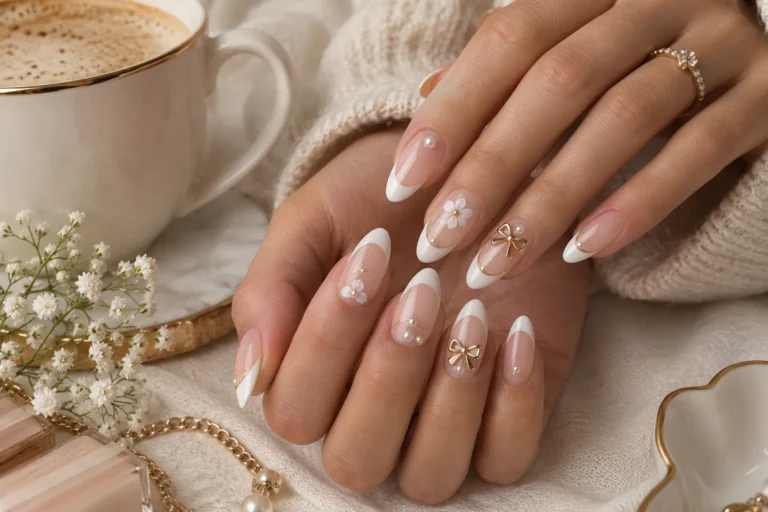
Squoval nails combine the structure of square nails with softly rounded corners, making them a versatile everyday choice. Oval nails have tapered sides and a softly rounded tip, while almond nails taper more noticeably toward a rounded point. Almond and oval shapes can create the visual effect of longer, more elegant fingers.
Step 3: Establish the Desired Length
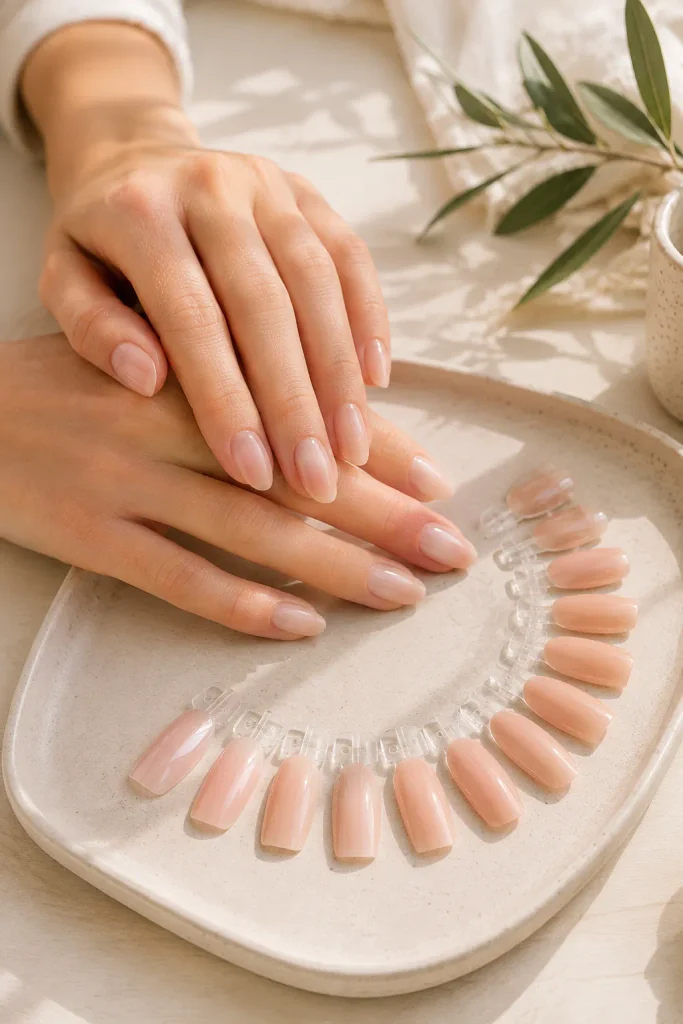
If your nails need to be shortened, use a nail clipper carefully or file away the excess length gradually. Avoid taking off too much at once. It is much easier to shorten a nail further than to correct one that has accidentally become too short.
Try comparing your nails against one another rather than relying only on a ruler or exact measurement. Natural nails do not always grow at identical angles, so visual balance is often more important than making every nail exactly the same length.
Step 4: File the Sides First
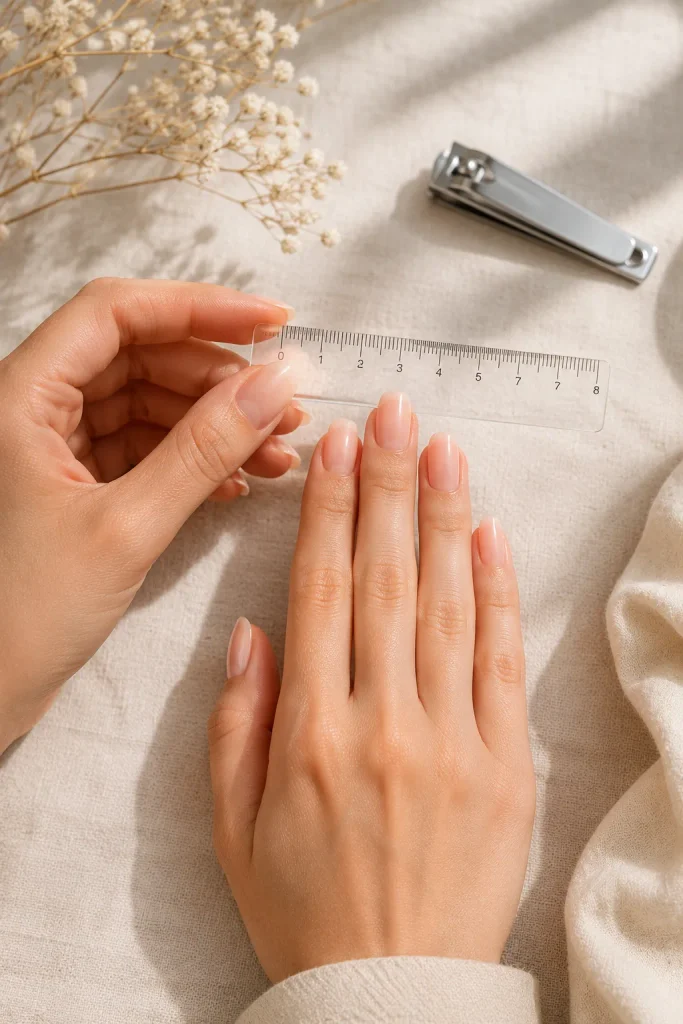
Once you have established the length, begin refining the sides. Hold the file at a slight angle and work gently along one side of the nail. Follow the natural direction of the nail instead of aggressively digging into the corners.
Repeat the process on the opposite side and regularly stop to compare both sides. For almond or oval nails, gradually taper the sides toward the center. For square or squoval nails, keep the sidewalls relatively straight while softening the corners as needed.
Step 5: Shape the Tip
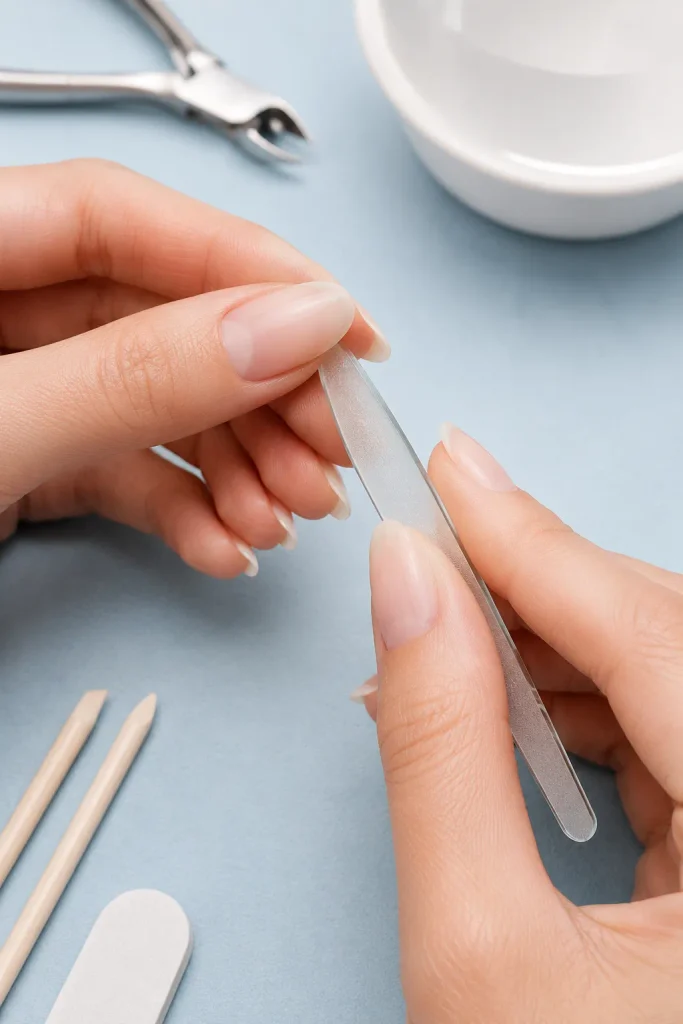
The tip is where your chosen nail shape becomes most noticeable. For a square shape, create a relatively straight horizontal edge. For a round or oval shape, use controlled curved movements that follow the natural fingertip.
When creating almond nails, avoid making the center extremely sharp. Instead, gently taper both sides toward a softly rounded center point. A refined almond shape should look elongated and balanced rather than pointed like a stiletto.
Step 6: Smooth the Corners
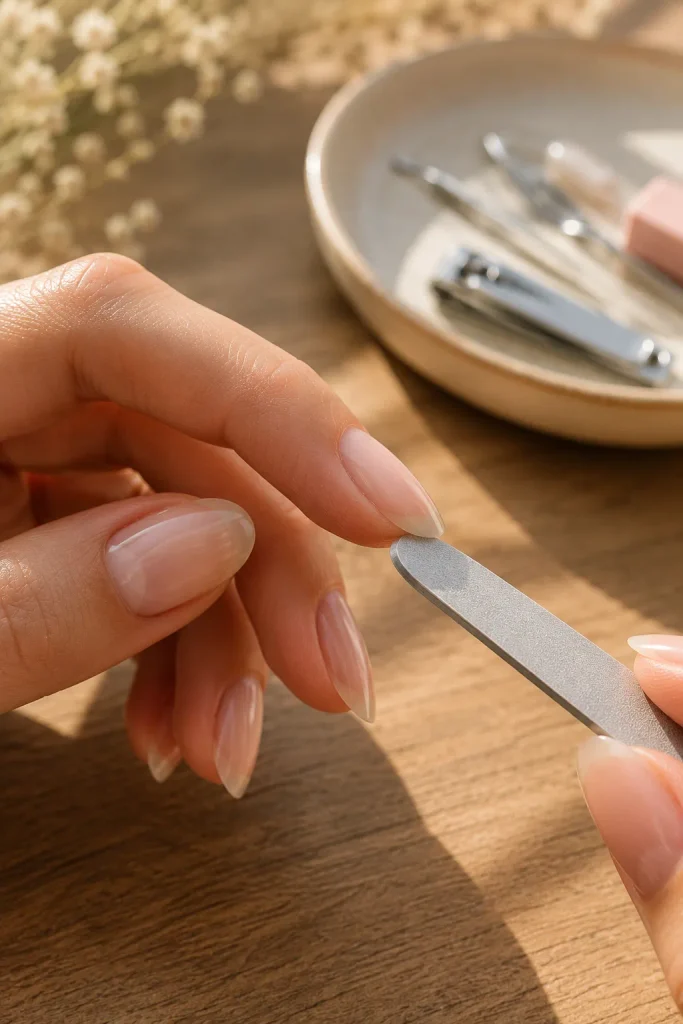
Sharp corners can catch on clothing and may be more likely to snag. After establishing the main shape, lightly soften any harsh edges. This is especially useful for square and squoval nails.
Do not over-file the corners, however. Removing too much from the sides can make the nail look narrow and can compromise its natural structure. Use small, controlled strokes and inspect the nail frequently.
Step 7: Check Both Hands for Symmetry
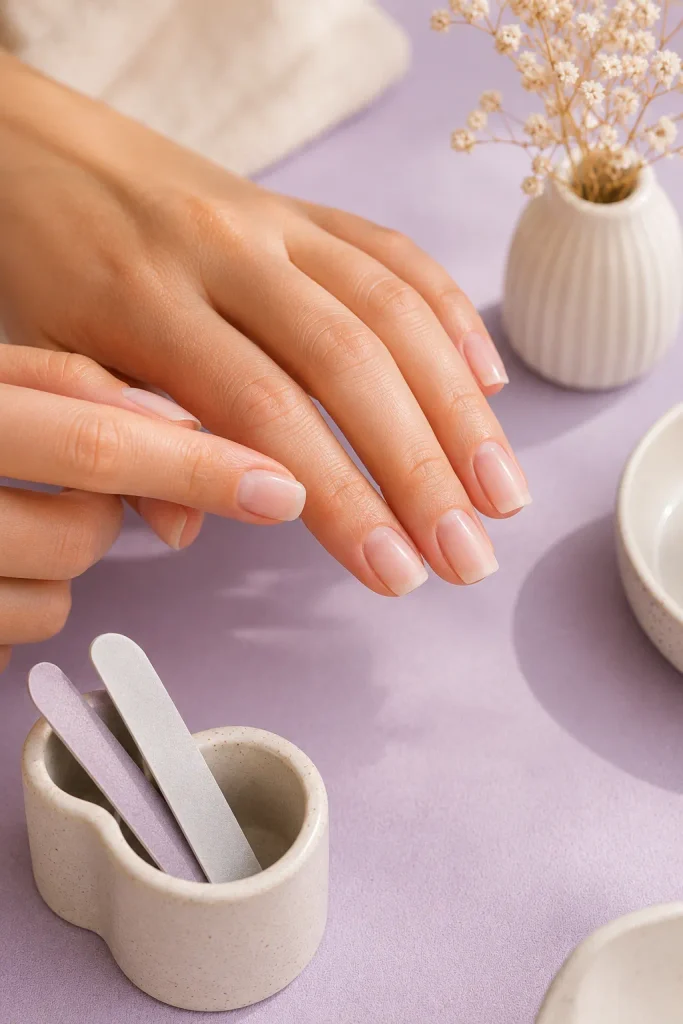
One of the easiest ways to improve your at-home manicure is to regularly compare your nails. Place both hands side by side and look at the overall shape rather than focusing on only one nail.
Check whether the lengths appear balanced and whether the curves or angles are consistent. You can also turn your hands slightly toward you and inspect the nails from the front. Small adjustments at this stage can make the final manicure look much more professional.
Step 8: Smooth the Edges
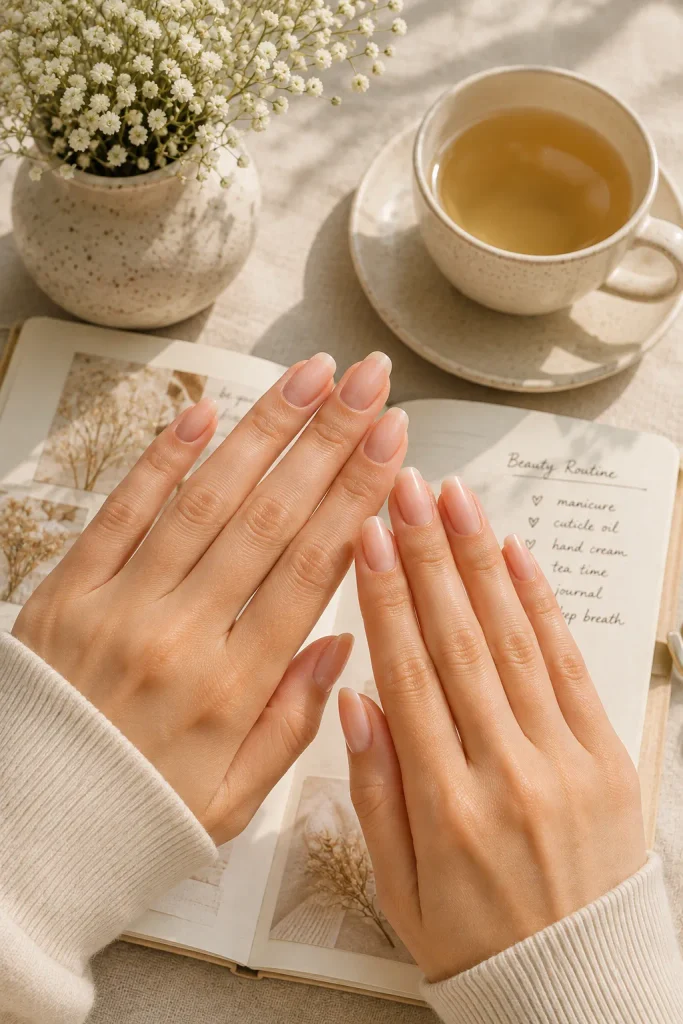
After the shape is finished, gently run the file along the free edge to remove roughness. If you notice tiny areas of peeling or snagging, smooth them carefully rather than pulling at them.
A fine-grit file can be particularly useful for the final refinement. Avoid excessive back-and-forth filing because too much friction can weaken the nail edge. The goal is a smooth, clean finish rather than a heavily filed surface.
Step 9: Finish With Cuticle Care
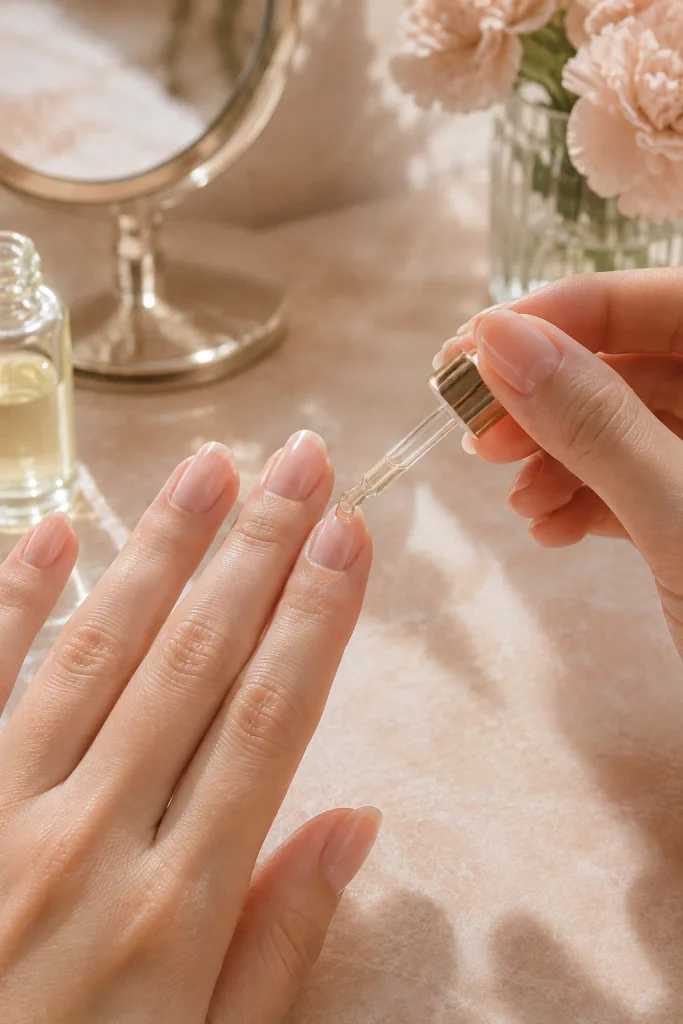
Once the nails are shaped, apply a small amount of cuticle oil around each nail. Massage it gently into the cuticle area and surrounding skin. Follow with hand cream to restore moisture.
If you plan to apply nail polish, allow the nails to absorb the oil and then cleanse the nail plate before polishing. This helps remove excess oil so your manicure can adhere more effectively.
Common Nail-Shaping Mistakes to Avoid
One of the biggest mistakes is filing too aggressively. If you repeatedly remove large amounts of nail in an attempt to achieve perfect symmetry, you may end up with nails that are much shorter than intended.
Another common mistake is creating different shapes on different fingers. You may have a slightly uneven nail naturally, but the overall shape should still look cohesive. Avoid constantly changing your chosen shape halfway through the process, as this can lead to excessive filing.
Do not use a dull or damaged file, and avoid tearing or biting corners that feel uneven. Finally, never rush the final inspection. Taking an extra minute to compare your nails can make a significant difference.
How to Shape Almond Nails at Home
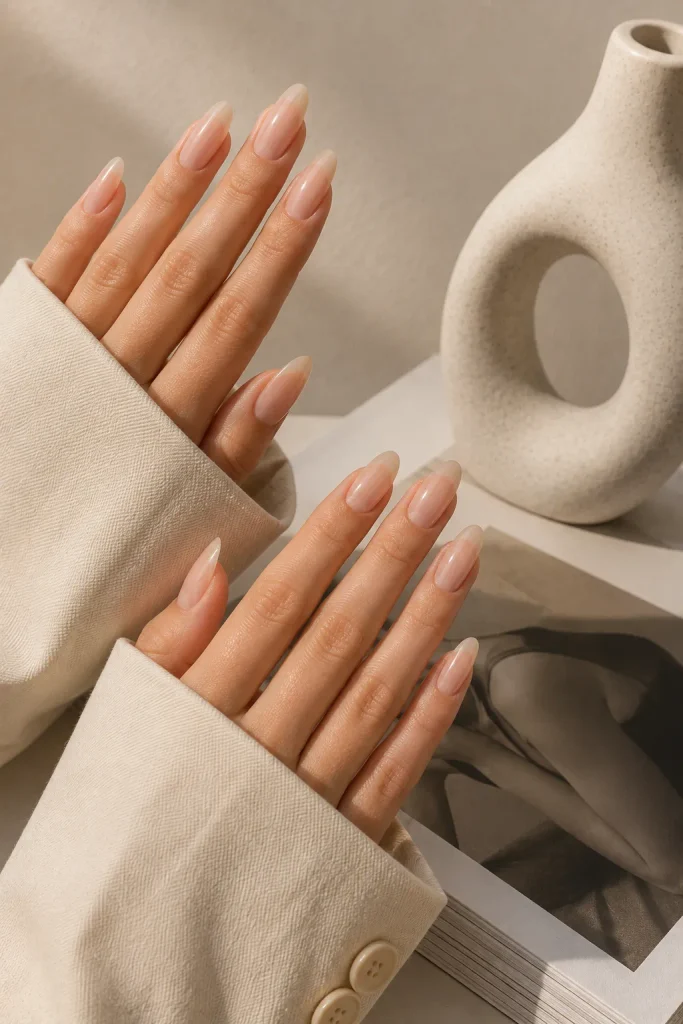
Almond nails are one of the most elegant choices because their tapered silhouette can make the fingers look longer. To create this shape, begin by determining the desired length. Longer nails provide more room for a noticeable taper, but shorter almond nails can also look beautiful.
File both sides gradually toward the center and keep the transition smooth. The tip should be softly rounded rather than extremely sharp. Continue comparing both sides until the nail has a symmetrical almond silhouette.
How to Shape Square and Squoval Nails
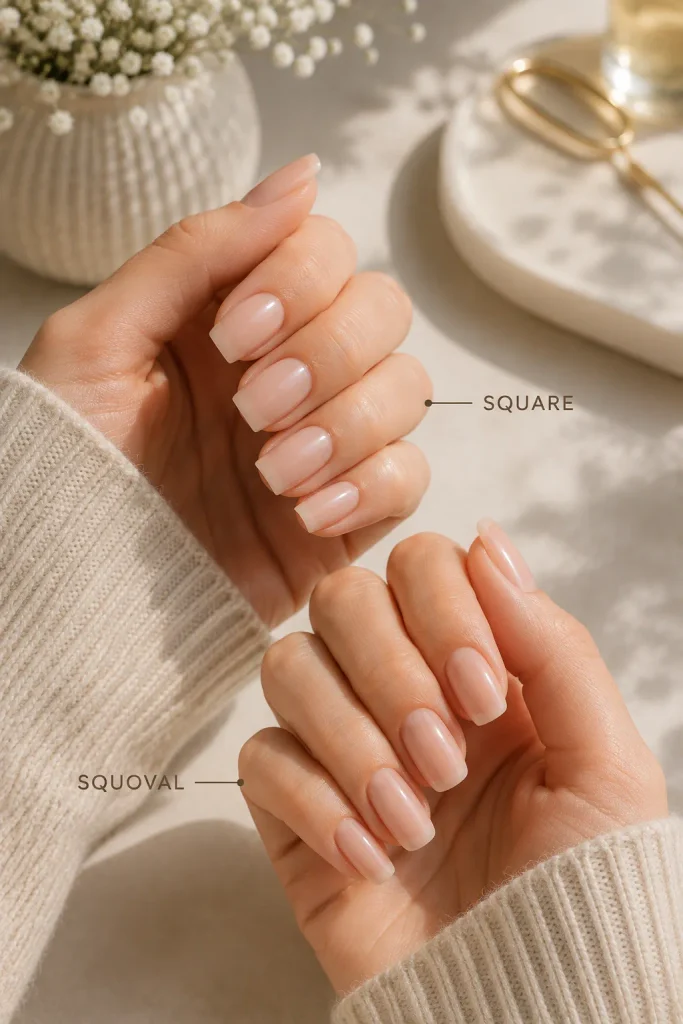
Square nails are ideal if you prefer a structured, modern manicure. File the sidewalls straight and create a flat tip across the free edge. Keep the corners defined, but make sure they are not dangerously sharp.
For a squoval shape, begin with the same basic structure but gently round the corners. This creates a softer appearance while maintaining the clean geometry of a square nail. Squoval nails are particularly practical for everyday wear because the softened corners are less likely to catch.
How to Keep Your Nail Shape Looking Salon-Fresh
Once you have achieved your preferred shape, maintaining it is much easier than starting from scratch. Give your nails a quick inspection every few days and smooth any small rough areas before they become larger chips.
Use cuticle oil regularly and moisturize your hands, particularly after washing them frequently. When performing household tasks, consider protecting your hands from excessive moisture and harsh cleaning products. Avoid using your nails as tools for opening packages or scratching surfaces, as this can damage even a beautifully shaped manicure.
Final Thoughts
Learning how to shape your nails at home like a salon pro is mostly about technique, consistency, and patience. You do not need an extensive collection of professional tools to create beautiful results. A good file, careful movements, and an understanding of your preferred nail shape can take your at-home manicure to the next level.
Start by working with your natural nail structure instead of fighting against it. Shape gradually, compare both hands frequently, and avoid excessive filing. Once you become familiar with the process, maintaining almond, oval, square, squoval, or round nails at home can become a simple part of your regular beauty routine.



2 Comments