
Easy Nail Drill Guide: Step-by-Step Instructions for Beginners
If you have ever watched a nail technician use an electric nail drill and wondered how they make it look so effortless, you are not alone. A nail drill can make filing, shaping, smoothing, and removing product much faster, but beginners need to learn how to control the tool before using it on natural nails. The good news is that the basics are easier to understand than they first appear.
This easy nail drill guide walks you through the process step by step, from choosing the right drill and nail bits to learning proper speed and hand positioning. Whether you are practicing at home or simply want to understand professional nail techniques better, these beginner-friendly instructions can help you build confidence while avoiding common mistakes.
What Is a Nail Drill?
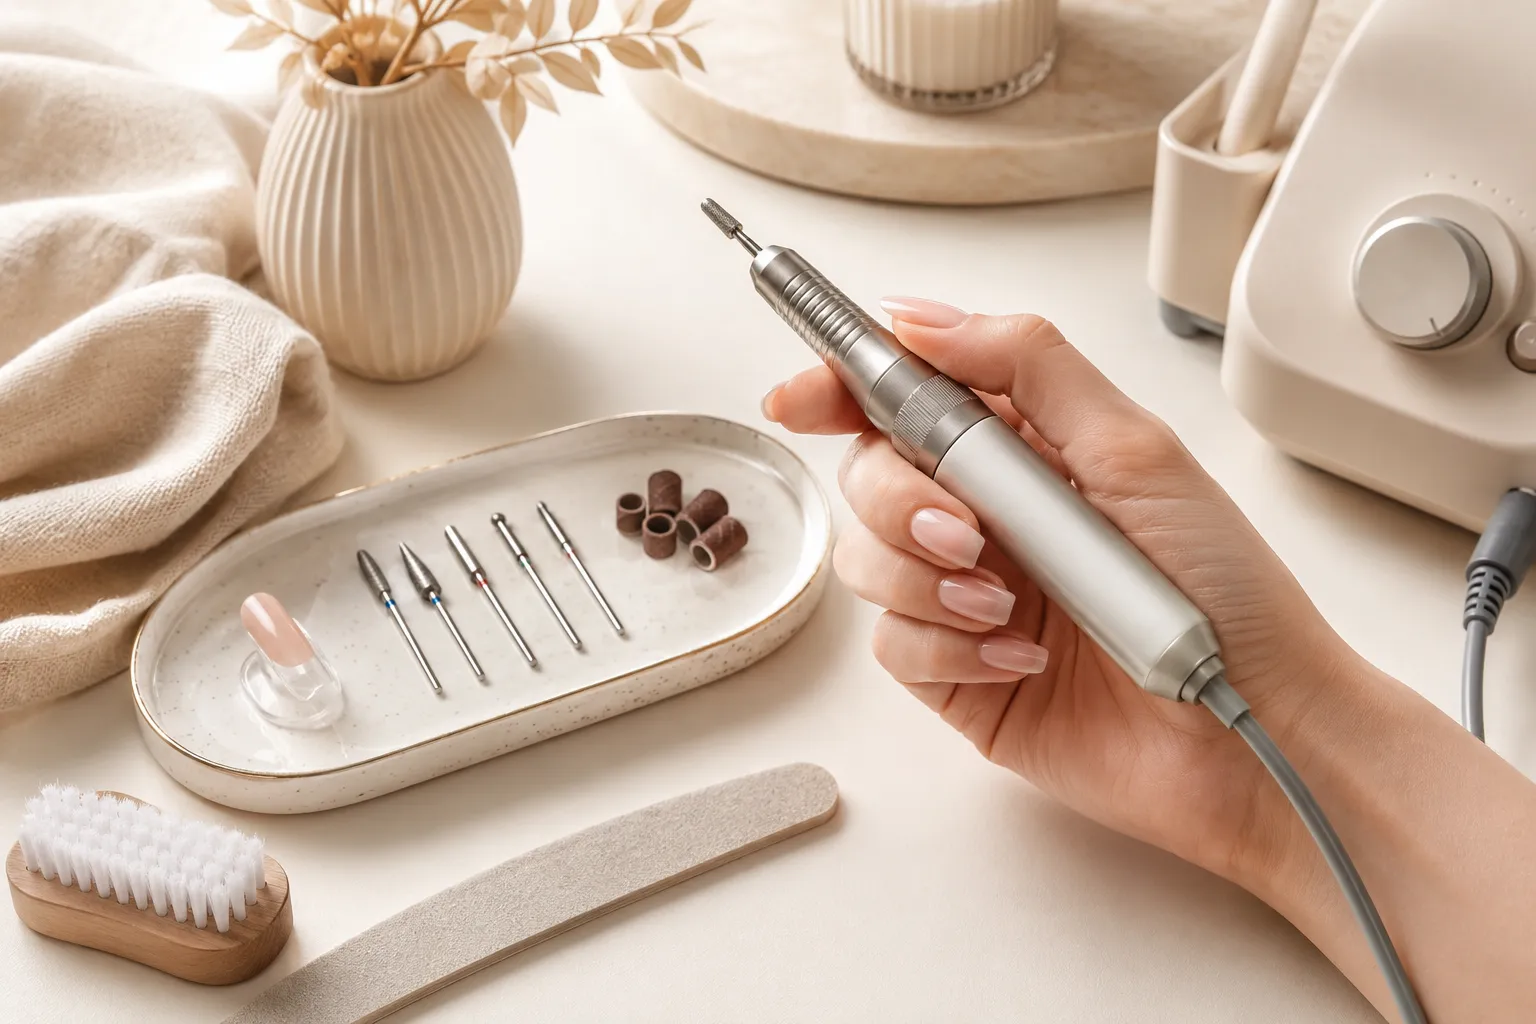
A nail drill, also called an electric nail file or e-file, is a handheld tool designed to file and shape nails using interchangeable rotating bits. Unlike a traditional nail file, the drill uses controlled rotation to remove or smooth nail product more efficiently. It can be used for tasks such as shortening enhancements, refining shapes, smoothing surfaces, and removing gel or acrylic product.
However, a nail drill is not something you should use aggressively or without learning basic technique. The rotating bit can create heat, thin the natural nail, or irritate the surrounding skin if it is used incorrectly. For beginners, the goal should always be control and precision rather than speed.
What You Need Before Using a Nail Drill
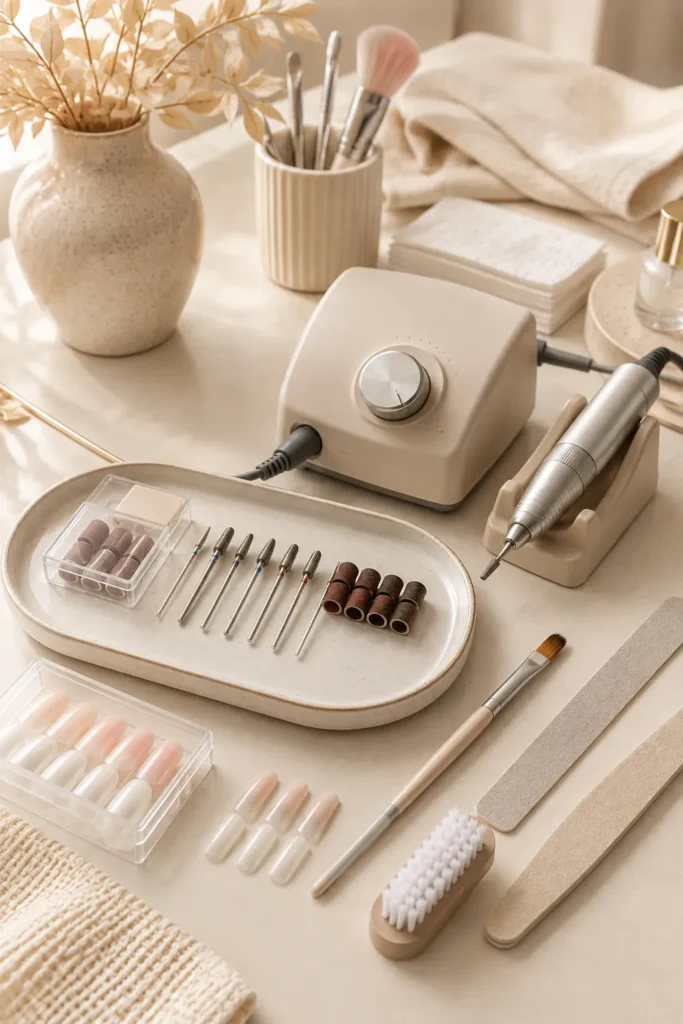
Before you start, gather everything you need so you do not have to stop halfway through the process. A beginner setup does not need to be complicated. A quality nail drill with adjustable speed, suitable beginner bits, a nail brush, and good lighting are enough to get started.
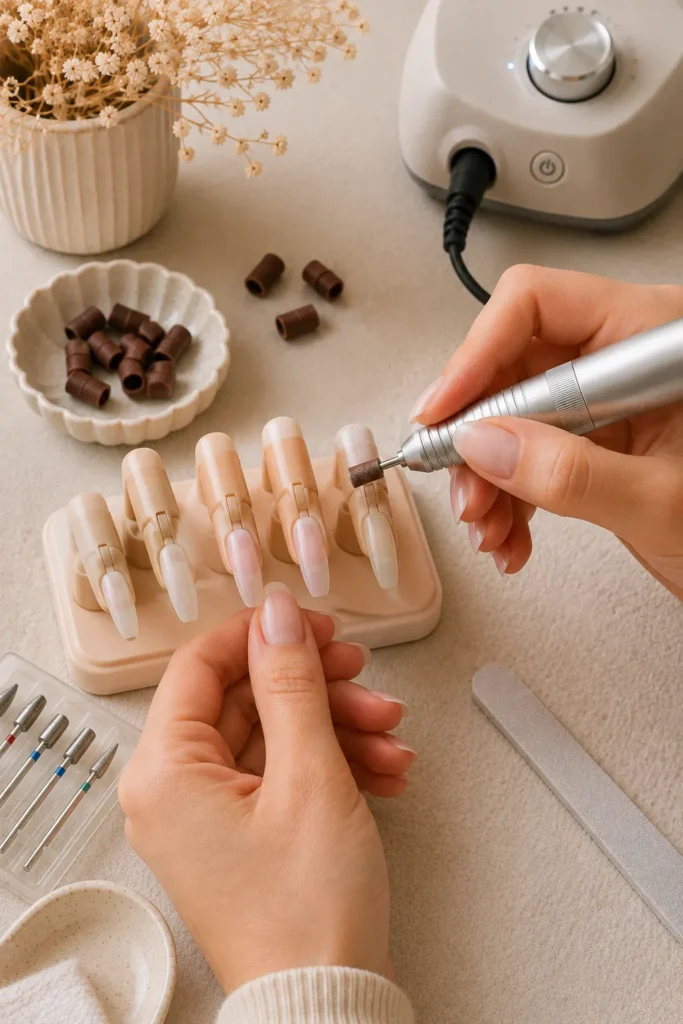
You should also have a comfortable workspace where your hand and wrist can remain steady. Keep the area clean and make sure you can clearly see the nail surface. If you are practicing, consider working on a practice hand or artificial nail tip before using the drill on your own natural nails.
Beginner Nail Drill Essentials
- Electric nail drill with adjustable speed
- Beginner-friendly sanding bands or smooth filing bits
- Fine-grit hand file
- Nail brush for removing dust
- Good-quality lighting
- Clean work surface
- Practice nail tips or a practice hand
- Eye protection or a dust mask when filing large amounts of product
The most important item is not the most powerful drill. Beginners generally benefit more from a tool that offers smooth speed control and is comfortable to hold.
Step 1: Learn Your Nail Drill Controls
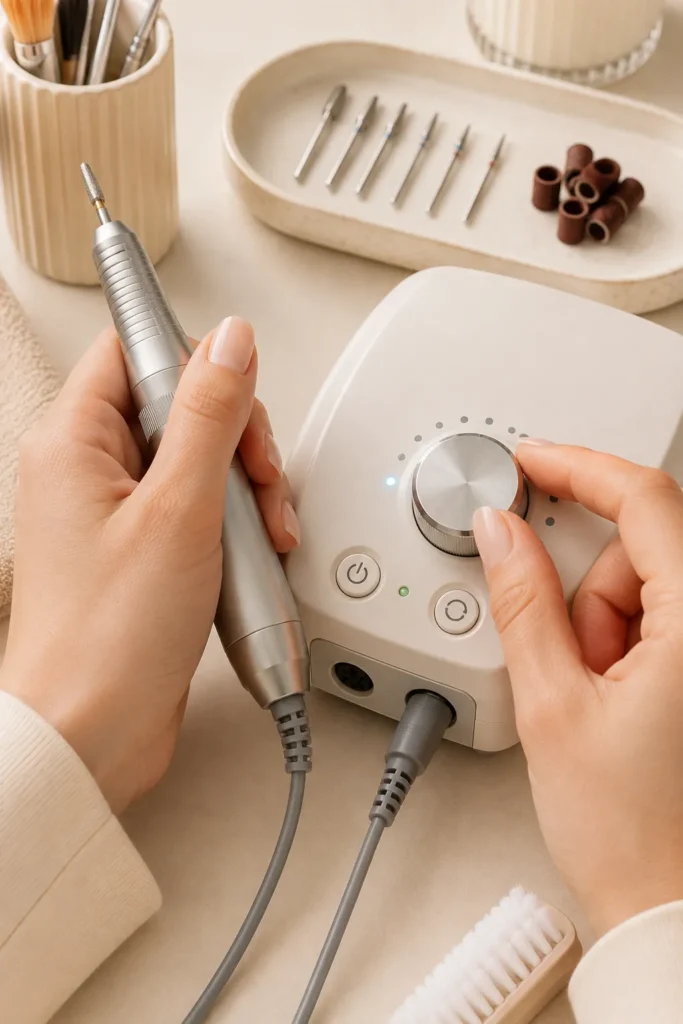
Before touching the drill to a nail, take a few minutes to understand the controls. Most nail drills have a power button, speed adjustment, forward and reverse settings, and a handpiece where the bit is inserted.
Turn the drill on at its lowest setting and allow the bit to rotate while you hold the handpiece comfortably. Notice how the vibration feels and practice moving your hand slowly. This simple exercise helps you become familiar with the tool before you work on a nail.
Never begin by turning the drill to a high speed. More speed does not automatically mean better results. Beginners need enough control to keep the bit moving smoothly without pressing too hard.
Step 2: Choose the Right Nail Drill Bit
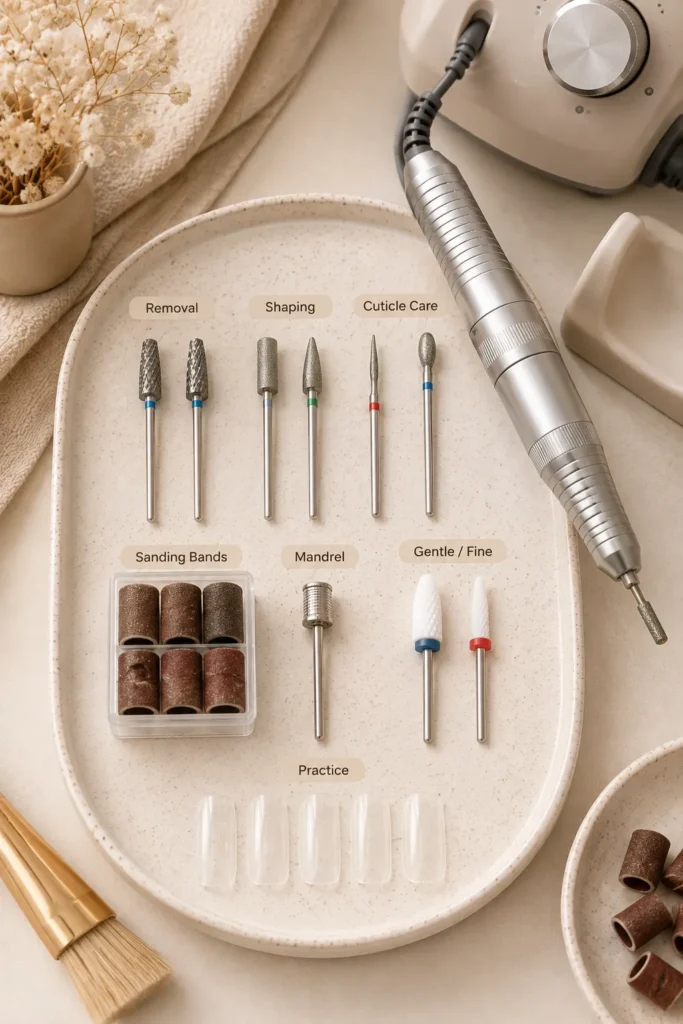
Choosing the correct bit is one of the most important parts of learning how to use a nail drill. Nail bits come in different shapes, materials, and levels of abrasiveness, and each one has a specific purpose.
For beginners, it is best to start with less aggressive options. A fine sanding band or gentle file bit can be useful for practicing controlled movements. Carbide and diamond bits can be extremely effective, but they require proper technique and should not be used carelessly on natural nails.
Common Nail Drill Bit Types
Sanding bands: These are commonly used for smoothing and removing nail product. They are available in different grits, with finer options being more suitable for delicate work.
Diamond bits: These are useful for detail work, cuticle-area refinement, and smoothing depending on their shape and grit. They should be used gently and with appropriate technique.
Carbide bits: These can remove artificial nail product quickly and are commonly used by experienced nail professionals. Beginners should learn control before attempting aggressive product removal.
Mandrel bits: These hold sanding bands securely and are commonly used for filing and surface refinement.
When learning, avoid collecting dozens of bits immediately. A small selection of appropriate beginner bits is easier to understand and control.
Step 3: Practice Your Movement Before Filing
One of the biggest beginner mistakes is concentrating only on the drill bit and forgetting how the hand moves. The drill should be guided with controlled, lightweight movements rather than pushed firmly against the nail.
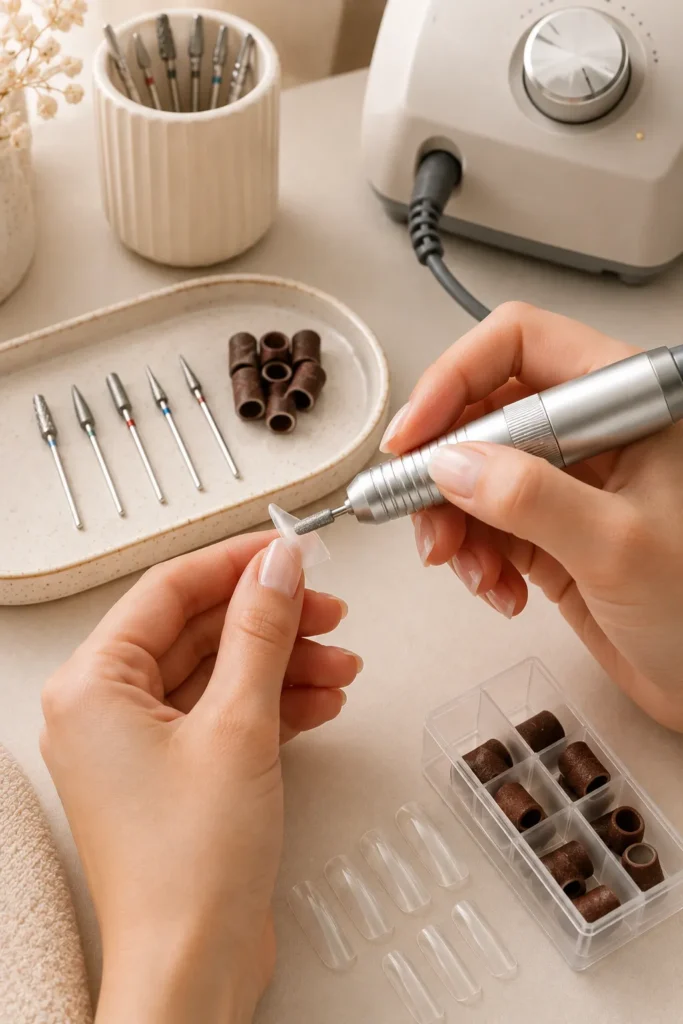
Hold the handpiece much like you would hold a pen. Keep your wrist relaxed and use your fingers to guide the movement. Practice moving the drill in straight, controlled passes over a practice surface before working on a real nail.
Your movements should remain consistent. Avoid leaving the rotating bit in one location for too long because concentrated friction can create unwanted heat. The goal is to keep the bit moving while maintaining light contact.
Step 4: Start at a Low Speed
Once you are comfortable holding the drill, start at a low speed appropriate for the task and your chosen bit. The exact speed setting varies between drills, bits, and applications, so beginners should follow the manufacturer’s instructions rather than relying on a single universal RPM number.
Low speed gives you more time to understand how the bit behaves. It also makes it easier to stop when something feels uncomfortable or looks uneven.
As your technique improves, you can gradually adjust the speed when appropriate. Do not increase speed simply because the filing process feels slow. If you are struggling to remove product, the problem may be your bit, angle, pressure, or technique rather than the speed.
Step 5: Keep the Drill Moving
A nail drill should not remain stationary on one part of the nail. Use smooth, controlled passes and continuously move across the area you are working on.
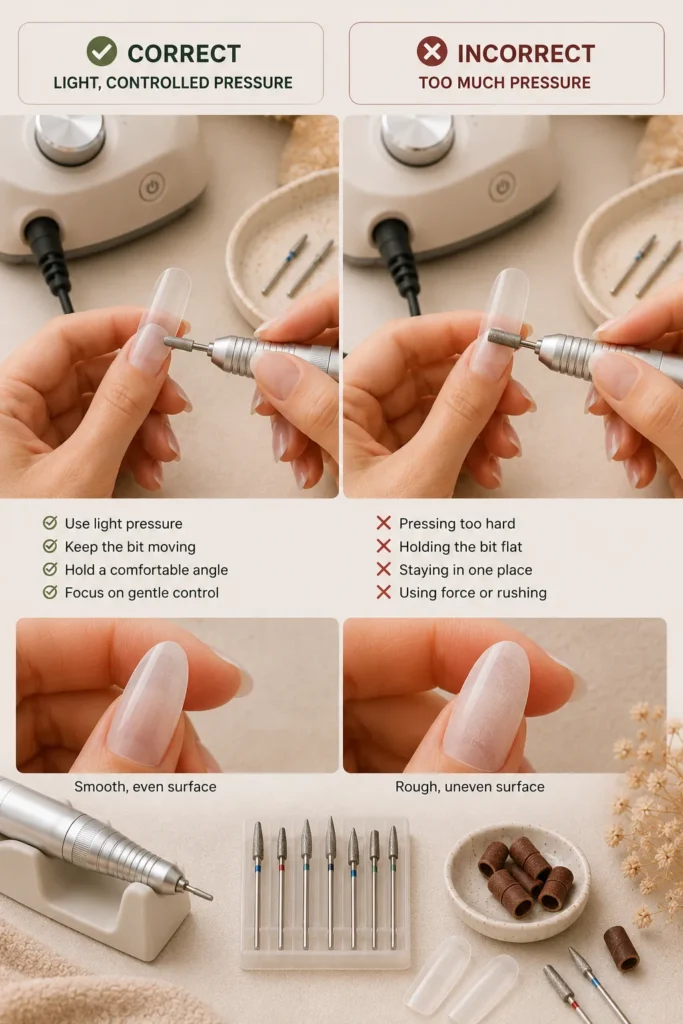
Think of the drill as a small precision file rather than a cutting tool. Let the bit do the work instead of forcing it into the nail. Excessive pressure can increase friction and heat, which may cause discomfort or damage.
If the nail begins feeling hot, stop immediately and allow it to cool. A hot sensation is a signal that something about your technique, pressure, speed, or bit selection needs to change.
Step 6: Shape the Nail Carefully
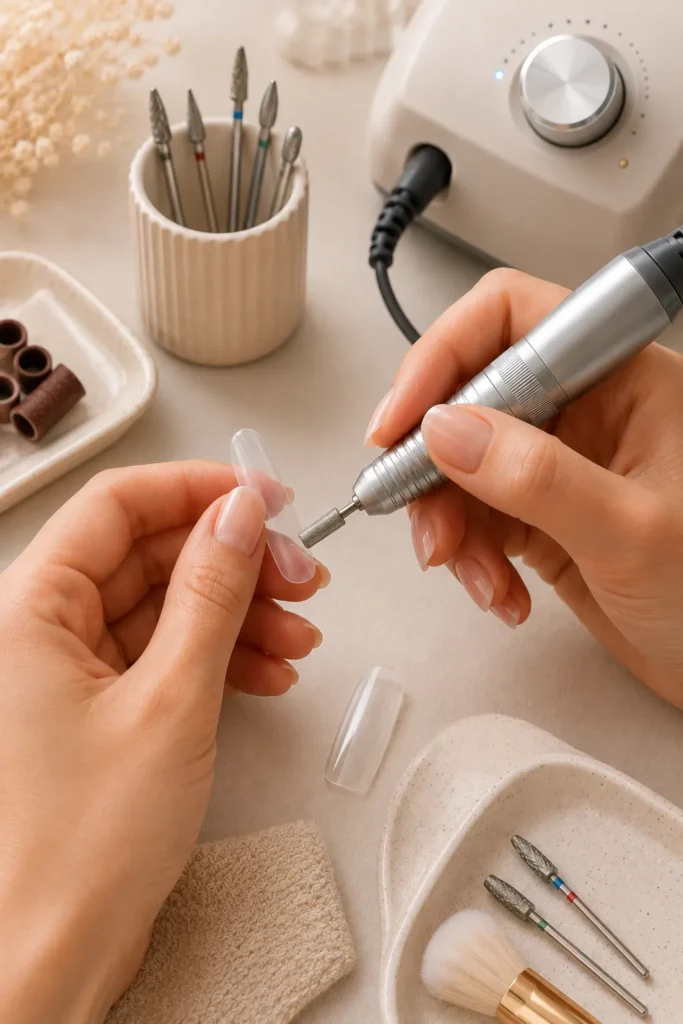
After you become comfortable with basic filing, you can use the drill to help refine artificial nail shapes. Common shapes include almond, square, coffin, oval, and stiletto.
Work gradually rather than trying to create the final shape in one pass. Check the nail from different angles as you go. This makes it easier to maintain symmetry and prevents you from accidentally removing too much product.
For beginners, a traditional hand file can still be useful for final shaping. Using both tools together can give you better control than depending entirely on the drill.
Step 7: Be Extremely Careful Around the Natural Nail
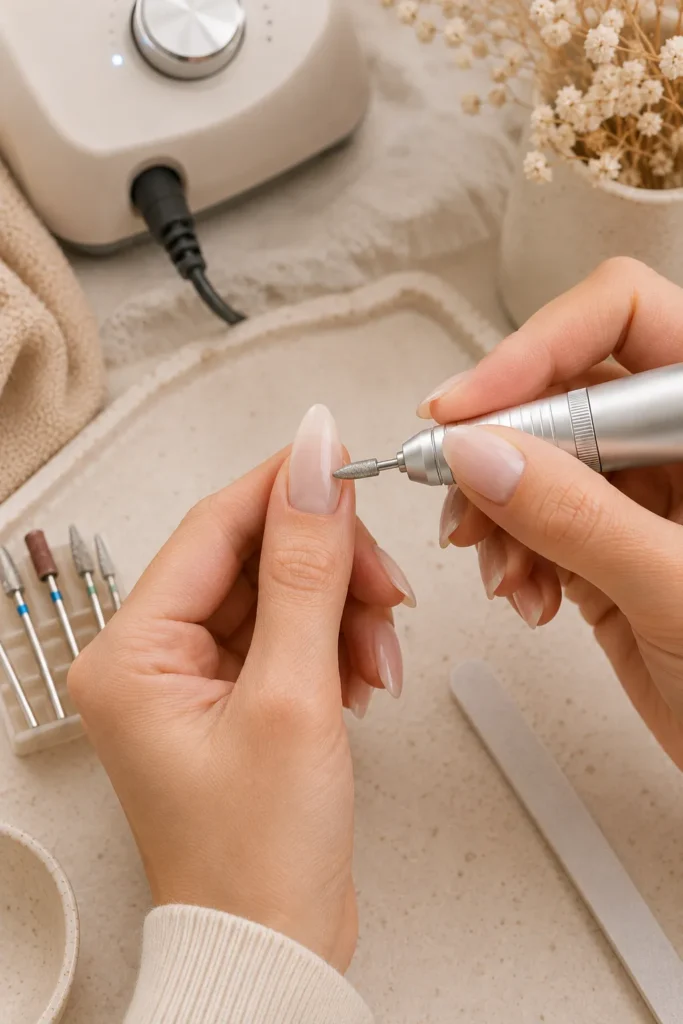
The natural nail requires much more caution than artificial product. Beginners should not aggressively file the natural nail plate with an abrasive drill bit.
If you are removing gel, acrylic, or another enhancement, focus on removing the product rather than trying to thin the natural nail underneath it. As you approach the natural nail, slow down and use a gentler technique.
A useful rule is simple: if you are unsure whether you are filing product or natural nail, stop and inspect the surface.
Your natural nail should never be sacrificed just to make product removal faster.
Step 8: Work Around the Cuticle Area With Care
The cuticle area can benefit from professional e-file techniques, but it is also one of the easiest places for beginners to cause irritation. The skin around the nail is delicate, and an incorrectly positioned bit can nick or scrape it.
Do not use a rotating bit directly against living skin. Instead, learn the appropriate technique for the specific bit you are using and practice on artificial surfaces before attempting detailed work around your own nails.
If you accidentally cause bleeding or significant irritation, stop the service and properly clean the area. Do not continue filing over damaged skin.
Step 9: Finish With a Hand File
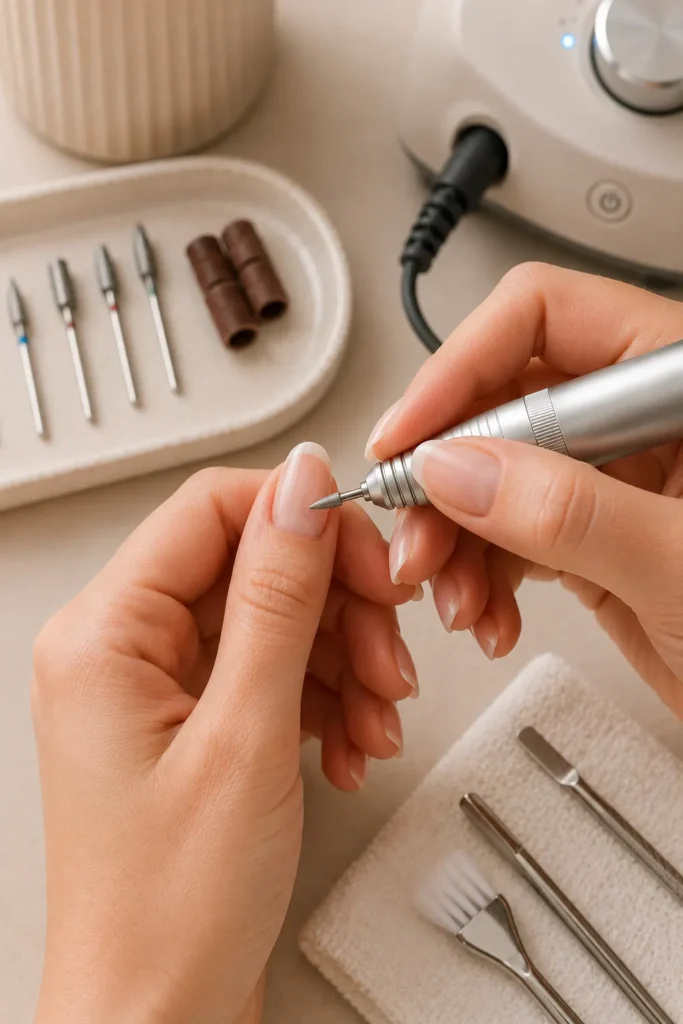
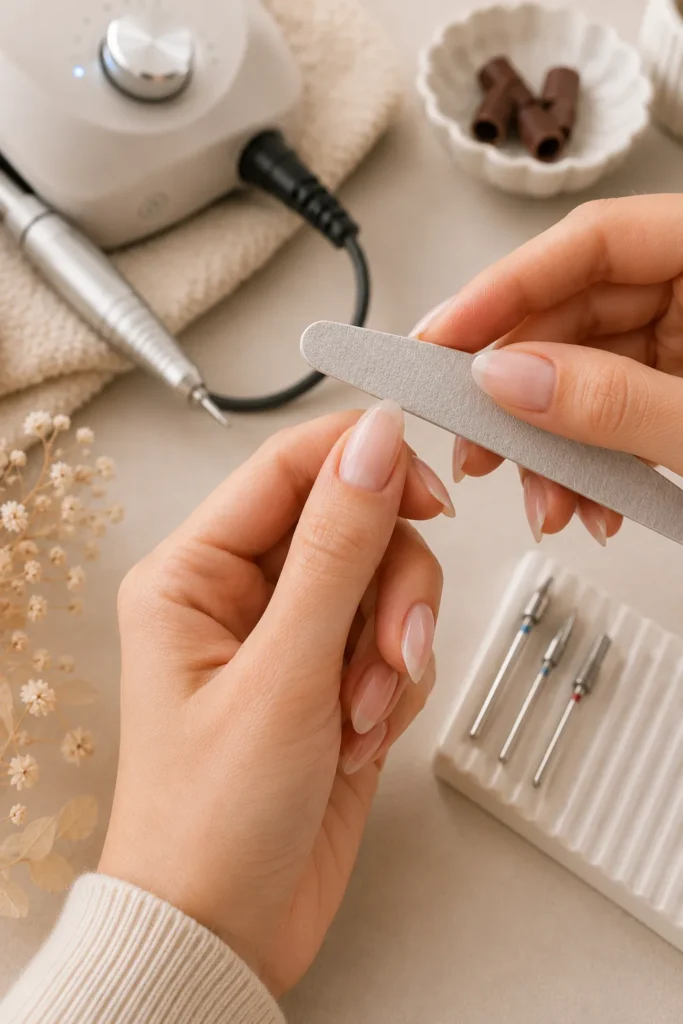
You do not need to complete every part of the manicure with an electric drill. A hand file can provide excellent control for the final stage.
After using the drill to remove bulk or refine the general shape, inspect the nail carefully. Use a fine hand file to smooth small imperfections and perfect the shape.
This combination can be especially helpful for beginners because it reduces the amount of precision work required from the drill.
Common Nail Drill Mistakes Beginners Should Avoid
Learning what not to do is just as important as learning the correct technique. Many nail drill problems happen because beginners rush or use too much pressure.
Using Too Much Pressure
The drill should not need to be forced against the nail. Excessive pressure creates friction and can make the nail uncomfortable or damaged.
Working at Excessive Speed
Higher speed is not automatically more professional. Start conservatively and increase speed only when you have enough control and understand the specific task.
Holding the Bit in One Place
Keeping a rotating bit in one spot can generate heat quickly. Always use controlled movement and avoid lingering in one area.
Using the Wrong Bit
A highly abrasive bit may remove product quickly but is not necessarily appropriate for every task. Match the bit to the material and purpose.
Filing the Natural Nail Aggressively
One of the most serious beginner mistakes is treating the natural nail like acrylic or gel. Natural nails require a much lighter approach.
Practicing Directly on Your Own Nails
If you have never used a nail drill, practicing on nail tips or a practice hand is a much safer way to understand movement and control before working on yourself.
How to Make Nail Drill Practice Easier
The best way to improve is to practice one skill at a time. Start by learning how to hold the handpiece, then practice moving it smoothly. Once you feel comfortable, work on basic filing patterns using artificial tips.
Pay attention to how much pressure you use and how quickly the bit moves. Try to develop consistent movements instead of rushing to achieve a salon-quality result immediately.
It can also help to watch your work from different angles. A nail that looks perfectly shaped from above may appear uneven from the side. Regularly checking your progress helps you develop a better eye for symmetry.
How to Keep Your Nail Drill Clean
Cleaning and maintaining your equipment is an important part of safe nail care. Remove dust and product residue from bits according to the manufacturer’s instructions. Bits should be properly cleaned and disinfected when appropriate, especially when tools are being used between people.
Do not allow dust and product debris to build up inside the handpiece. Store your bits in a clean, organized container where they remain protected between uses.
If your drill begins making unusual noises, vibrating excessively, or behaving differently, stop using it and check the manufacturer’s troubleshooting instructions.
Final Thoughts
Learning how to use a nail drill does not require professional-level skills on the first attempt. The key is to start slowly, choose beginner-friendly bits, practice your movement, and focus on control rather than speed.
Always treat the natural nail and surrounding skin with care. Practice on artificial nails before attempting detailed work on yourself, and remember that a nail drill is a precision tool rather than something that should be used with heavy pressure.
With regular practice and patience, you can become much more comfortable using an electric nail file for shaping, smoothing, and working with nail enhancements. The goal is not simply to work faster—it is to develop safe, controlled technique that produces clean and polished results.


