
How to Get the Perfect Almond Nail Shape: Step-by-Step Tutorial
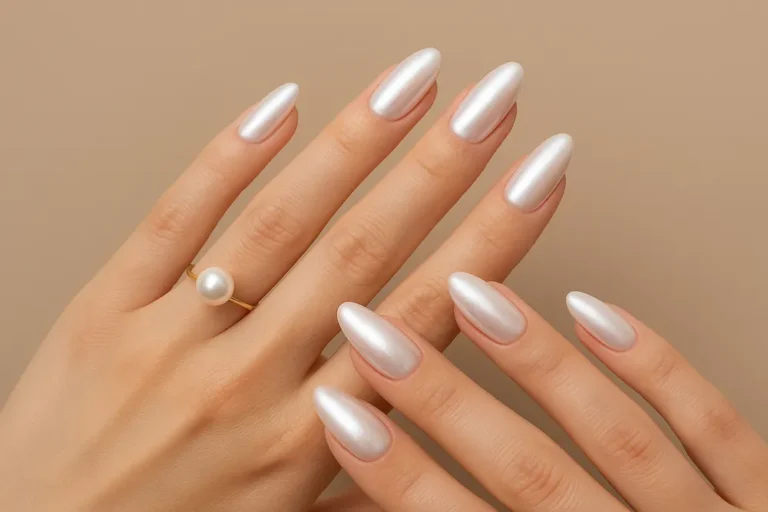
Almond nails are one of the most flattering and timeless nail shapes, loved for their elegant silhouette and versatility. Their gently tapered sides and softly rounded tip create the illusion of longer, slimmer fingers while providing the perfect base for everything from minimalist nude manicures to bold seasonal nail art. Whether you’re shaping natural nails or preparing extensions, mastering the almond shape can instantly elevate your manicure.
The good news is that achieving beautiful almond nails doesn’t require a salon appointment. With the right tools, a little patience, and proper filing techniques, you can create a balanced, salon-quality shape at home. This step-by-step guide explains everything you need to know, including the best nail length, essential tools, common mistakes to avoid, and simple maintenance tips that keep your nails looking flawless.
What Is an Almond Nail Shape?
The almond nail shape is inspired by the natural outline of an almond seed. It features gently tapered sides that narrow toward a softly rounded tip, creating an elegant appearance without looking overly sharp. Unlike stiletto nails, which end in a dramatic point, almond nails maintain a smooth curve that feels both stylish and practical.
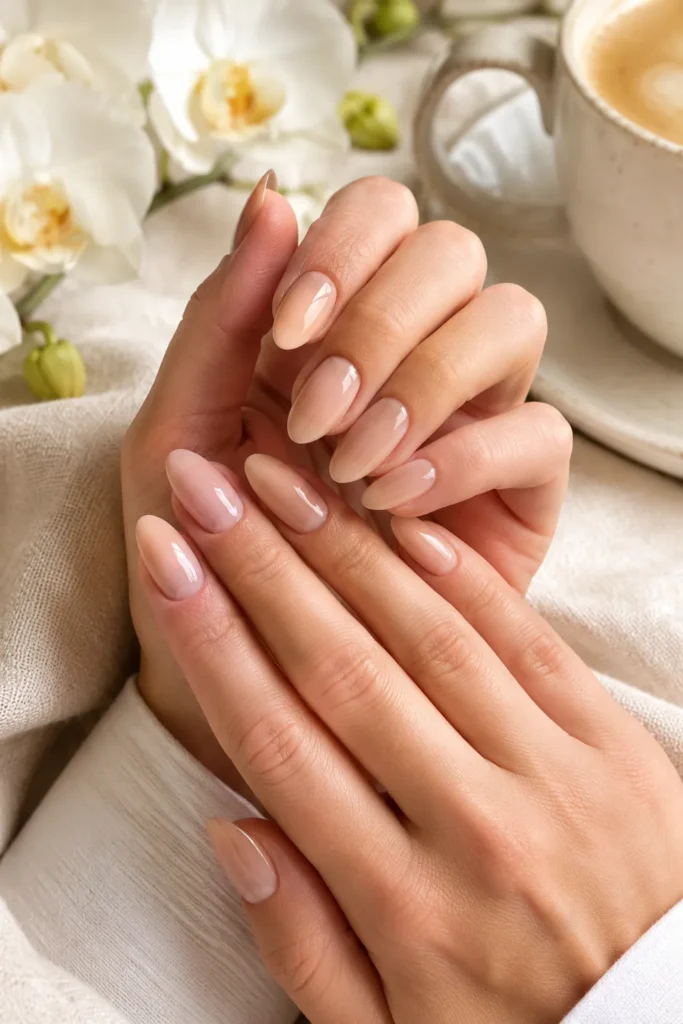
One reason almond nails remain a favorite among nail professionals is their versatility. They complement nearly every nail polish color, finish, and nail art style, making them suitable for everyday wear, weddings, office settings, and special occasions alike. They also visually elongate the fingers, giving the hands a refined and graceful appearance.
Why Almond Nails Are So Popular
Almond nails continue to dominate beauty trends because they combine sophistication with durability. Their balanced shape looks polished while remaining comfortable for everyday tasks. The rounded tip is less likely to snag on clothing or hair than sharper nail shapes, making them easier to maintain.
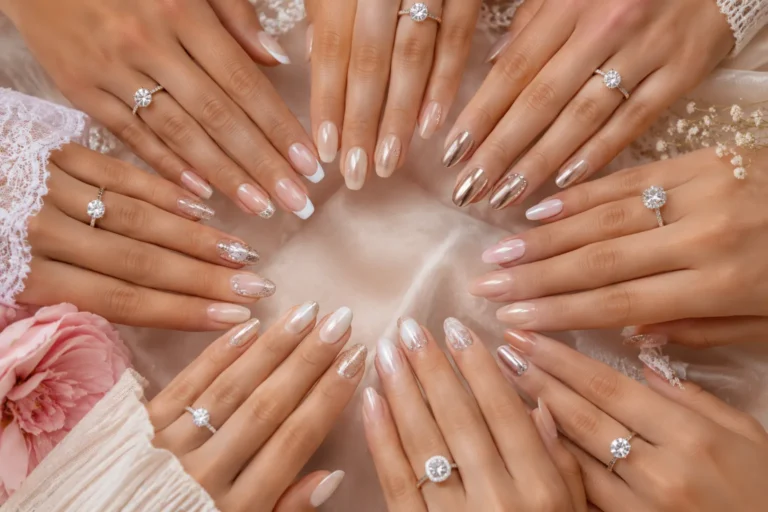
Another advantage is their ability to suit almost every manicure style. Whether you love classic French tips, glazed nails, chrome finishes, aura nails, floral designs, or simple neutral shades, the almond shape naturally enhances the overall look. This versatility has made it one of the most requested nail shapes in salons around the world.

Tools You’ll Need Before You Start
Preparing the right tools before you begin makes shaping your nails easier and helps you achieve cleaner, more professional results. Quality manicure tools also reduce the risk of rough edges, splitting, and uneven filing.
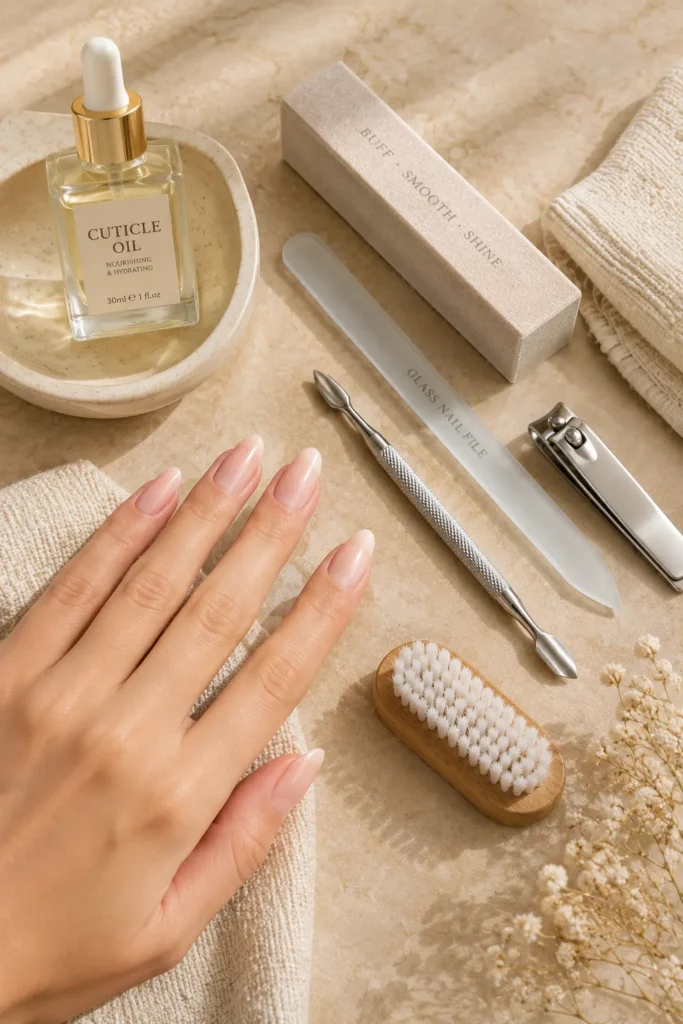
You’ll need:
- Crystal or glass nail file
- Nail clippers
- Buffer block
- Cuticle pusher
- Cuticle oil
- Nail brush
- Hand towel
- Nail polish remover (if needed)
A crystal nail file is the best choice because it creates smooth edges while minimizing peeling and breakage. Before shaping, remove any old nail polish and make sure your nails are completely dry, as wet nails are softer and more likely to become damaged during filing.
Step 1: Trim Your Nails to the Right Length
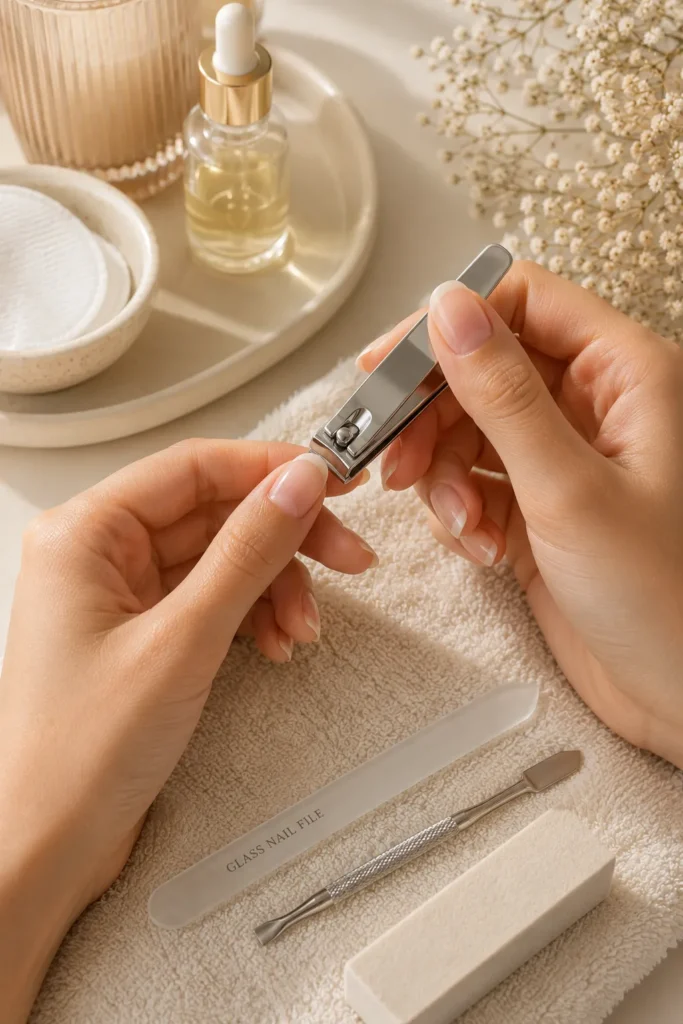
The first step toward achieving the perfect almond shape is creating an even starting length. While almond nails can be worn short, medium, or long, you’ll need a small amount of free edge extending beyond your fingertip to form the signature tapered silhouette. Use sharp nail clippers to trim each nail gradually instead of making one large cut. Compare each nail as you work to keep their lengths consistent. Small adjustments are much easier than trying to fix nails that have been cut too short.
If your natural nails are very short, allow them to grow for a week or two before shaping them into almonds. Trying to create a tapered shape on extremely short nails usually results in uneven sides and weak tips. After trimming, check your nails from the front and above to ensure they appear balanced. At this stage they don’t need to look perfect—the goal is simply to create a uniform foundation for the filing process.
Step 2: File the Sides First
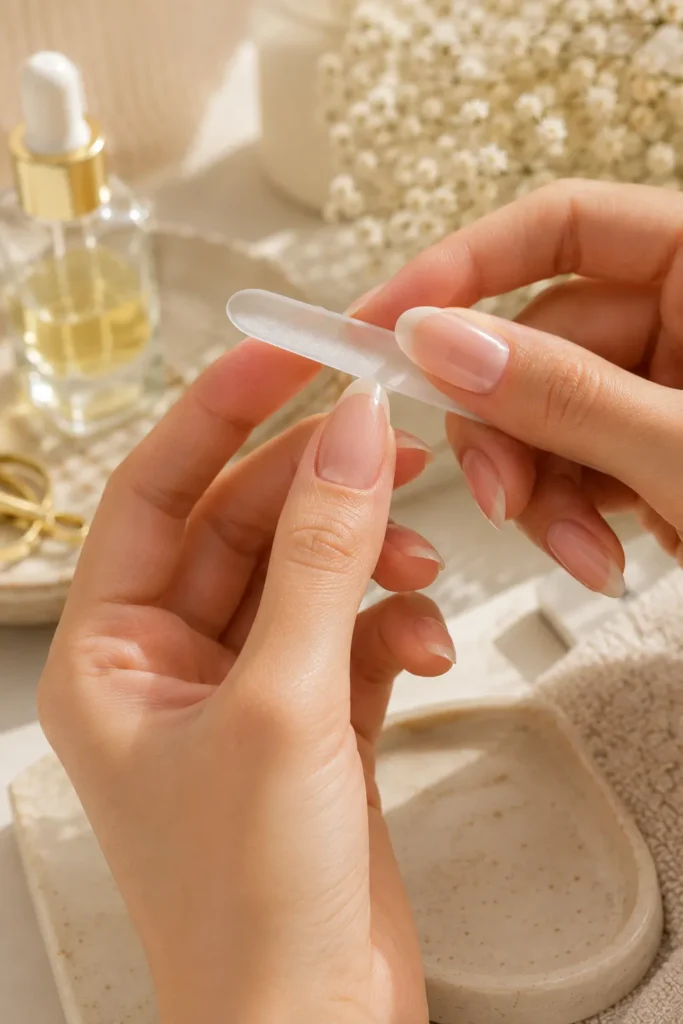
Once the length is even, begin shaping the sides of each nail. Hold a crystal nail file at a slight angle and gently file one side toward the center using smooth strokes in a single direction. Avoid aggressive back-and-forth motions because they can weaken the nail edge and cause peeling over time. After filing one side slightly, switch to the opposite side and repeat the same number of strokes. Alternating between both sides helps maintain symmetry and prevents one side from becoming narrower than the other. Take your time, as removing too much nail at once is difficult to correct.
As you file, the nail should gradually become slimmer while still retaining enough width for strength. The taper should look soft and natural rather than dramatic. Frequently compare your nails with one another and rotate your hand to check the shape from different angles. Good lighting makes it much easier to spot uneven edges before they become noticeable. Remember that every nail grows differently, so don’t rely on counting filing strokes alone. Instead, focus on creating a balanced outline that matches the natural curve of each finger. Patience during this stage is the key to achieving a professional-looking almond shape.
Step 3: Round the Tip Gently
After tapering both sides, it’s time to create the signature rounded tip that defines the almond nail shape. Instead of filing the nail into a sharp point, gently soften the center until it forms a smooth curve. The transition from the sides to the tip should feel natural, creating a graceful silhouette rather than a dramatic point.
Work slowly and check the nail from different angles as you file. Looking at your nails straight on and from the side helps you spot uneven curves before they become difficult to fix. Make small adjustments rather than removing too much at once, since you can always file a little more if needed.
The finished tip should resemble the shape of an almond seed—slightly tapered with a rounded end. If the tip becomes too pointed, lightly soften it with a few strokes. If it appears too round, carefully refine the sides until the overall shape looks balanced and elongated.

Step 4: Refine and Smooth Every Nail
Once you’ve shaped all ten nails, compare them together to ensure they have a similar length, width, and taper. Small differences are much easier to notice when viewing both hands at the same time. Professional-looking manicures rely on consistency across every nail.
Next, use a fine-grit buffer block to smooth the edges and remove any rough spots left behind by filing. Buff lightly to avoid thinning the natural nail. Running your fingertip around each edge is a simple way to check for snags that could lead to peeling or breakage later.
Finish by applying cuticle oil and hand cream to restore moisture after filing. Healthy cuticles encourage stronger nail growth, while hydrated skin gives your manicure a polished, salon-quality appearance.

Common Almond Nail Shaping Mistakes
Even a small filing mistake can affect the final appearance of almond nails. Being aware of these common errors will help you achieve a cleaner, more symmetrical result.
Filing Too Much From One Side
Over-filing one side creates a crooked nail that looks uneven from the front. Alternate between both sides while filing and check the shape frequently to maintain symmetry.
Creating a Sharp Point
Many beginners accidentally shape their nails like stilettos instead of almonds. Remember that almond nails should have a softly rounded tip, not a needle-like point.
Filing Back and Forth
Using a sawing motion weakens the nail edge and increases the chance of splitting. File in one direction with gentle, controlled strokes for smoother results.

Shaping Very Short Nails
Short nails often don’t provide enough length for a proper almond silhouette. Allow them to grow slightly before attempting this shape for the best outcome.
Ignoring Nail Consistency
Each nail should look similar in length and shape. Comparing all ten nails throughout the process helps create a balanced, professional manicure.
Best Nail Length for Almond Nails
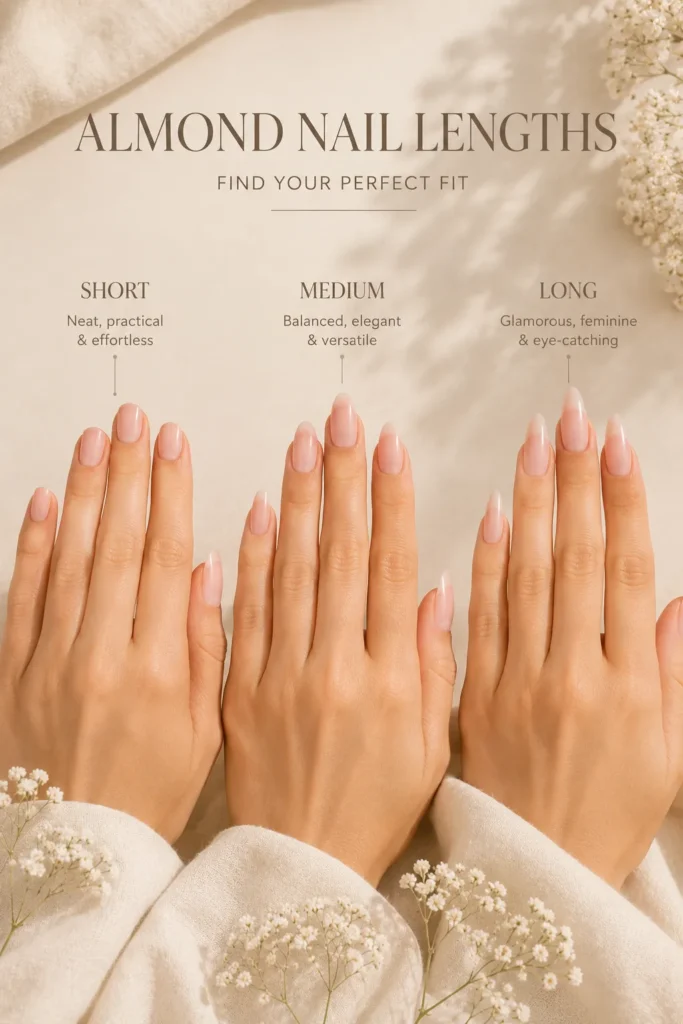
Medium-length nails are often considered ideal for the almond shape because they provide enough room to create a graceful taper while remaining practical for everyday activities. This length also works well with both subtle and detailed nail art.
Short almond nails offer a clean, modern look and are a great option if you prefer low-maintenance manicures. If you enjoy bold designs or statement nails, longer almond nails provide more space for intricate artwork, chrome finishes, and seasonal trends. Choose a length that suits your lifestyle and keeps your nails comfortable and durable.
Best Nail Polish Colors for Almond Nails
The elegant shape of almond nails pairs beautifully with almost every polish color. Soft neutrals such as blush pink, milky white, beige, and sheer nude create a timeless look that’s perfect for everyday wear or formal occasions.
If you prefer something more eye-catching, rich shades like burgundy, emerald green, navy blue, chocolate brown, or cherry red make the tapered shape stand out even more. Chrome finishes, glazed effects, velvet nails, and classic French tips are also excellent choices because they highlight the smooth curves of almond nails without overwhelming the design.

How to Maintain the Perfect Almond Shape
Maintaining almond nails is simple when you care for them consistently. Lightly file the edges once a week to preserve the tapered sides and rounded tip instead of waiting until the shape becomes uneven.
Apply cuticle oil daily to keep your nails hydrated and flexible, reducing the risk of splitting or peeling. Wearing gloves while cleaning or washing dishes also helps protect your manicure from excessive moisture and harsh chemicals.
If you notice a small chip or rough edge, smooth it immediately with a fine nail file. Regular maintenance keeps your nails looking fresh and prevents minor damage from becoming a larger problem.

Frequently Asked Questions
Can I create almond nails on short natural nails?
Yes, but you’ll need a small amount of free edge beyond your fingertip. Extremely short nails should be allowed to grow slightly before shaping.
Are almond nails stronger than stiletto nails?
Generally, yes. Their rounded tip distributes pressure more evenly, making them less likely to snap during everyday activities.
What is the best nail file for shaping almond nails?
A crystal or glass nail file is recommended because it creates smoother edges while reducing peeling and breakage.
How often should I reshape my almond nails?
Most people only need to lightly reshape their nails once a week, depending on how quickly their nails grow.
Final Thoughts
The almond nail shape is a timeless choice that combines elegance, versatility, and practicality. Its softly tapered sides and rounded tip flatter almost every hand, creating the illusion of longer, slimmer fingers while providing the perfect foundation for both simple and detailed nail designs. Whether you love classic French tips, trendy chrome finishes, or minimalist nude manicures, almond nails complement every style and occasion.
With the right tools, proper filing technique, and a little patience, you can achieve salon-quality almond nails from the comfort of your home. By following this step-by-step tutorial, avoiding common shaping mistakes, and maintaining your nails with regular touch-ups and cuticle care, you’ll enjoy a beautiful, balanced manicure that stays healthy and stylish. The more you practice, the easier it becomes to create perfectly shaped almond nails that look polished every time.