
DIY Nail Polish Remover: Safe and Natural Methods
Removing nail polish at home does not always require a traditional acetone-based remover. If you have run out of remover, want to try gentler alternatives, or simply prefer using ingredients already available at home, there are several DIY nail polish remover methods worth considering. However, natural does not automatically mean completely harmless, so it is important to understand which methods actually work, how to use them, and when to avoid them.
A good homemade nail polish remover should help loosen or dissolve polish without excessive scraping, peeling, or damaging the natural nail underneath. Some household ingredients can soften certain types of polish, while others mainly help with removal through rubbing or friction. In this guide, you will learn how to remove nail polish without acetone, which natural methods are most practical, how to protect your nails and cuticles during removal, and what mistakes can leave your nails dry, weak, or irritated.
1. Can You Make Nail Polish Remover at Home?
Yes, you can make a simple DIY nail polish remover using household ingredients, but the results depend heavily on the type of nail polish you are wearing. Traditional regular polish is generally easier to loosen than glitter polish, gel polish, long-wear formulas, or thick layered manicures. Homemade alternatives may take more time and patience than commercial remover, so they are best viewed as occasional solutions rather than a perfect replacement for every type of remover.
When trying a natural nail polish remover, avoid aggressive scraping or picking if the polish does not come off easily. Pulling polish away from the nail can remove layers of the natural nail surface along with it. Instead, soften the polish gradually, wipe gently, and repeat the process when necessary. This approach is especially important if your nails are already thin, peeling, or brittle.
Helpful tips:
- Test your chosen method on one nail first.
- Work in a well-ventilated area.
- Avoid using homemade mixtures on broken skin.
- Never force stubborn polish off the nail.
- Wash your hands after removal.
- Apply cuticle oil or hand cream afterward.
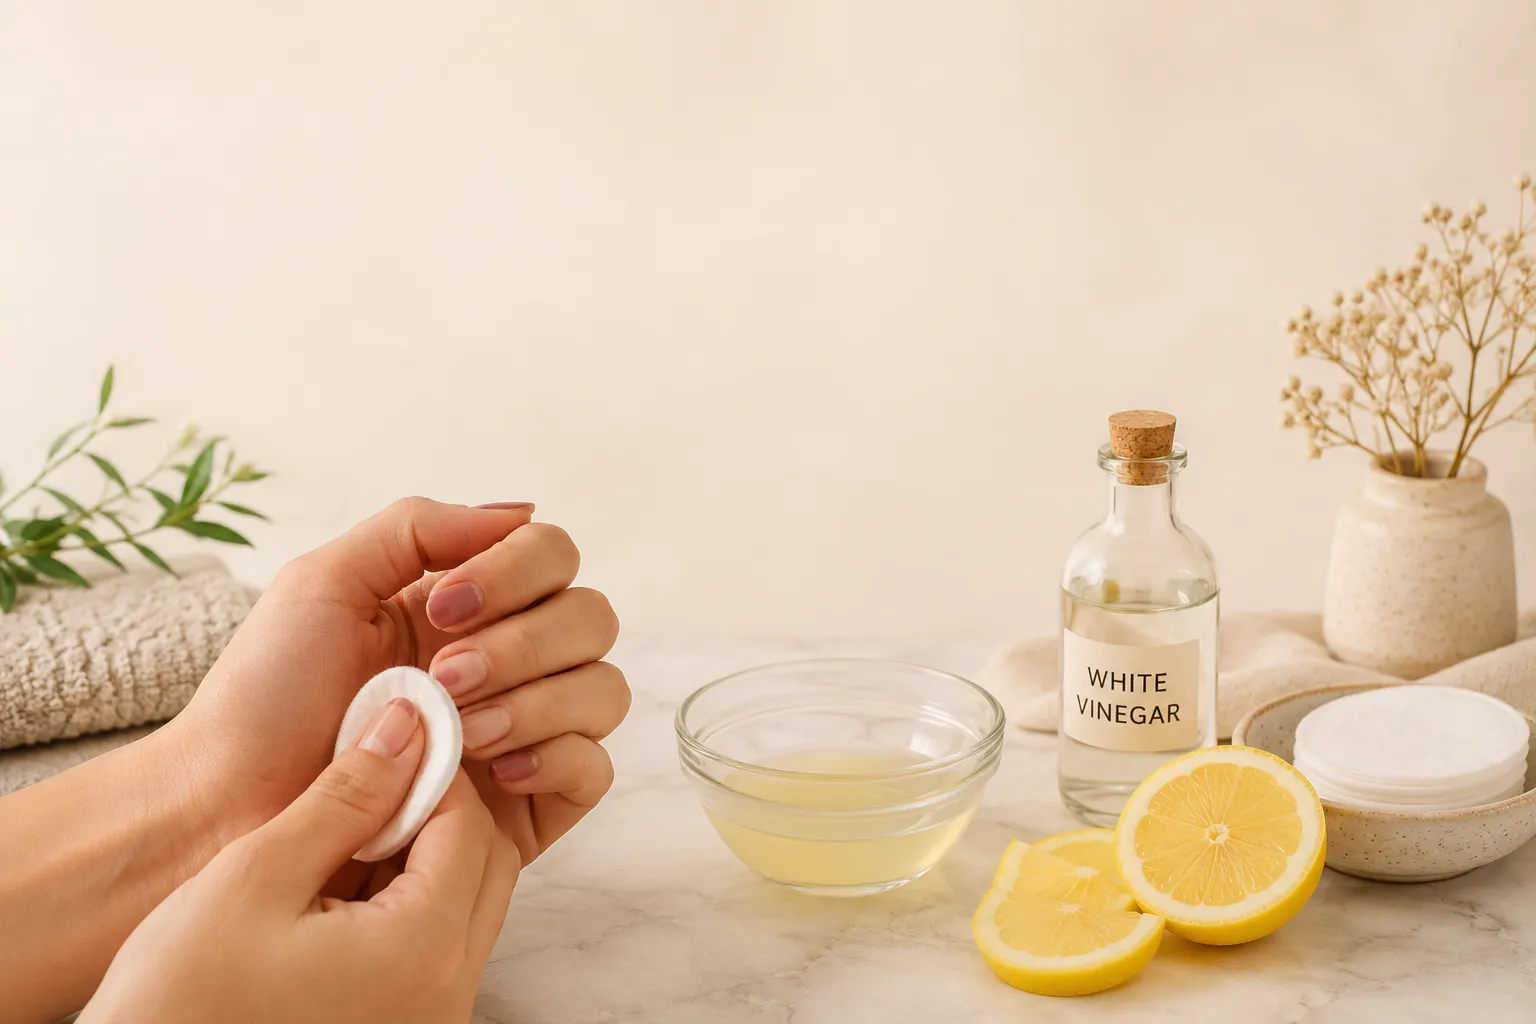
2. Lemon Juice and Vinegar Nail Polish Remover
A popular DIY approach combines lemon juice and white vinegar. Both ingredients are acidic, and the mixture may help soften or loosen some regular nail polish when used with warm water and gentle rubbing. It is not as powerful as acetone, but it can be useful when you only have a light layer of conventional polish to remove.
To try this method, mix approximately 1 tablespoon of lemon juice with 1 tablespoon of white vinegar. Soak your fingertips in warm water for several minutes first to help soften the polish. Then soak a cotton ball or cotton pad in the mixture, press it against one nail for around 30–60 seconds, and gently rub the polish away. Repeat as needed rather than increasing pressure.
Because lemon juice and vinegar are acidic, they can cause dryness or stinging, particularly around irritated cuticles. Do not use this method on cuts, cracked skin, or inflamed areas. Once the polish is removed, rinse your hands thoroughly and moisturize your nails and surrounding skin.

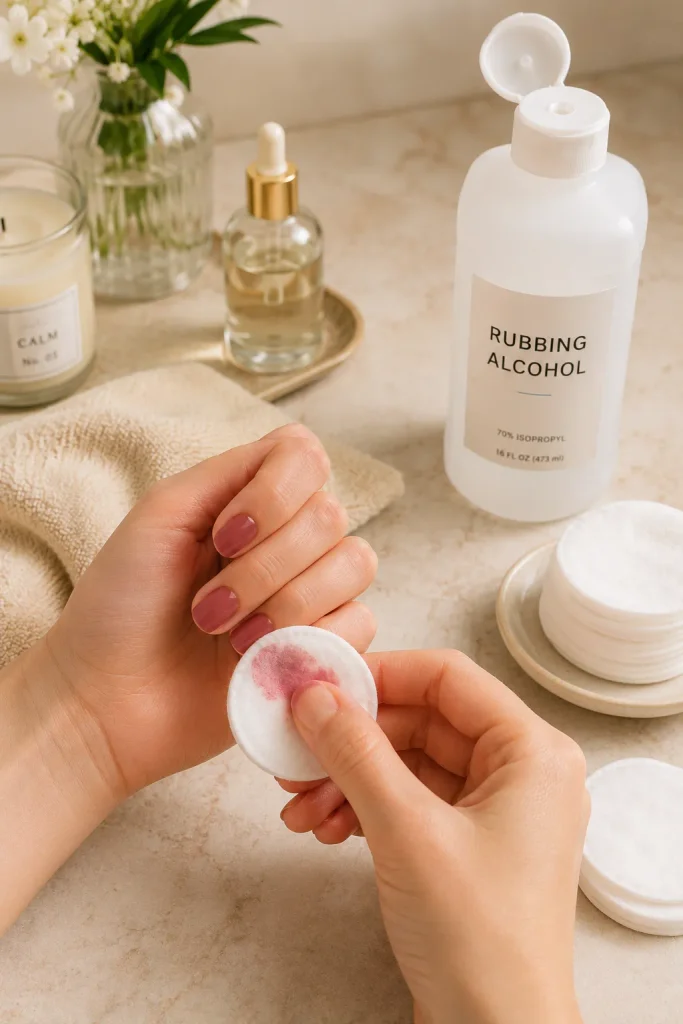
3. Rubbing Alcohol or Alcohol-Based Products
Rubbing alcohol can sometimes help loosen regular nail polish because alcohol can interact with the polish film and make it easier to wipe away. It may be useful when you do not have acetone available, although it usually requires more rubbing and repeated applications than a dedicated nail polish remover.
Pour a small amount of rubbing alcohol onto a cotton pad and hold it against the nail for approximately 20–30 seconds. Then gently rub from the cuticle area toward the tip. If the polish remains, repeat the process instead of scrubbing aggressively. You can also use an alcohol-based hand sanitizer as an emergency alternative, provided it contains a substantial amount of alcohol.
Keep in mind that alcohol can be drying. Avoid soaking your entire hand in it or repeatedly applying it to the surrounding skin. After removing the polish, wash your hands and follow with a nourishing hand cream and cuticle oil.
4. Hydrogen Peroxide and Baking Soda: Should You Use Them?
A mixture of hydrogen peroxide and baking soda is sometimes recommended online as a homemade nail polish remover. However, this combination is not one of the gentlest choices for nail care. Baking soda is abrasive and alkaline, while hydrogen peroxide can irritate skin, especially when used unnecessarily or repeatedly.
For that reason, this method is better avoided if your goal is gentle nail care. There is little reason to use an abrasive mixture when safer removal approaches are available. Scrubbing with baking soda can also make dry nails and cuticles feel rougher.
If you are looking for a safe DIY nail polish remover, prioritize methods that rely on softening and gentle wiping rather than abrasion. The goal is to remove the polish—not to scrub the surface of the natural nail.

5. Using Warm Water and Oil to Loosen Polish
Warm water alone will not reliably dissolve conventional nail polish, but it can help soften surrounding skin and make the removal process more comfortable. Adding a nourishing oil afterward can also help counteract dryness caused by repeated cleaning and rubbing.
For a simple approach, soak your fingertips in comfortably warm water for about 5–10 minutes. Pat them dry and apply a small amount of coconut oil, olive oil, or another skin-friendly oil around the nails. Give it a few minutes to sit, then gently wipe the polish with a cotton pad.
This technique works best when the polish is already starting to chip or loosen. It is not a powerful remover for firmly adhered polish, but it can be incorporated into a gentle nail-care routine. Most importantly, do not use the softened state of the polish as an opportunity to peel it from the nail.

6. Try the “Fresh Polish Over Old Polish” Method
One surprisingly useful emergency technique involves applying a fresh layer of regular nail polish over the existing polish. The solvents in the fresh polish can temporarily soften the older layer, allowing you to wipe both layers away before the new coat dries completely.
Apply a thin layer of regular polish over one nail at a time. Immediately use a cotton pad to wipe the nail while the fresh polish is still wet. You may need to repeat this process, particularly with darker colors or multiple layers.
This method is not exactly a natural nail polish remover, but it can be helpful when you have no remover available. It is also less likely to encourage aggressive scraping because the goal is to dissolve the old layer temporarily and wipe it away. Avoid this technique with gel polish or other cured nail products, which require a different removal process.

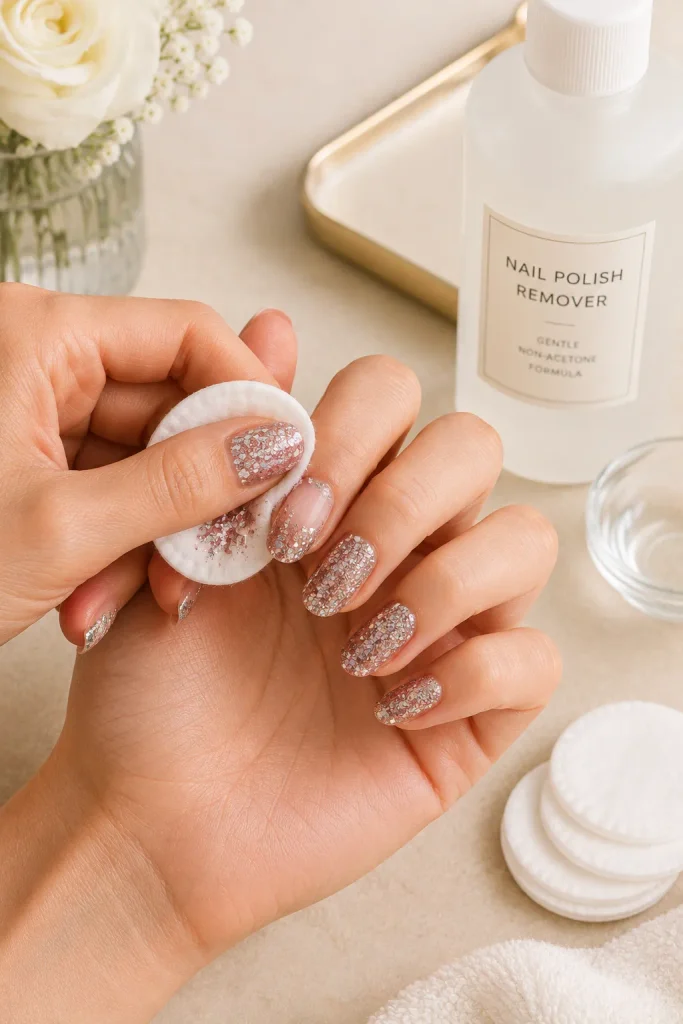
7. How to Remove Glitter Nail Polish Without Damaging Nails
Glitter polish can be much more difficult to remove because the glitter particles become embedded in the polish film. Trying to scrape them off can create unnecessary friction and may damage the nail surface.
Instead, use a generous amount of your chosen remover or alcohol-based alternative on a cotton pad. Place it directly over the nail and allow it to sit for 30–60 seconds before gently wiping. For particularly stubborn layers, repeat the process several times.
You can also wrap each nail with a remover-soaked cotton pad for a few minutes when using a product that is appropriate for this purpose. The key is to allow the polish to soften rather than trying to remove every glitter particle through force. Afterward, wash your hands and moisturize thoroughly.
8. Natural Ways to Care for Nails After Polish Removal
Removing polish is only one part of maintaining healthy-looking nails. Even gentle methods can leave the nail plate and surrounding skin feeling dry, particularly if you frequently use alcohol, acidic ingredients, or commercial removers.
After removing your polish, wash your hands with a mild cleanser and dry them carefully. Apply cuticle oil around each nail, then massage a rich hand cream into your fingers and cuticles. Oils such as jojoba, coconut, or sweet almond oil can provide a comfortable moisturizing step, while a thick hand cream helps reduce moisture loss.
Give your nails a short break between manicures when they feel dry or rough. Keep them neatly filed rather than letting damaged edges catch on clothing, and avoid biting, peeling, or aggressively buffing the nail surface.
Simple post-removal routine:
- Wash away remover residue.
- Pat hands completely dry.
- Massage cuticle oil around each nail.
- Apply nourishing hand cream.
- File rough edges gently.
- Avoid peeling remaining polish.
- Allow nails to rest if they feel weak or dry.

9. What Not to Use as Homemade Nail Polish Remover
The internet contains many DIY nail-removal suggestions, but not every household chemical belongs anywhere near your nails or skin. Products such as paint thinner, gasoline, bleach, strong cleaning solvents, or other industrial chemicals should never be used as nail polish removers. They can cause serious skin irritation and may be dangerous to inhale or use near heat.
Even seemingly mild ingredients can become problematic when used excessively. Strong acids, abrasive powders, concentrated alcohol, and harsh cleaning products can damage the skin barrier or make already-dry nails feel worse.
If a homemade method causes burning, significant redness, swelling, or persistent irritation, stop using it and rinse the affected area with plenty of water. When in doubt, a properly formulated nail polish remover is generally a more predictable choice than experimenting with harsh household chemicals.

10. The Safest DIY Nail Polish Removal Routine
If you want a simple DIY nail polish removal routine, start with the least aggressive approach that is likely to work. For a light regular manicure, begin by soaking your fingertips briefly in warm water. Then try a cotton pad with an appropriate alcohol-based product or a diluted lemon-and-vinegar mixture. Hold it against the nail rather than immediately scrubbing.
Work on one nail at a time and replace the cotton pad when it becomes saturated with polish. Dark colors may require several passes. Never scrape stubborn polish with a sharp object, and never peel a firmly attached layer from the natural nail.
Once all visible polish has been removed, wash your hands and inspect your nails. If they look dry, massage cuticle oil into the nail plate and surrounding skin, followed by hand cream. This final moisturizing step helps make the removal process feel much gentler and leaves your nails looking clean and cared for.

Final Thoughts
Making your own nail polish remover can be useful when you are out of commercial remover, but natural does not always mean safer or more effective. Lemon juice and vinegar, rubbing alcohol, warm water, and other gentle approaches may help with ordinary nail polish, while stubborn formulas often require a properly formulated remover.
The most important part of DIY polish removal is avoiding unnecessary force. Do not scrape, peel, or aggressively buff your nails simply because the polish is difficult to remove. Work patiently, protect the surrounding skin, and always finish with cuticle oil and moisturizer. With the right technique, you can remove a simple manicure at home while keeping your natural nails looking smooth, neat, and healthy.


One Comment