
How to Safely Remove Acrylic Nails at Home | Simple DIY Soak-Off Guide
Acrylic nails can give you a beautiful, durable manicure, but when it is time for a fresh set, knowing how to remove acrylic nails safely is just as important as applying them correctly. Pulling, peeling, or aggressively filing acrylic from the natural nail can remove layers of the nail plate and leave your nails thin, weak, and sensitive. Fortunately, you do not always need a salon appointment to take off acrylics. With the right technique, patience, and a few basic supplies, you can safely remove acrylic nails at home while minimizing damage to your natural nails.
The most reliable DIY method is an acetone soak-off process that gradually softens the acrylic so it can be removed without force. The process takes longer than simply pulling the nails off, but that extra time helps protect the natural nail underneath. In this guide, you will learn how to remove acrylic nails at home step by step, what supplies you need, how long to soak acrylic nails in acetone, common mistakes to avoid, and how to care for your nails afterward. Whether you are removing an old manicure before a new set or simply giving your natural nails a break, this simple acrylic nail removal guide can help you do it more safely.
1. Gather Everything You Need Before Removing Acrylic Nails
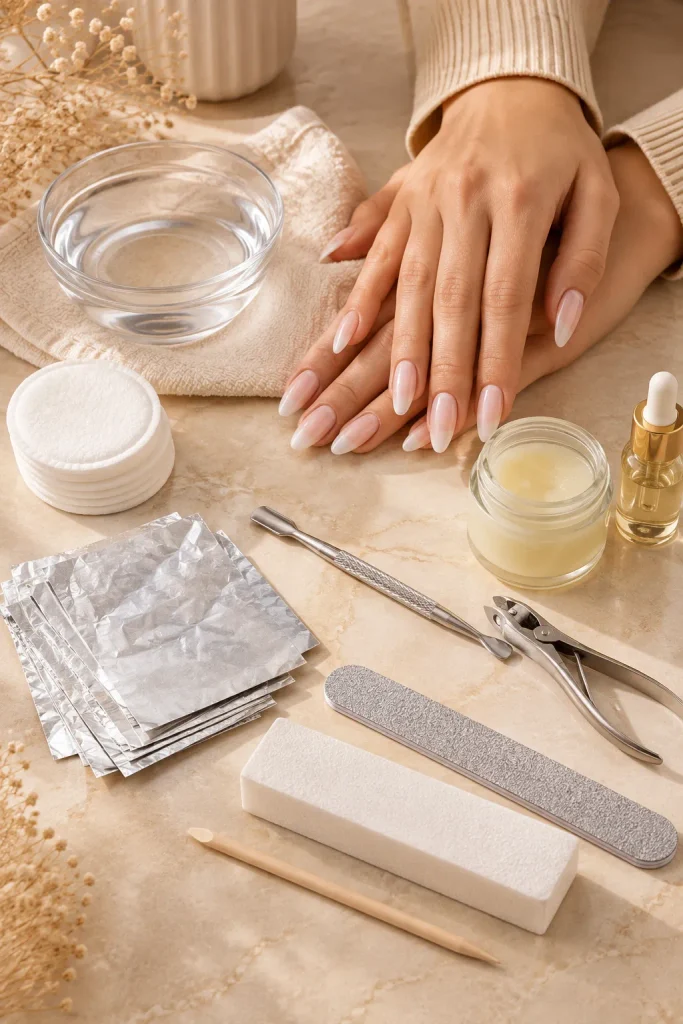
Before beginning the removal process, prepare all your supplies so you do not have to stop halfway through. Pure acetone is the key ingredient because regular nail polish remover generally does not dissolve acrylic effectively. You will also need nail clippers, a coarse nail file, cotton balls or cotton pads, aluminum foil, a cuticle pusher or orange wood stick, and a nail buffer. Having petroleum jelly or a nourishing oil nearby can also help protect the skin around your nails from excessive dryness.
Choose a well-ventilated area and protect the surface where you will be working. Acetone is highly drying and can damage some finishes, so placing a towel or disposable protective covering underneath your hands is a smart precaution. Avoid working near flames, cigarettes, or other sources of heat because acetone is highly flammable.
Supplies checklist:
- Pure acetone
- Nail clippers
- Coarse nail file
- Cotton balls or cotton pads
- Small pieces of aluminum foil
- Cuticle pusher or orange wood stick
- Nail buffer
- Petroleum jelly or cuticle oil
- Hand cream or nail moisturizer
2. Trim the Acrylic Nails as Short as Possible
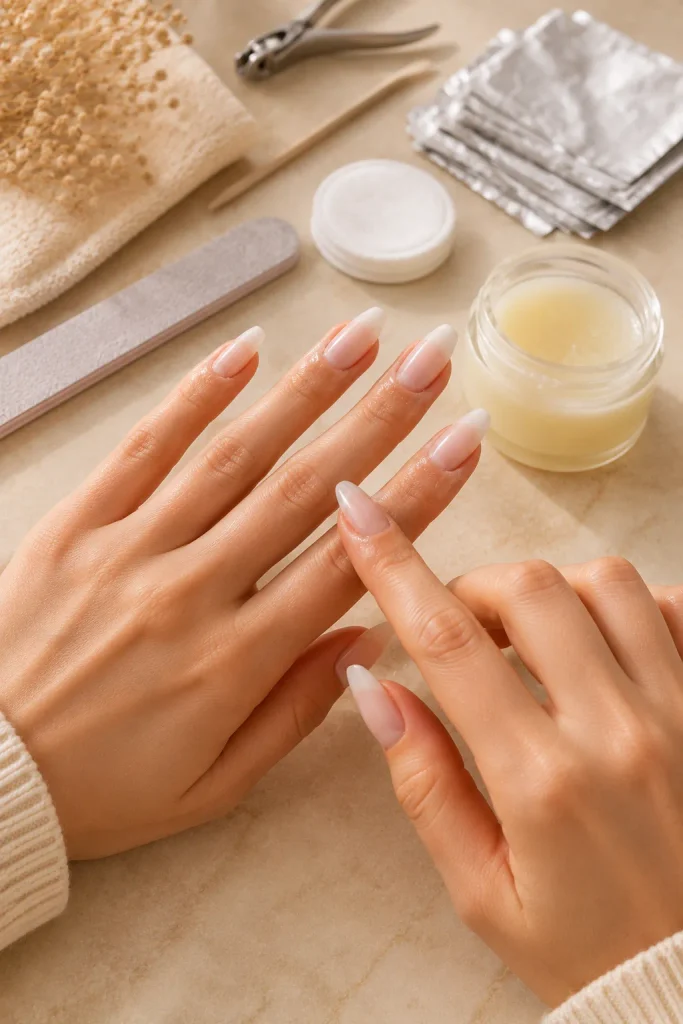
Start by cutting down the length of the acrylic nails. Use nail clippers to carefully trim the free edge, taking off as much artificial length as you can without cutting into the natural nail. If the acrylic is extremely thick, make several small cuts rather than trying to clip through the entire nail at once. This reduces unnecessary pressure on the natural nail.
Once the length has been reduced, use a coarse nail file to remove the shiny top layer of the acrylic. You do not need to file all the way down to your natural nail. The goal is simply to break through the protective topcoat and thin the acrylic so acetone can penetrate it more efficiently. Work slowly and avoid aggressive filing near the cuticle area.
Remember:
- Trim only the artificial length.
- Do not forcefully bend or snap the acrylic.
- File away the glossy surface before soaking.
- Stop filing if you begin seeing your natural nail.

3. Protect the Skin Around Your Nails
Acetone is effective for removing acrylic, but it can also leave the surrounding skin extremely dry. Before soaking, apply a thin layer of petroleum jelly around the cuticles and the skin immediately surrounding each nail. Keep the product off the nail surface itself because too much oil can interfere with the soaking process.
This small preparation step can make the removal experience more comfortable, especially if you have several acrylic layers to dissolve. It is also helpful to keep your hands still during the soaking period so the cotton stays securely against the nails. If your skin becomes painful, excessively irritated, or develops a strong reaction, stop the process and rinse the area thoroughly.
4. Soak the Acrylic Nails in Acetone
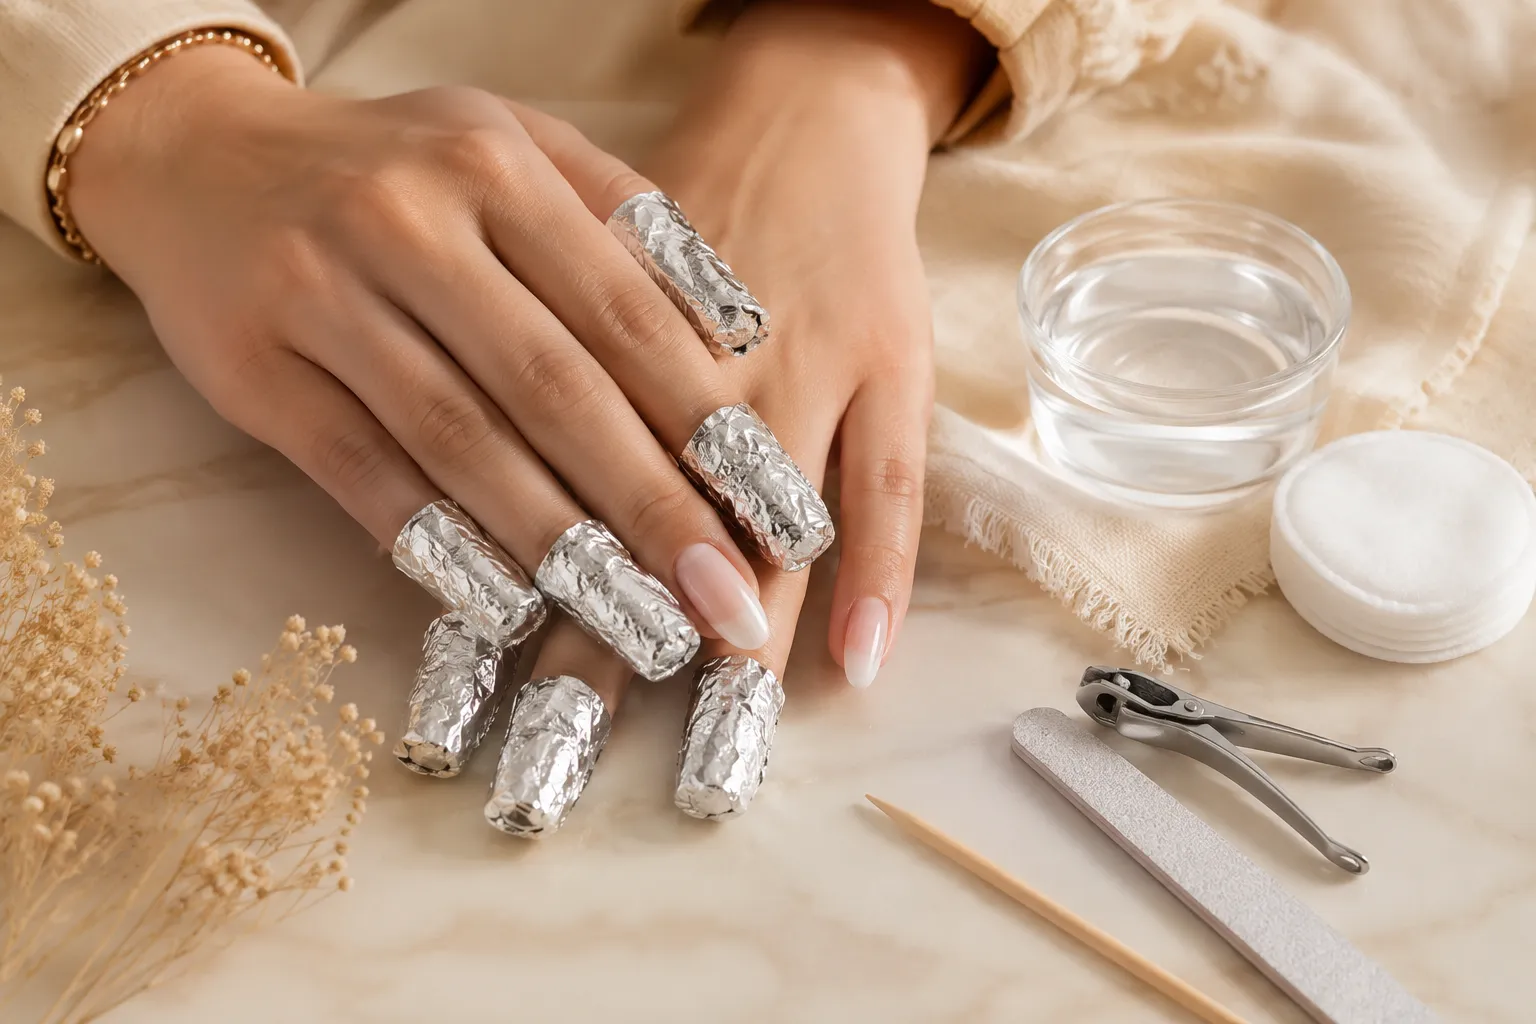
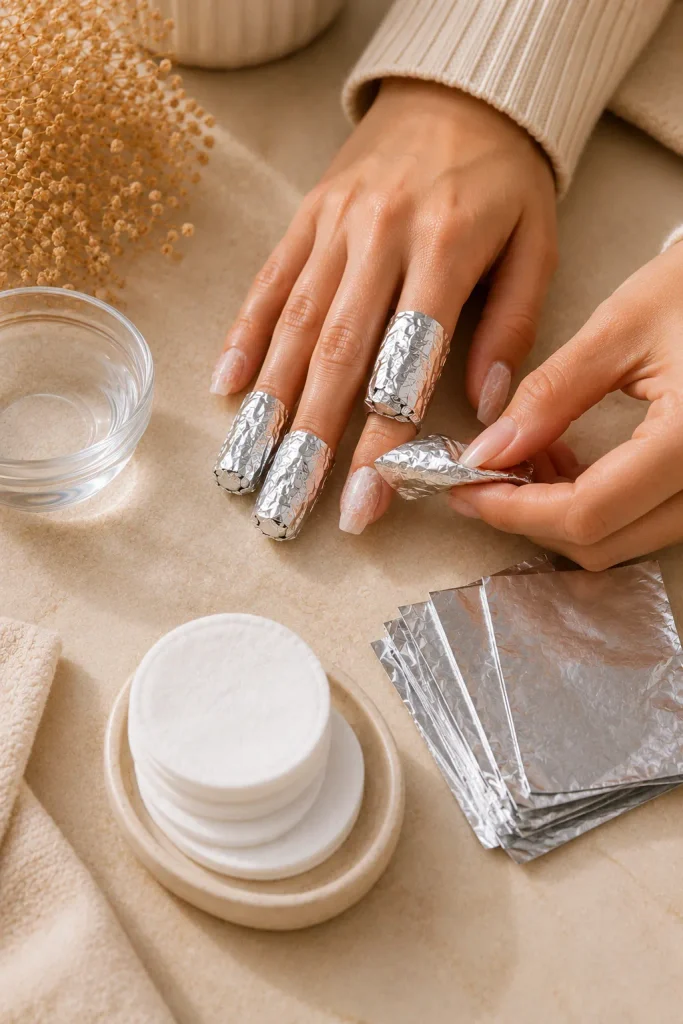
Saturate a small piece of cotton with pure acetone and place it directly over the surface of one nail. Wrap the fingertip securely with aluminum foil to hold the cotton in place. Repeat this process for all of your acrylic nails. The goal is to keep the acetone-soaked cotton in continuous contact with the acrylic.
Allow the nails to soak for approximately 15 to 20 minutes initially. Depending on the thickness of the acrylic and the products used, you may need additional soaking time. Do not rush the process by trying to pry off acrylic that is still firmly attached. If the acrylic remains hard, replace the acetone-soaked cotton and continue soaking for another 10 to 15 minutes.
For better results:
- Use pure acetone rather than standard polish remover.
- Keep the cotton fully saturated.
- Wrap each nail securely.
- Work in a well-ventilated space.
- Never use an open flame or heat source to warm acetone.

5. Gently Remove the Softened Acrylic
After soaking, unwrap one nail at a time and check whether the acrylic has become soft, flaky, or gummy. If it has softened, gently push the loosened material away from the natural nail using a cuticle pusher or orange wood stick. Use light pressure and work in the direction that allows the acrylic to slide away rather than scraping aggressively.
If the acrylic does not move easily, stop pushing and soak the nail again. This is one of the most important rules for safe acrylic removal. You should never have to force the artificial product away from the natural nail. Some areas may soften faster than others, so additional acetone time is completely normal.
Never:
- Peel acrylic off the natural nail.
- Pry underneath firmly attached product.
- Use excessive pressure with a metal tool.
- Rip off lifting sections.
- Scrape aggressively to remove every trace immediately.

6. Repeat the Soaking Process When Necessary
Thicker acrylic manicures often require more than one round of soaking. If you still see hard patches after the first removal attempt, lightly file the softened surface again and wrap the nail with fresh acetone-soaked cotton. Give it another 10 to 15 minutes before checking again.
Patience is much safer than force. Acrylic removal can take 30 minutes or longer depending on the thickness of the enhancement, the type of product used, and how effectively the surface was filed before soaking. If gel polish, nail art, or another coating is layered over the acrylic, additional preparation may be needed before the acetone can reach the acrylic underneath.
7. Smooth Away Remaining Residue Carefully
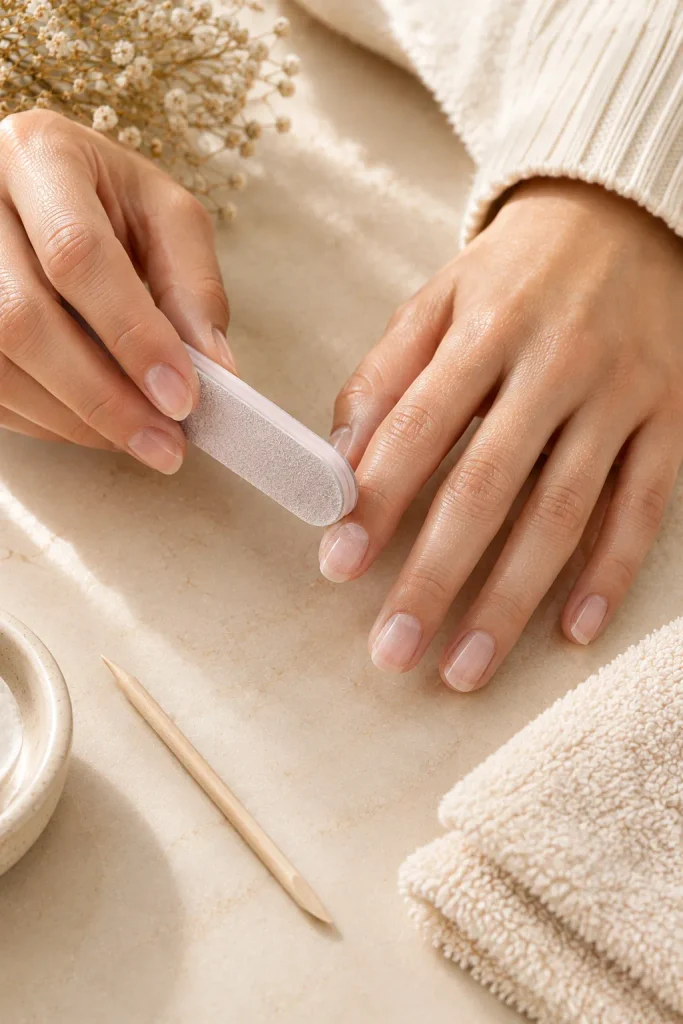
Once most of the acrylic has been removed, there may be a thin layer of product or adhesive residue remaining on the natural nails. Use a fine-grit buffer very gently to smooth away small traces. Avoid repeatedly buffing the same area because excessive buffing can thin the natural nail plate.
The finished natural nail does not need to look perfectly polished immediately. A small amount of temporary roughness is preferable to aggressive filing. After removing the remaining residue, wash your hands with mild soap and water to remove acetone and product debris. Pat your hands dry rather than rubbing the nails aggressively.
A safe finishing approach:
- Remove softened residue first.
- Buff only lightly when necessary.
- Do not thin the natural nail.
- Wash hands after removal.
- Stop if the nail becomes tender or unusually sensitive.
8. Moisturize and Nourish Your Natural Nails
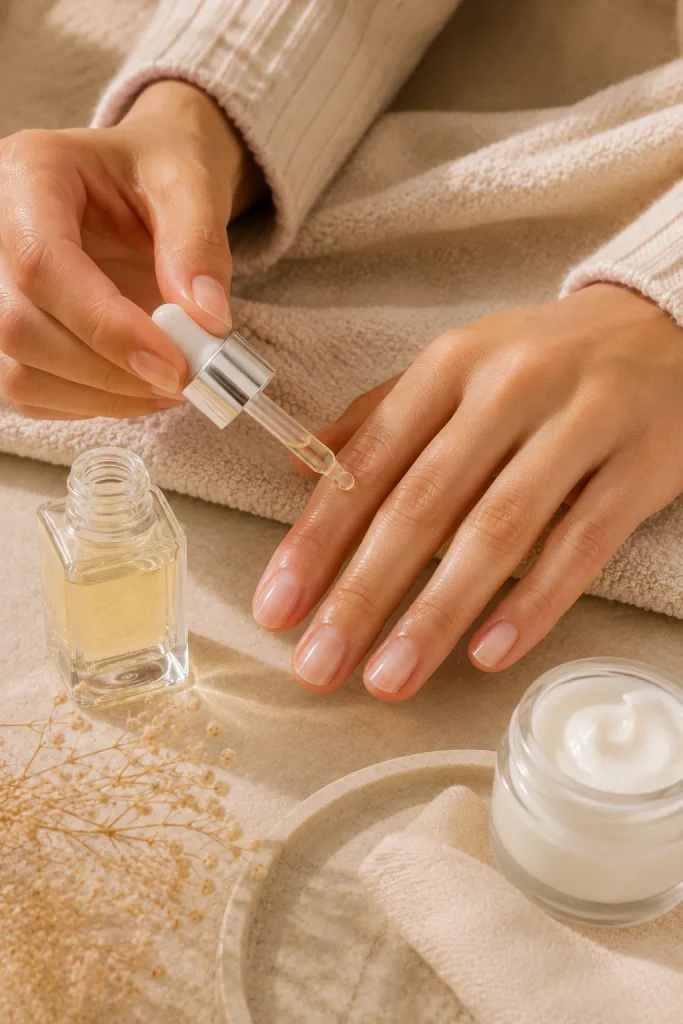
After acrylic removal, your nails and surrounding skin may feel dry because of prolonged exposure to acetone. Apply cuticle oil or a nourishing nail oil around each nail, then massage a rich hand cream into your hands and fingertips. Pay special attention to the cuticle area and the skin along the sides of the nails.
Moisturizing does not instantly rebuild a damaged nail, but it helps keep the surrounding skin comfortable and prevents excessive dryness. Continue applying cuticle oil regularly over the following days. Keeping the nails moisturized can also make them feel smoother and less brittle while you wait for fresh natural nail growth.
9. Give Your Natural Nails Time to Recover
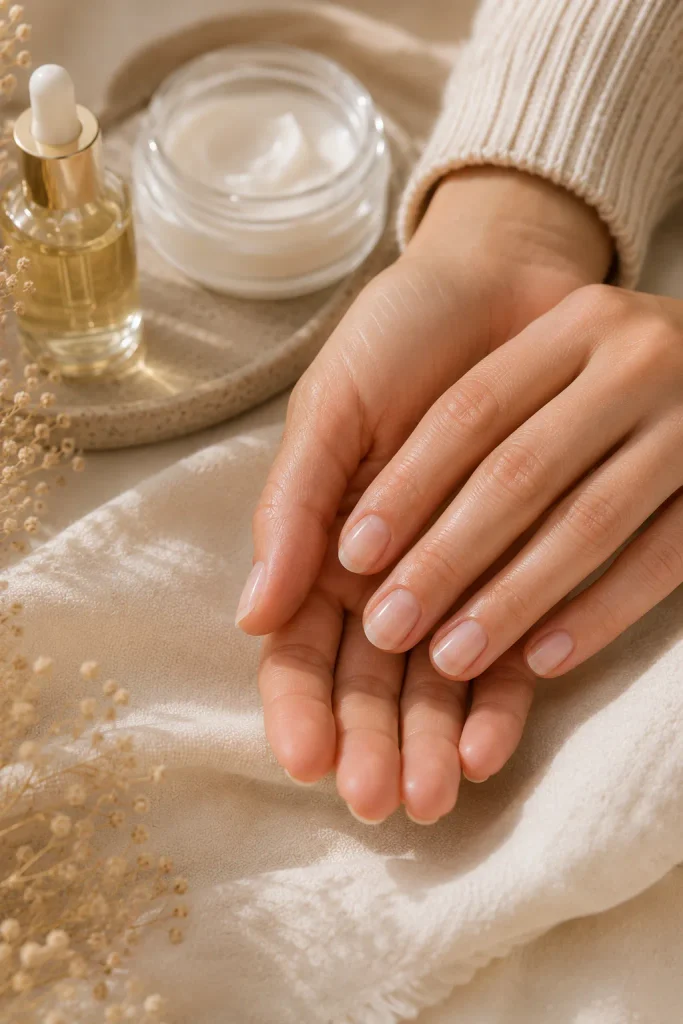
After removing acrylic nails, your natural nails may look thinner, shorter, or less smooth than you expected. This does not necessarily mean that the acrylic itself permanently damaged them. Some of the changes can come from normal nail preparation, filing, dehydration, or the removal process. The best approach is to avoid immediately repeating aggressive treatments if your nails feel weak or sensitive.
Keep your nails at a comfortable length and avoid using them as tools for opening containers or scraping surfaces. Wear gloves when doing household chores that involve prolonged water exposure or cleaning products. Continue with regular cuticle oil and hand moisturizer while the natural nail grows out.
Post-removal nail care tips:
- Keep nails short and manageable.
- Apply cuticle oil regularly.
- Moisturize your hands after washing.
- Avoid picking or peeling the nails.
- Protect your hands during household chores.
- Give sensitive nails a break before another enhancement.
10. Know When You Should Not Remove Acrylics Yourself
Although acetone soaking is a common method for removing acrylic nails at home, not every situation is suitable for DIY removal. If a nail is severely painful, bleeding, swollen, badly cracked, or appears infected, do not continue scraping or soaking it in an attempt to remove the product. Similarly, if the acrylic has caused significant lifting and you are unsure whether the natural nail underneath has been injured, professional assistance may be the safer choice.
If the acrylic does not soften after repeated soaking, it may contain a product that requires a different removal method. Do not try to force it off simply because the process is taking too long. A licensed nail professional can assess the enhancement and remove it using the appropriate technique while reducing unnecessary stress on the natural nail.

Final Thoughts
Learning how to safely remove acrylic nails at home comes down to one simple rule: never force the product off your natural nails. Trimming the length, filing away the surface, soaking patiently in pure acetone, and gently removing softened acrylic can make the process much safer and more manageable. If the product remains hard, soak it again rather than peeling, prying, or scraping aggressively.
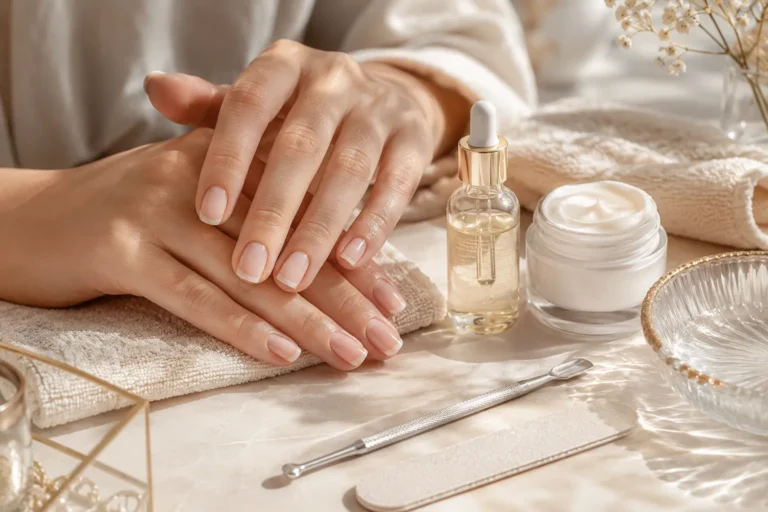
Once the acrylic is completely removed, focus on hydration and gentle nail care. Cuticle oil, hand cream, shorter nails, and a little patience can help your natural nails feel comfortable as they grow. With the right preparation and a slow soak-off approach, you can remove an acrylic manicure at home without turning the process into a damaging DIY nail-removal session.




2 Comments