
DIY Nail Care Routine: How to Keep Your Nails Clean at Home
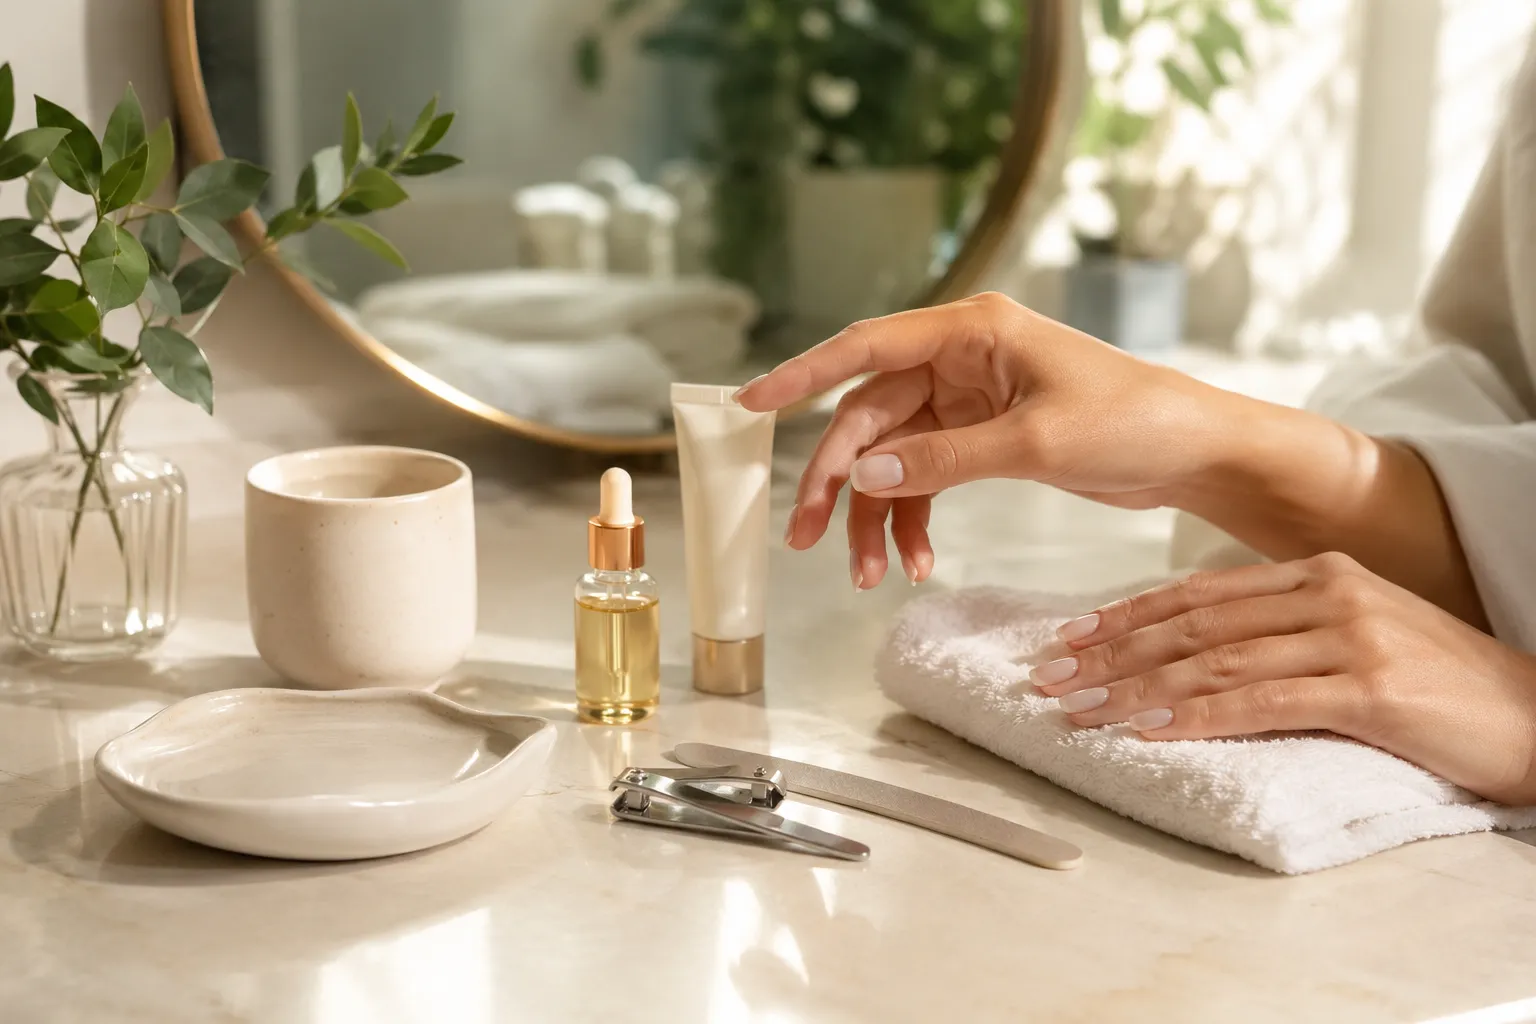
Taking care of your nails does not always require expensive salon appointments or complicated products. A simple DIY nail care routine can help keep your nails clean, neat, moisturized, and looking naturally beautiful from the comfort of your home. With a few basic tools and consistent habits, you can maintain healthy-looking nails while also caring for the surrounding skin and cuticles.
Your nails are exposed to water, dirt, cleaning products, and everyday activities, so regular maintenance can make a noticeable difference. The key is not to overdo your routine. Gentle cleaning, careful shaping, proper moisturizing, and good hygiene are usually more beneficial than aggressive filing, excessive buffing, or cutting the cuticles too deeply.
Why a Regular Nail Care Routine Matters
A consistent nail care routine helps prevent dirt and buildup from collecting underneath and around your nails. Clean nails also create a polished appearance even when you are not wearing nail polish. Keeping your hands and nails moisturized can make the surrounding skin look smoother and less dry.
Regular maintenance also gives you an opportunity to notice changes in your nails. Splitting, unusual discoloration, persistent pain, swelling, or other changes should not simply be covered with polish. If something looks unusual or does not improve, consider getting professional medical advice rather than trying to treat it with home remedies.
The best routine is one that is gentle enough to repeat regularly. You do not need to spend hours caring for your nails. A few minutes several times a week, combined with good daily hygiene, can keep your hands looking tidy and well cared for.
Step 1: Gather Your Nail Care Supplies
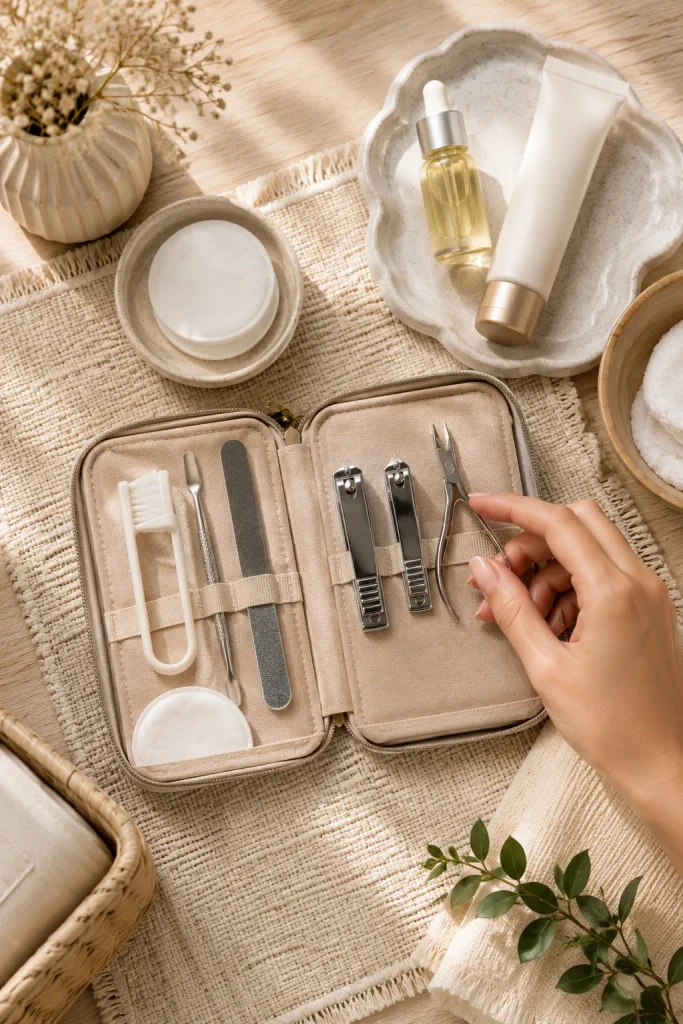
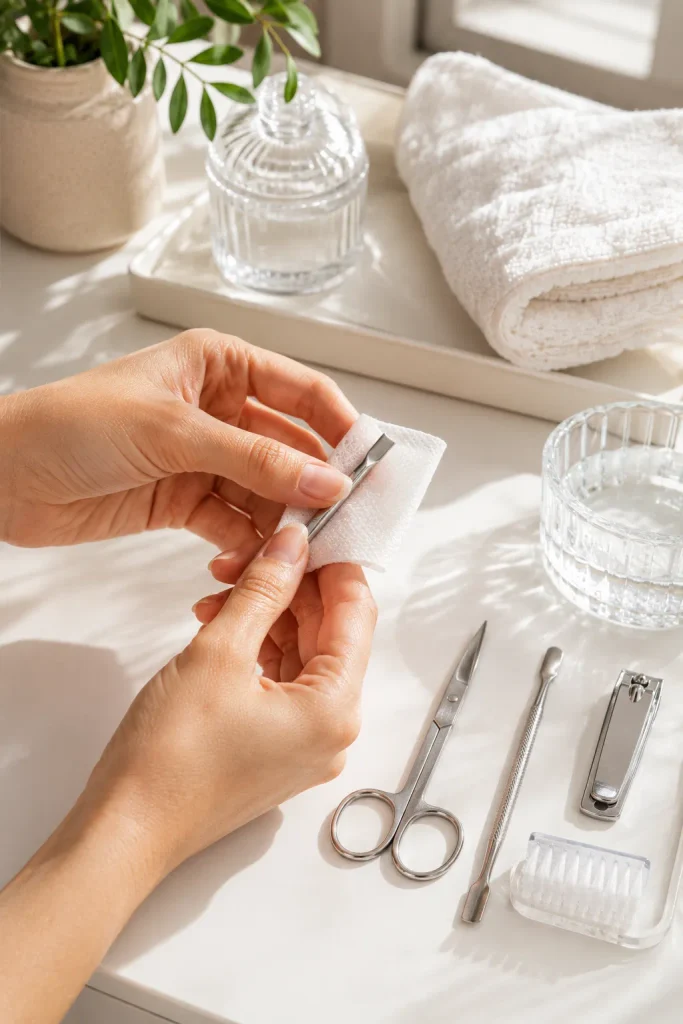
Before starting your routine, gather everything you need so you do not have to search for tools while working. Keeping your manicure supplies together can also make regular nail care easier to maintain. You can create a simple home nail kit without buying a large collection of products.
Useful items include:
- A gentle hand soap
- A soft nail brush
- Nail clippers or nail scissors
- A fine-grit nail file
- A clean cuticle pusher
- Cuticle oil or a nourishing hand cream
- A clean towel
- Nail polish remover if needed
- A small bowl for soaking, if you prefer soaking your hands
Always make sure your tools are clean before using them. Sharing nail tools without properly cleaning them can spread bacteria and other infections. If you regularly do your own manicures, clean and disinfect reusable tools according to the manufacturer’s instructions.
Step 2: Wash Your Hands and Nails Thoroughly
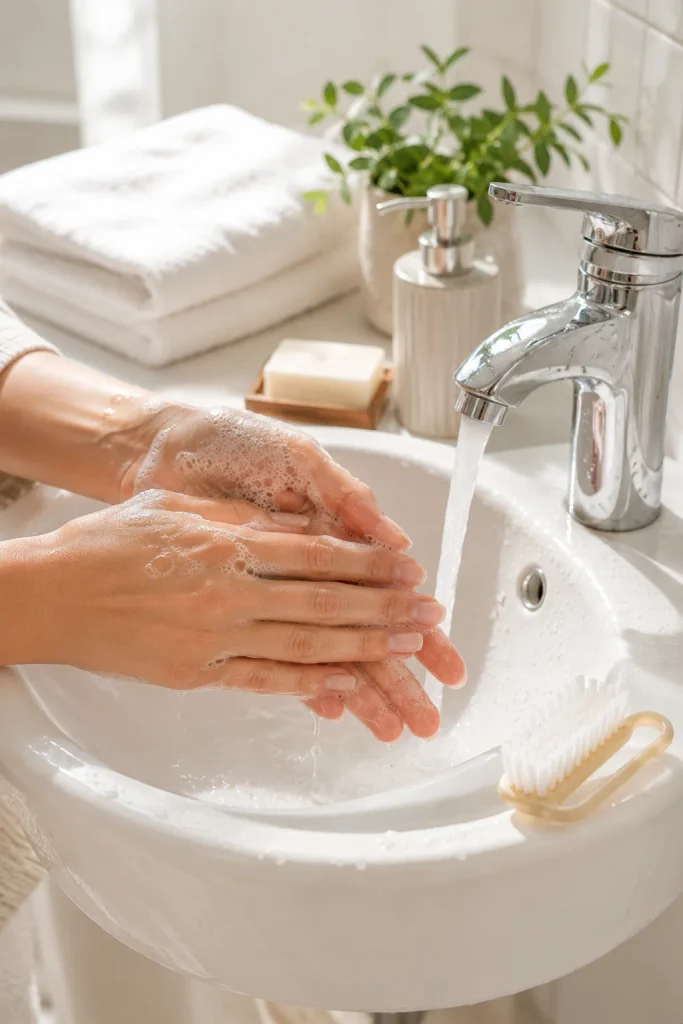
Start your DIY nail care routine by washing your hands with warm water and a gentle soap. Pay special attention to the areas around your nails and underneath the free edge where dirt can collect. A soft nail brush can help remove stubborn debris without requiring harsh scrubbing.
Avoid aggressively digging underneath your nails with sharp objects. Although it may seem like an effective way to remove dirt, excessive scraping can irritate the skin underneath the nail and potentially cause small injuries.
After washing, rinse your hands thoroughly and pat them dry with a clean towel. Pay attention to the spaces between your fingers and around your nails because leaving your hands damp for long periods can contribute to irritation.
If your hands frequently come into contact with dirt, cleaning products, or other substances, washing them regularly is one of the simplest habits you can develop for cleaner-looking nails.
Step 3: Remove Old Nail Polish Gently
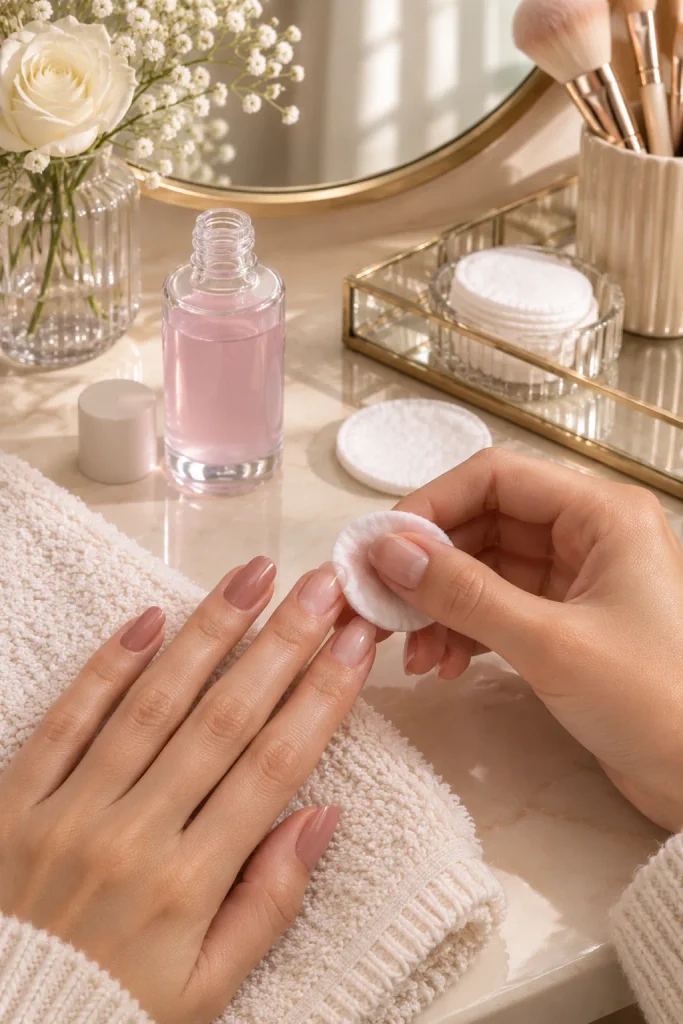
If you currently have nail polish on your nails, remove it before shaping or caring for your nails. Use an appropriate nail polish remover and avoid repeatedly rubbing the same area with excessive pressure.
Once the polish is removed, wash your hands or wipe away any remaining residue. Give your nails a moment to dry before examining them closely.
If your nails feel particularly dry after polish removal, apply a small amount of hand cream or cuticle oil. You do not need to immediately apply another layer of polish. Giving your nails and surrounding skin regular breaks from decorative products can make your overall nail care routine easier and more comfortable.
Remember that nail polish itself is not necessarily a problem for healthy nails. The bigger issue is often how products are removed and how aggressively the nails are filed, buffed, peeled, or picked.
Step 4: Trim Your Nails Carefully
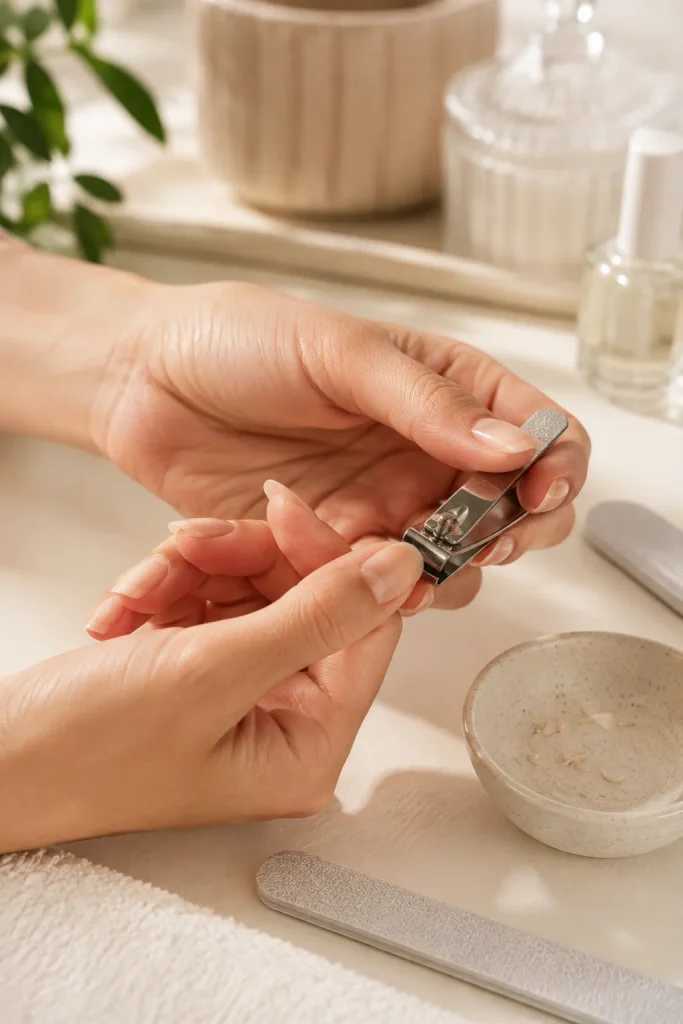
If your nails have become too long or uneven, trim them carefully using clean nail clippers or scissors. Avoid cutting them extremely short because leaving a small amount of free edge can help protect the sensitive area beneath the nail.
For many people, a softly rounded or gently squared shape is practical for everyday activities. Choose a shape that works with your natural nail growth and lifestyle rather than forcing your nails into an uncomfortable shape.
Make small cuts instead of trying to remove a large amount of nail at once. This gives you better control and can help prevent accidental over-trimming.
If your nails are already at a comfortable length, you may not need to clip them at all. Simply filing the edges can be enough to maintain their shape.
Step 5: File the Edges for a Smooth Shape
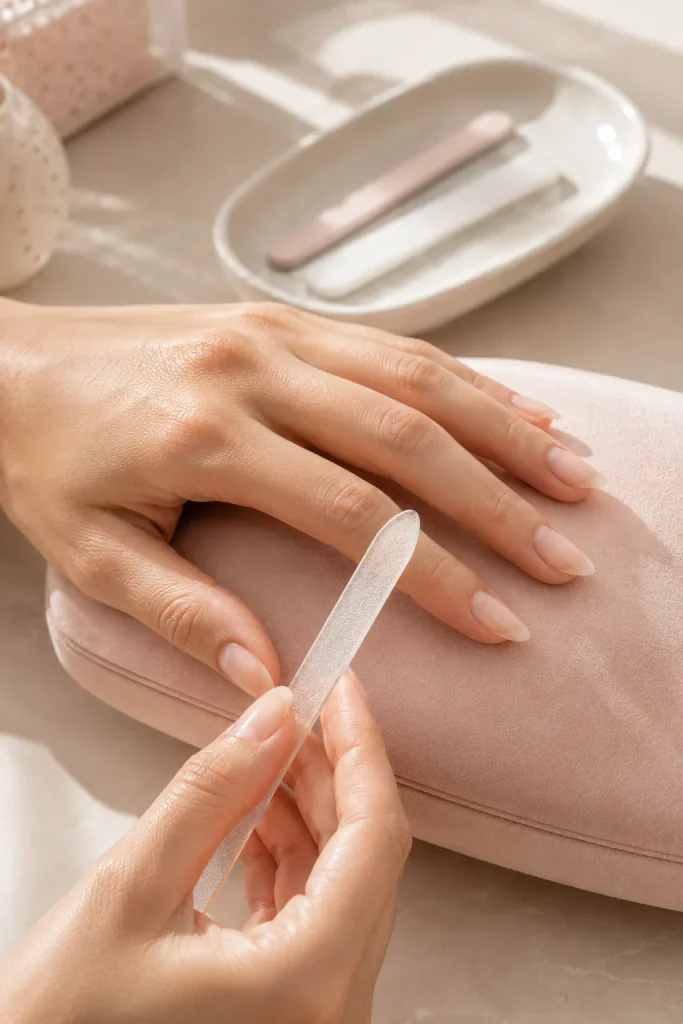
After trimming, use a fine-grit nail file to smooth rough edges. File gently and avoid aggressively sawing back and forth across the nail.
Try to keep the shape consistent across both hands. If you prefer almond, oval, square, or squoval nails, follow the natural outline of your nails instead of removing excessive length to achieve a dramatic shape.
Filing is especially useful when you notice tiny snags that could catch on clothing or hair. Smooth edges can make your nails feel more comfortable during everyday activities.
Do not use a coarse file too aggressively on natural nails. Excessive filing can thin the nail plate and leave it more vulnerable to splitting. Gentle, controlled movements are usually all you need.
Step 6: Take Care of Your Cuticles
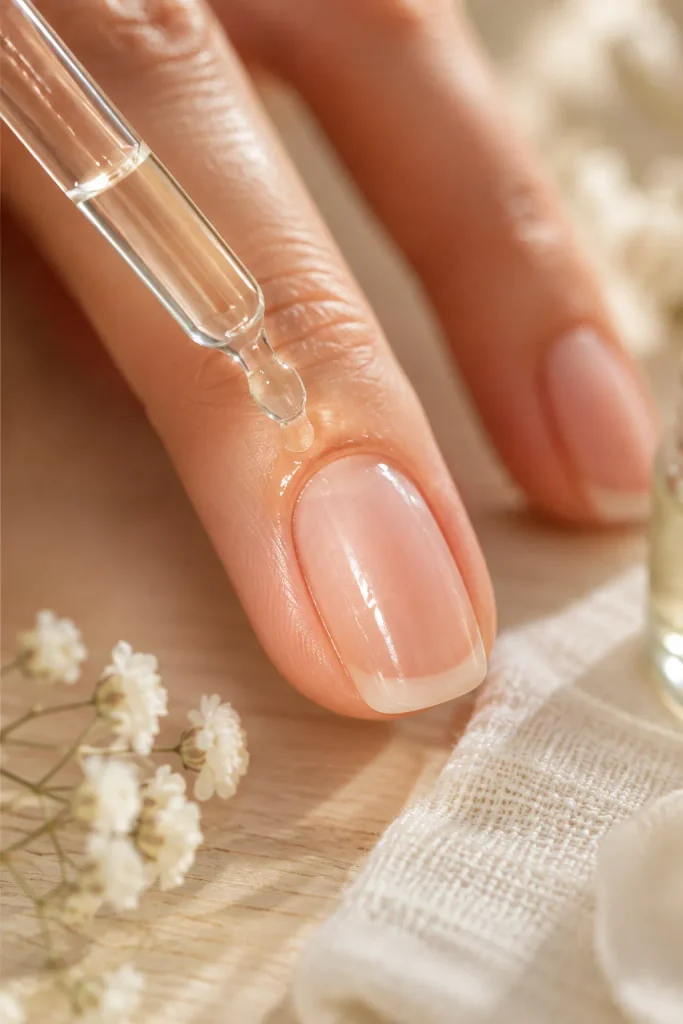
Cuticles serve an important protective function around the base of your nails, so they should not be aggressively cut or removed. Instead, soften the area with cuticle oil or hand cream and gently push back excess cuticle tissue when necessary.
You can apply a small amount of cuticle oil around each nail and massage it into the skin. Leave it for a few minutes so the area becomes softer and easier to manage.
Use a clean, gentle cuticle pusher if you choose to push the cuticles back. Never force them if they feel tight or uncomfortable.
Avoid cutting live skin around the nail. Nicks and cuts can create openings that allow bacteria to enter. If your cuticles are already irritated, cracked, or painful, focus on moisturizing and protecting the area rather than performing a detailed manicure.
Step 7: Moisturize Your Nails and Hands
Moisturizing is one of the easiest steps to add to your daily nail care routine. Frequent hand washing can leave your skin feeling dry, especially when combined with cold weather, frequent sanitizer use, or household cleaning.
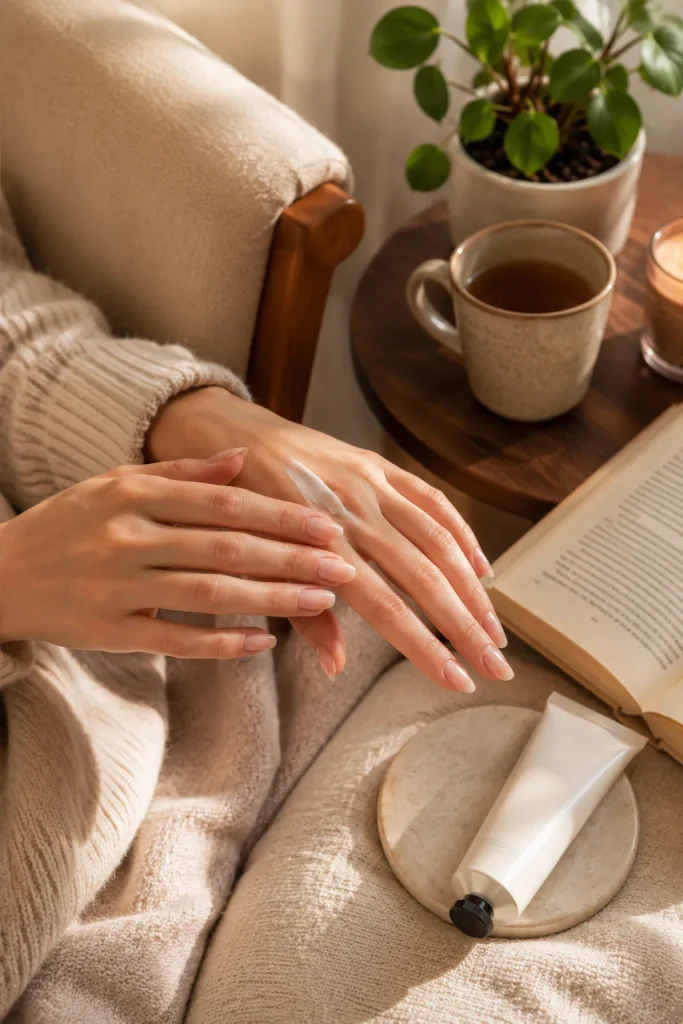
Apply a nourishing hand cream after washing your hands whenever your skin feels dry. Massage the cream over your palms, fingers, nail beds, and cuticles.
For extra care at night, apply cuticle oil around each nail followed by a richer hand cream. Allow the products to absorb while you sleep.
You do not need an expensive product to make moisturizing part of your routine. The most important factor is consistency. A simple moisturizer used regularly can be more useful than a premium product that you rarely remember to apply.
Step 8: Keep Your Nail Tools Clean
Clean tools are an essential part of maintaining good nail hygiene at home. Nail clippers, files, cuticle tools, and brushes can collect residue over time, so they should be cleaned regularly.
Wash reusable metal tools according to their care instructions and allow them to dry completely before storing them. Keep your nail tools in a clean, dry container rather than leaving them loose in a damp bathroom area.
Avoid sharing personal nail tools whenever possible. Even family members should ideally have their own manicure tools, especially if someone has an active nail or skin infection.
Replace disposable files, buffers, and other products when they become worn or dirty. A fresh tool can be safer and more effective than trying to keep using one that has accumulated debris.
Step 9: Protect Your Nails During Everyday Tasks
Nail care does not end after your manicure. Everyday habits have a major impact on how clean and healthy your nails look.
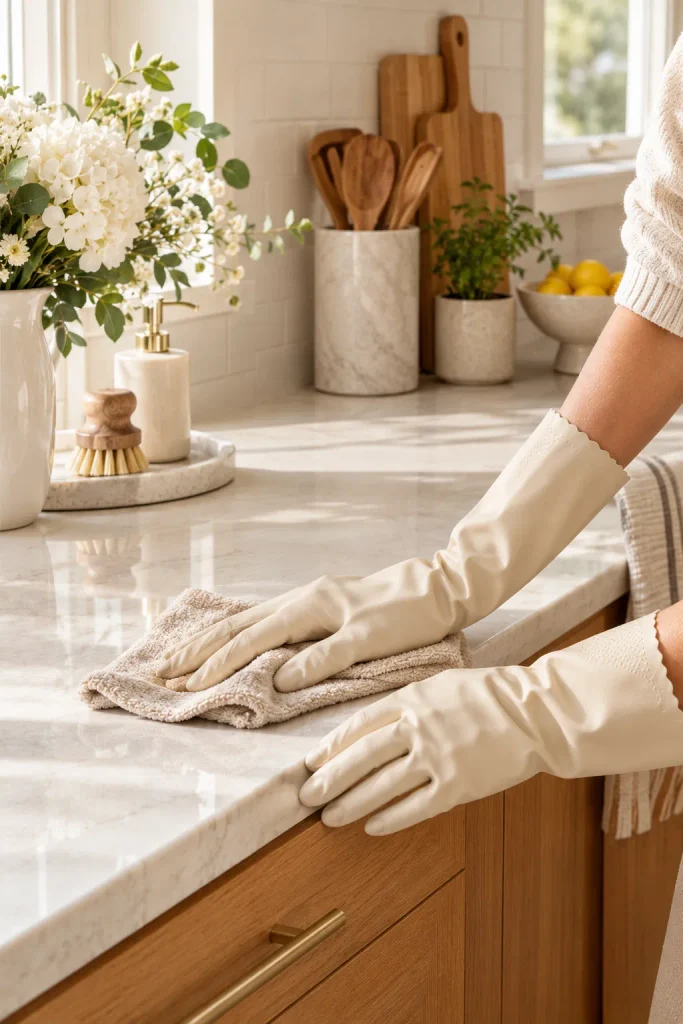
Wear household gloves when washing dishes, cleaning bathrooms, gardening, or handling harsh cleaning products. Prolonged exposure to water and cleaning chemicals can dry out the skin and leave nails feeling weaker.
Try not to use your nails as tools. Opening cans, scratching labels, peeling stickers, or prying objects open with your nails can cause unnecessary stress and breakage.
If you frequently wash your hands, remember to moisturize afterward. Keeping a small hand cream nearby can make this habit much easier.
Step 10: Create a Simple Weekly Nail Care Schedule
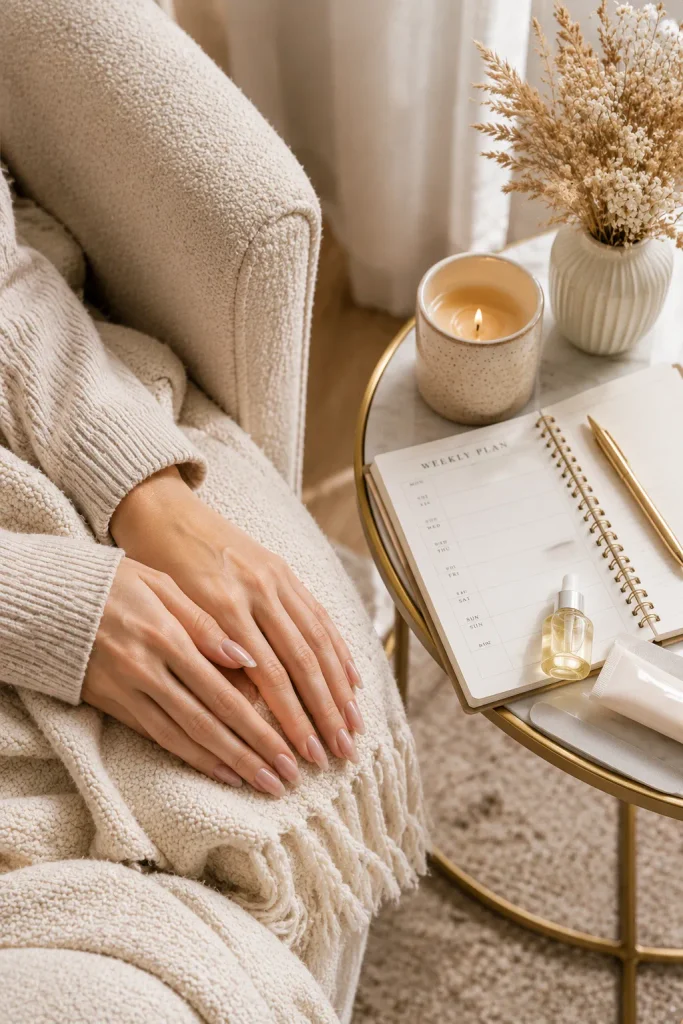
You do not need to perform a complete manicure every day. A simple schedule can help you stay consistent without making nail care feel like a chore.
During the week, focus on basic hygiene and moisturizing. Wash your hands properly, clean beneath the nails gently, and apply hand cream whenever your skin feels dry.
Once a week, set aside a little extra time for trimming, filing, cuticle care, and a more thorough tool-cleaning session. If your nails are already neat, you may only need to smooth a few edges and apply cuticle oil.
Consistency matters more than complicated routines. Small habits repeated regularly can keep your nails looking cleaner and more polished.
Common DIY Nail Care Mistakes to Avoid
Some common manicure habits can actually make natural nails more vulnerable to damage. One of the biggest mistakes is cutting the cuticles too deeply. The cuticle area should be treated gently rather than aggressively removed.
Another mistake is excessive buffing. Buffing can temporarily make the nail surface appear smoother and shinier, but doing it too often can remove layers from the nail plate.
Avoid peeling off gel polish or other artificial products. Picking and peeling can take layers of the natural nail with the product. Use the appropriate removal process instead.
It is also important not to ignore persistent changes. If you notice ongoing pain, swelling, significant discoloration, separation of the nail, or other concerning symptoms, professional evaluation is more appropriate than experimenting with DIY treatments.
How Often Should You Do a Nail Care Routine?
Basic nail hygiene should be part of your normal hand-washing routine. However, a full manicure does not need to happen every day. For most people, a simple weekly maintenance session is enough to trim, shape, moisturize, and tidy the nails.
You can adjust the schedule according to how quickly your nails grow and how much wear they experience. Someone who works with their hands may need more frequent filing, while someone with short nails may only need occasional maintenance.
The goal is to keep your nails clean and comfortable without constantly manipulating them. Over-manicuring can be just as unhelpful as neglecting them.
Final Thoughts
A DIY nail care routine can be simple, affordable, and easy to maintain. Start with clean hands and tools, gently clean your nails, trim and file them carefully, protect your cuticles, and keep your hands moisturized.
The most important part is consistency. Instead of relying on complicated treatments, focus on gentle everyday habits that protect your nails from unnecessary damage. With regular care, your natural nails can look neat, clean, moisturized, and beautifully maintained without requiring a salon visit every week.


4 Comments