

DIY Nails at Home – A Simple Guide for Beginners
You do not need professional equipment or advanced nail-art skills to create beautiful nails at home. With the right preparation and a few simple techniques, even beginners can achieve a clean, glossy manicure that looks much more polished than a rushed coat of nail polish.
The secret is not simply applying color. A long-lasting DIY manicure depends on preparing the natural nail, choosing a flattering shape, caring for the surrounding skin, controlling the amount of polish on the brush, and allowing each layer to dry properly.
This beginner-friendly guide walks you through the entire process while also explaining the small techniques that can make a noticeable difference.
1. Start With a Clean Nail Workspace
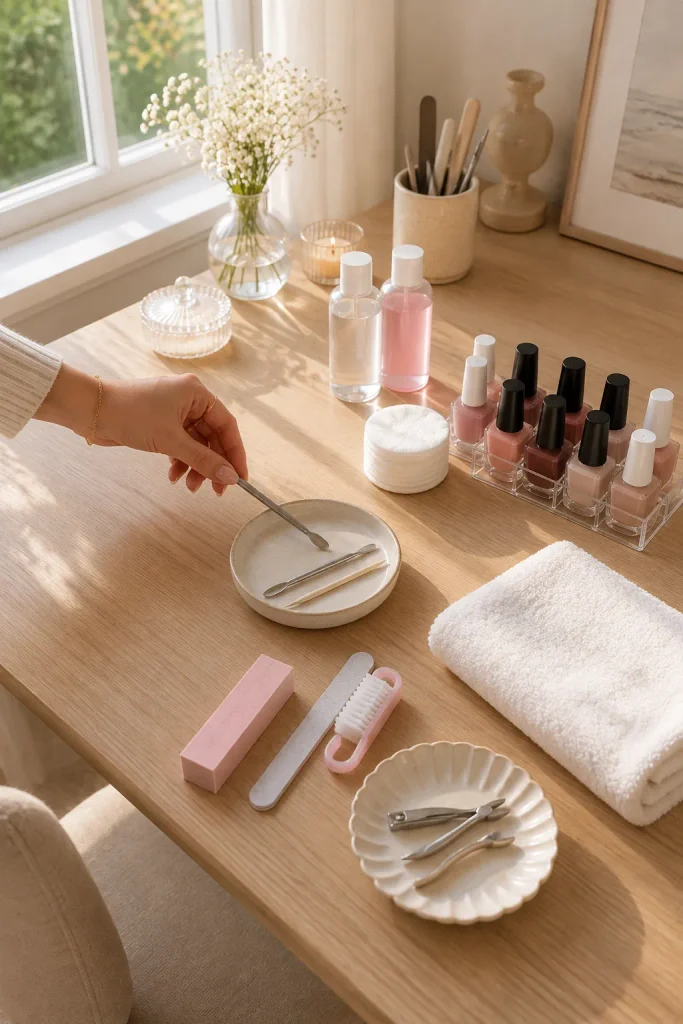
Before touching your nails, prepare a comfortable workspace with good lighting and enough room for your tools. A stable table is better than doing your manicure while sitting on a bed or couch, where bottles can easily tip over.
Place a clean towel or piece of paper underneath your hands to protect the surface from polish. Keep your nail file, buffer, remover, cotton pads, cuticle pusher, polish, and moisturizer within reach. Good lighting is particularly important because it helps you see uneven edges, excess polish, and areas that still need cleaning.
2. Decide What Kind of Manicure You Want
Take a moment to decide on the final look before you begin. Your desired result can determine how you prepare and shape your nails.
For an everyday beginner manicure, short round or squoval nails are practical and relatively easy to maintain. If you prefer a softer feminine appearance, medium almond nails can create an elegant silhouette, although they require more careful filing.
You should also choose your polish finish. Cream colors are usually easier for beginners than highly metallic or glitter formulas, which can make application and cleanup more noticeable.

3. Prepare Your Natural Nails Properly
Remove any existing polish completely before starting. Pay attention to the corners and edges because leftover color can affect the appearance of the new manicure.
Wash your hands afterward and dry them thoroughly. If your nails are damp or oily, polish may not adhere as well. For an especially clean application, lightly wipe each nail with a small amount of nail polish remover before applying your base coat. This removes surface oils and residue without requiring aggressive scrubbing.
4. Choose and Create an Even Nail Shape
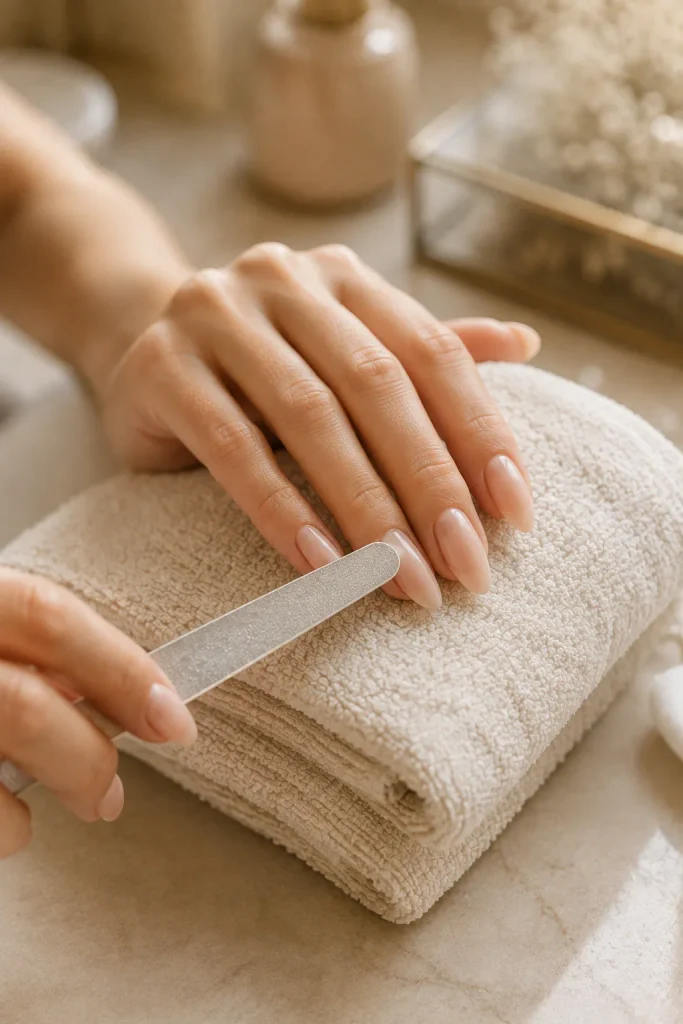
Your nails do not need to be extremely long to look attractive. In fact, beginners often find shorter nails easier to shape and maintain. Look at your natural nail beds and choose a shape that complements them. A squoval shape combines the straight edge of a square nail with softly rounded corners, making it a practical choice for everyday wear.
When filing, focus on creating symmetry. Instead of repeatedly filing randomly, make small adjustments and check the nail from different angles. If one nail is noticeably longer than the others, use it as a guide and gradually bring the remaining nails closer to the same length.
5. Smooth Rough Edges Without Weakening Your Nails
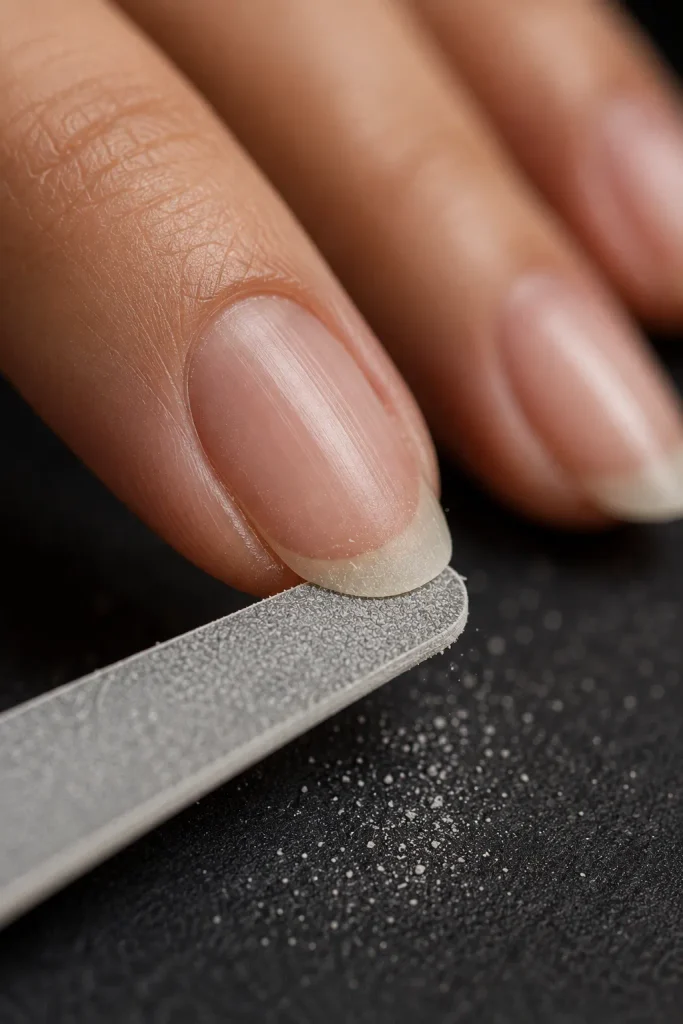
After shaping, lightly run the file along the free edge to remove rough areas. Avoid aggressively filing the surface of your natural nails. The goal is to refine the shape, not make the nail extremely thin or perfectly smooth.
If you use a buffer, use it sparingly. Excessive buffing can remove layers from the nail and may leave it weaker over time. A good beginner manicure should improve the appearance of the nail while preserving as much of the natural nail as possible.
6. Give Your Cuticles Gentle Attention
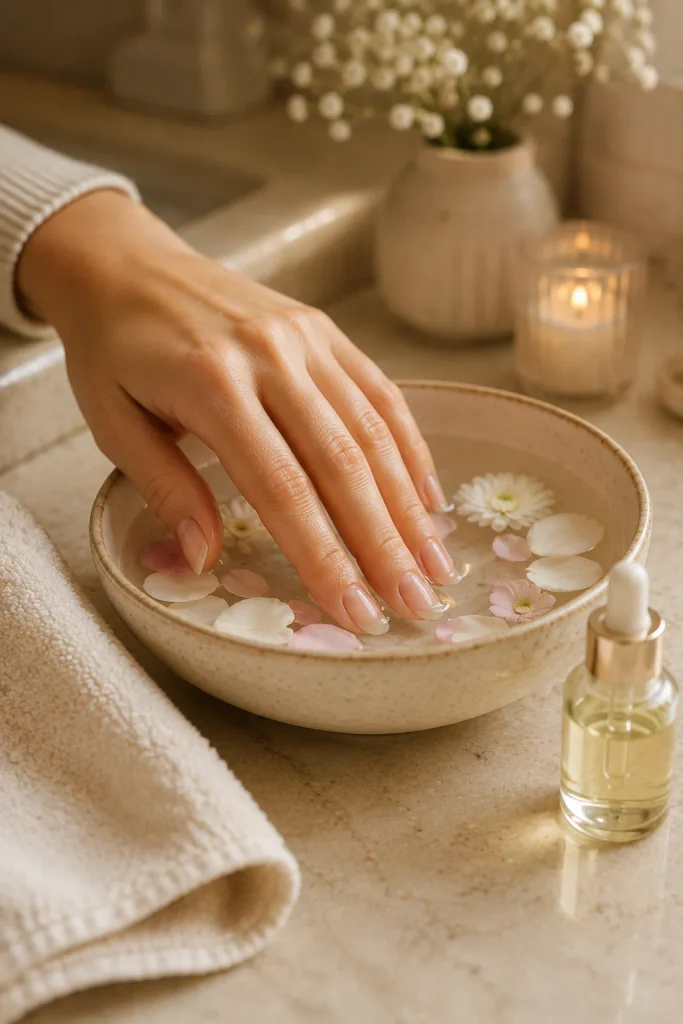
The skin surrounding your nails can make a major difference in how finished your manicure looks. Apply cuticle oil and allow it to sit for a few minutes. This softens dry skin and makes gentle cuticle care easier.
Use a cuticle pusher carefully to move softened cuticles back. Do not aggressively scrape the nail plate or cut living tissue. If you have small pieces of loose, dead skin, avoid pulling them with your fingers. Keeping the area moisturized and using proper nail tools is a safer approach.
7. Master the Thin-Layer Polish Technique
One of the biggest beginner mistakes is applying too much polish. After removing the brush from the bottle, wipe one side against the bottle neck so you have better control over the amount remaining on the brush.
Apply the polish using controlled strokes. Start near the base without flooding the cuticle area, then move toward the tip. You generally want three controlled sections: one down the center and one on each side. Do not repeatedly brush over the same area while the polish is beginning to set. If the first coat looks slightly uneven, leave it alone. A second thin coat usually creates a much smoother finish.
8. Keep Polish Away From Your Skin
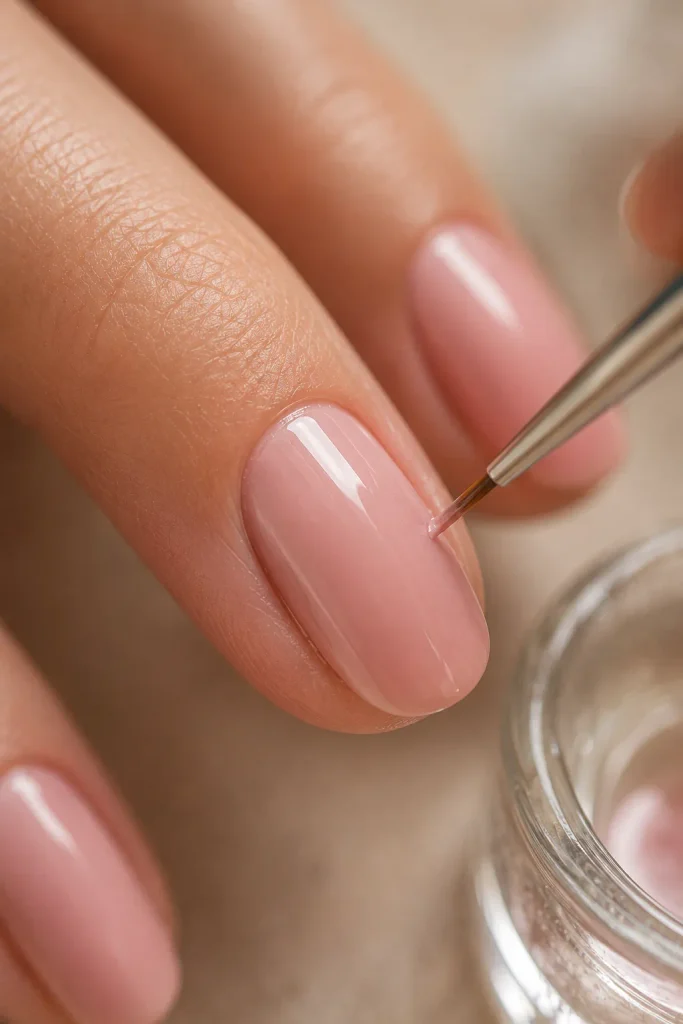
Getting polish onto the surrounding skin is completely normal when you are learning. The goal is not to make every stroke perfect—it is to develop better brush control. Leave a very narrow gap between the polish and the surrounding skin rather than trying to push the brush directly against the cuticle.
This small margin can actually make the manicure look cleaner because the polish does not pool around the edges. If you make a mistake, use a small cleanup brush dipped in remover after the polish has settled slightly. Work carefully around the nail rather than repeatedly wiping and repainting the same area.
9. Build Color Gradually
Some nail polish shades are naturally sheer, while others are highly pigmented. Instead of trying to achieve full coverage immediately, build the color gradually.
Apply the first thin coat and allow it to become sufficiently dry. Then apply a second coat. For particularly sheer colors, a third thin layer may be preferable to one extremely thick layer. This approach can help prevent bubbles, dents, uneven texture, and excessive drying time.
10. Use the Right Technique for the Nail Tip
The free edge of your nail is often the first place where polish begins to wear away. After applying color, gently run a small amount of polish across the very tip of the nail. This is sometimes called “capping” the edge.
Do not overload the brush. A tiny amount is enough to cover the edge and create a more finished appearance. This is especially useful when you want your manicure to look neat from both the front and side.

11. Know When to Apply the Top Coat
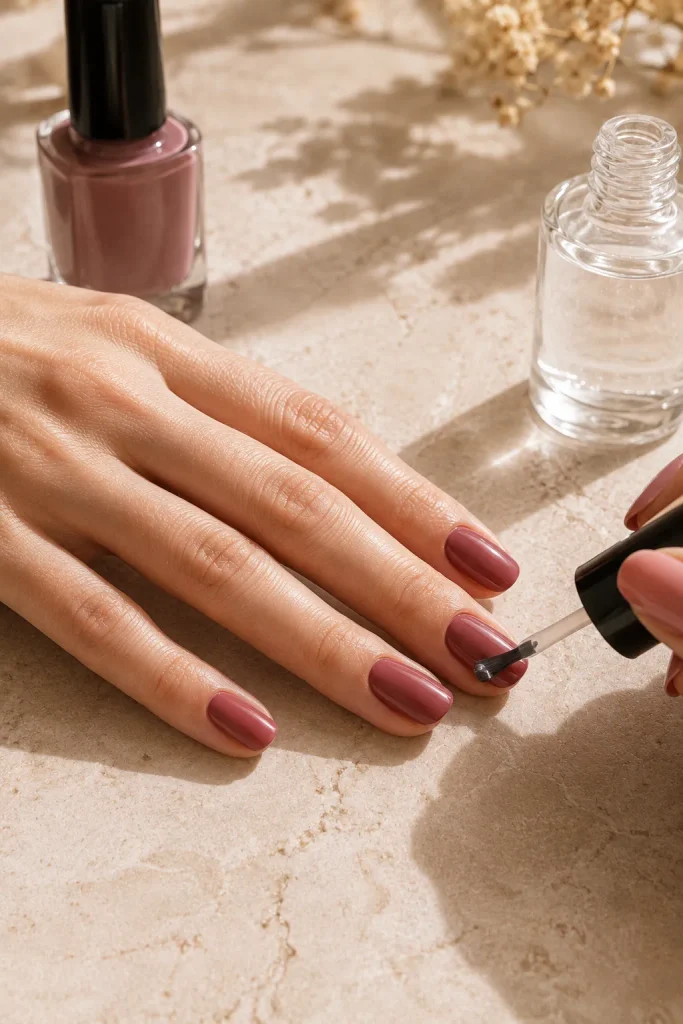
Do not immediately pile a thick top coat over wet, moving polish. Once the color has settled sufficiently, apply a thin layer of top coat using controlled strokes.
A quality top coat can add shine and help protect the manicure from everyday wear. Apply it over the colored surface and lightly cover the nail edge. If you accidentally drag the color underneath while applying the top coat, use fewer brush strokes and allow the underlying polish more time to settle.
12. Give Your Manicure Enough Time to Set
A manicure can feel dry on the surface while remaining soft underneath. This is why touching objects, putting on tight clothing, washing dishes, or going to bed immediately after painting your nails can result in dents and marks.
Give your nails adequate time to set according to the products you are using. Avoid relying solely on the feeling that the surface is no longer sticky. If you frequently smudge your manicure, consider doing your nails when you have a period of uninterrupted time rather than immediately before leaving the house.

13. Fix Common Beginner Mistakes
Smudged polish
If the polish is still wet, carefully smooth the affected area with a small amount of polish rather than immediately removing the entire nail.
Polish on the skin
Wait until the surrounding polish has dried enough to handle and carefully clean the edges with a small remover-dipped brush.
Bubbles
Bubbles can occur when polish is applied too thickly or handled excessively. Use thinner coats and avoid repeatedly shaking the bottle immediately before application.
Uneven color
Instead of adding a large amount of polish to fix one patch, allow the coat to settle and use another thin layer.
Chipped tips
When the edge begins wearing away, gently smooth the damaged area and apply a small amount of matching polish followed by top coat.
14. Create a Simple At-Home Nail Care Routine
Your manicure should not begin and end with nail polish. Regular maintenance can help your hands and nails look better between manicures. Apply cuticle oil regularly, especially when the surrounding skin feels dry. Use hand cream after washing your hands and protect your hands from prolonged exposure to water or household cleaning products when possible.
Keep your nails at a manageable length and file rough edges before they catch on clothing or other surfaces. Instead of waiting until your manicure is completely damaged, remove old polish when it begins to look worn and give your nails a fresh, clean finish.

15. Avoid These Common DIY Nail Mistakes
Beginners often focus heavily on the polish itself and overlook nail preparation. Avoid filing aggressively, cutting cuticles unnecessarily, applying extremely thick polish layers, or peeling off old polish.
Do not use your nails as tools to open cans, scrape surfaces, or remove labels. These habits can cause unnecessary stress on the natural nail.
It is also important not to ignore pain, persistent redness, swelling, or unusual changes around the nail. Nail care should be gentle and comfortable.
16. Make Your DIY Manicure Look More Professional
The biggest improvement usually comes from precision rather than adding more products. Keep all nails similar in length, maintain consistent spacing around the cuticle, use thin polish layers, and clean the edges carefully.
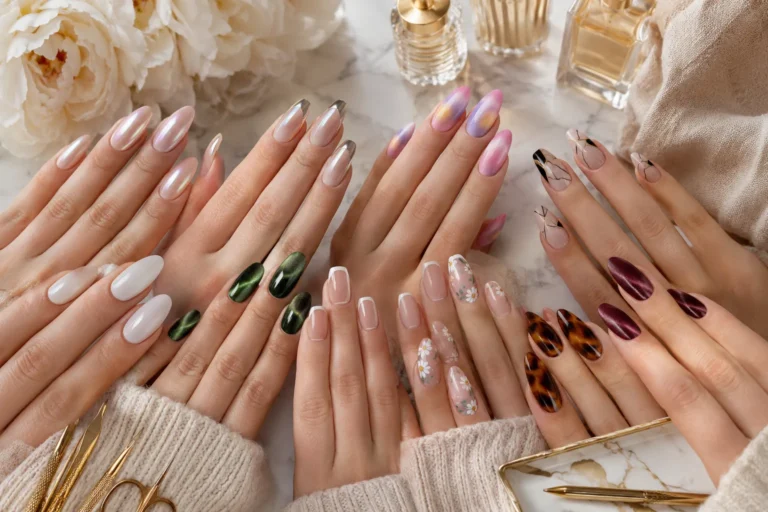
You can also make a simple manicure look more sophisticated by choosing a flattering color rather than attempting complicated nail art. Nude, soft pink, milky white, classic red, chocolate brown, and deep berry shades can all create polished results.
Once you become comfortable with basic application, experiment with French tips, simple dots, minimalist lines, glitter accents, or one statement nail.
Final Thoughts
DIY nails become much easier when you stop thinking of a manicure as simply “painting your nails.” The preparation, shaping, polish control, cleanup, and drying process all contribute to the final result.
As a beginner, focus on creating clean and consistent nails rather than achieving perfection. Your technique will improve with every manicure, and eventually you will develop your own routine for shaping, polishing, and maintaining your nails. With a few dependable tools, patience, and regular practice, salon-inspired nails can become a realistic part of your at-home beauty routine.


One Comment